Knowing how to lock rows in Google Sheets can be helpful. If you’re collaborating on a document, others may need to edit some things on the file. But, there may be some rows or cells you don’t want anyone to touch. The good news is that there is a way you can protect a specific cell, column, or entire row. Here are the steps to follow.
Contents
How to Prevent Editing in Google Sheet Cells
Locking a cell or row in Google Sheets will help keep your information safe. Someone may not want to intentionally change something, but accidents do happen. You think you’re editing the right cell to only later realize you were too tired to see you were editing the wrong one. Here’s how you can protect specific information.
Once you have the Google Sheets file open, right-click on a cell, and when the list of options appears, choose View more actions options. It is going to be at the bottom of the list.

Click on the Protect Range option when the side menu appears. You should now see the Protected sheets and ranges options. You can manually enter a range of the number of cells you want to protect. Or, you can select the cells you want to lock. Once you choose them, they will be entered into the range automatically.
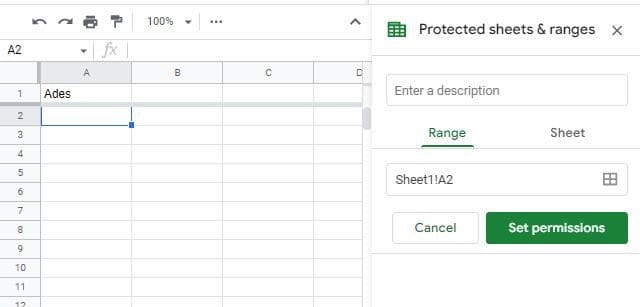
Click on the Set permissions option at the bottom right. Here you can set things up so only you can edit or have Google Sheets show a warning to anyone wanting to edit anything. That way, they know what info to keep in mind before they change anything.
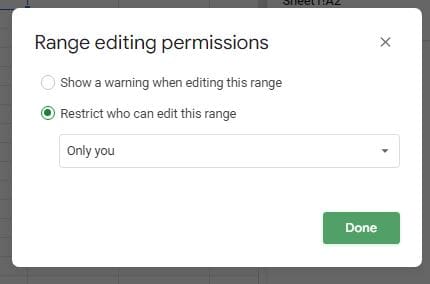
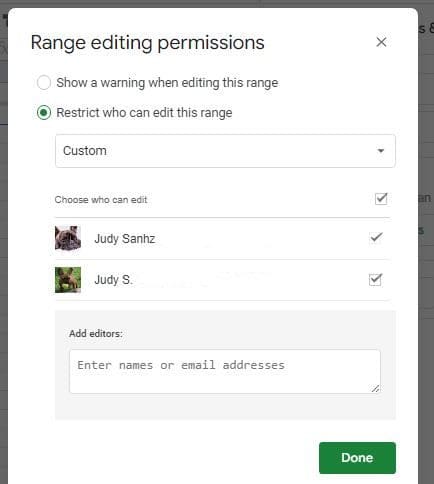
If you want to allow others to edit the cell, click on the dropdown menu to the right of where it says Only You. Choose the Custom option and add those you want to give editing access to. You’ll need to enter their email address.
Locking Columns
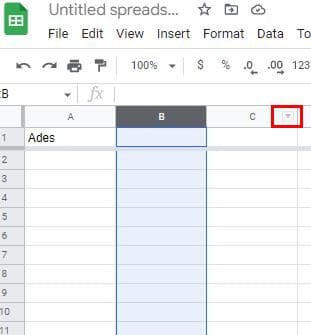
It’s also possible to lock columns as well. Make sure you’ve selected the column you want to lock. You can right-click on the column, or you can click on the dropdown menu icon that appears when you place the cursor on the cell. Whatever is easier for you. Both options take you to the same place.
When the list of options appears, click on the one that says View more column options, followed by Protect Range. Here you can set the permission just like you would with the cells in the previous section. If you want to lock an entire sheet, click on the sheet tab and choose the set permissions tab to decide who can do what on your sheet. If you want to lock non-contiguous cells, you’ll need to do that individually since there is no option to do that in one step.
You can set things up so you’re the only one who can edit or allow others to edit. You can also have Google Sheets show a warning before anyone changes anything. One more thing to keep in mind is that locking cells, columns, or sheets in Google Sheet is something that can currently be done on the Android or iOS app.
Unlocking
If, after a while, you want to remove the lock, it’s possible. To unlock the cell, row, or sheet, right-click on any cell and go to:
- View more cell actions
- Protect range
These are the steps you followed to lock the cell, but these steps also take you to everything else you’ve already locked. To the right, you’ll see everything you’ve blocked. Click on the one you want to unlock and click on the trash icon at the top right. You’ll get a confirmation message, and if you’re sure that you want to undo this, click on the remove button.

Conclusion
When it comes to locking on Google Sheets, you have different choices. You can lock a single cell, a row, or even the entire sheet. You can also decide what you want others to be able to do with the file. You can also block everyone out and be the only person who can change anything. How useful do you find this option? Share your thoughts in the comments below, and don’t forget to share the article with others on social media.