Power Query is an excellent tool for connecting and importing files into Power BI or Excel. It can be used in Excel, but sometimes you may encounter an issue with newer files failing to appear in the query result. In this article, we’ll be showing you some fixes to the Power Query SharePoint folder error.
Contents
What Causes Detection Errors?
SharePoint relies heavily on its cache to provide quick and effective displays of metadata. Understandably, new files won’t be present in the cache right away. Failure to load to Power Query can point to a few problems:
- Lack of a stable internet connection
- A corrupted cache that won’t update
- Permission issues with your account
- Pathing issues in SharePoint
Now you know the causes, let’s get into the different fixes for Power Query SharePoint files.
Check Admin Permissions
A good first step is to check with your Admin or IT department whether or not you have sufficient privileges to actually have access to the files in question. If you don’t, none of the troubleshooters below will help.
Check Your Internet Connection
SharePoint needs an active internet connection to access it. Check that your internet connection is stable and that you’re connected to your network. Reset your router if possible.
Refresh the Query
If a simple refresh isn’t solving the issue, then a more thorough one might do the trick. Here’s what to do:
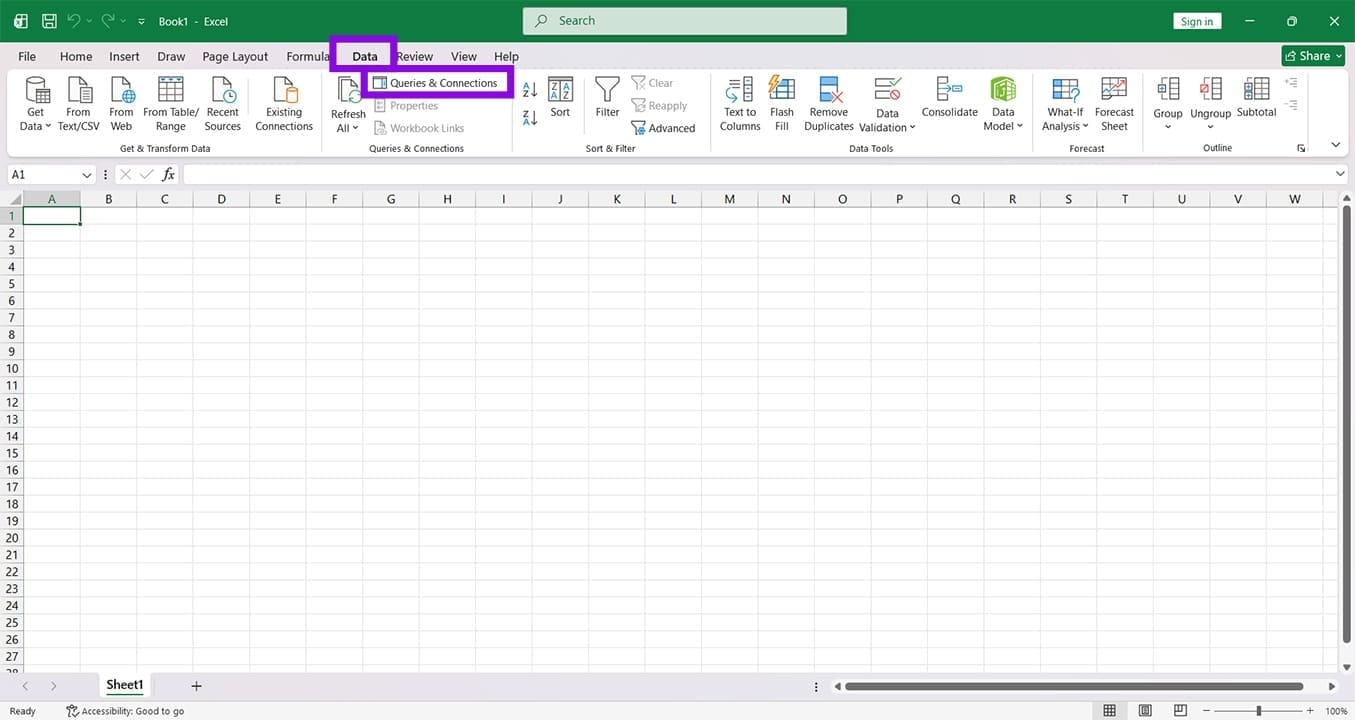
Step 1. In Excel, head to the “Data” tab. In Power BI, open the Power Query Editor via the “Transform Data” button.
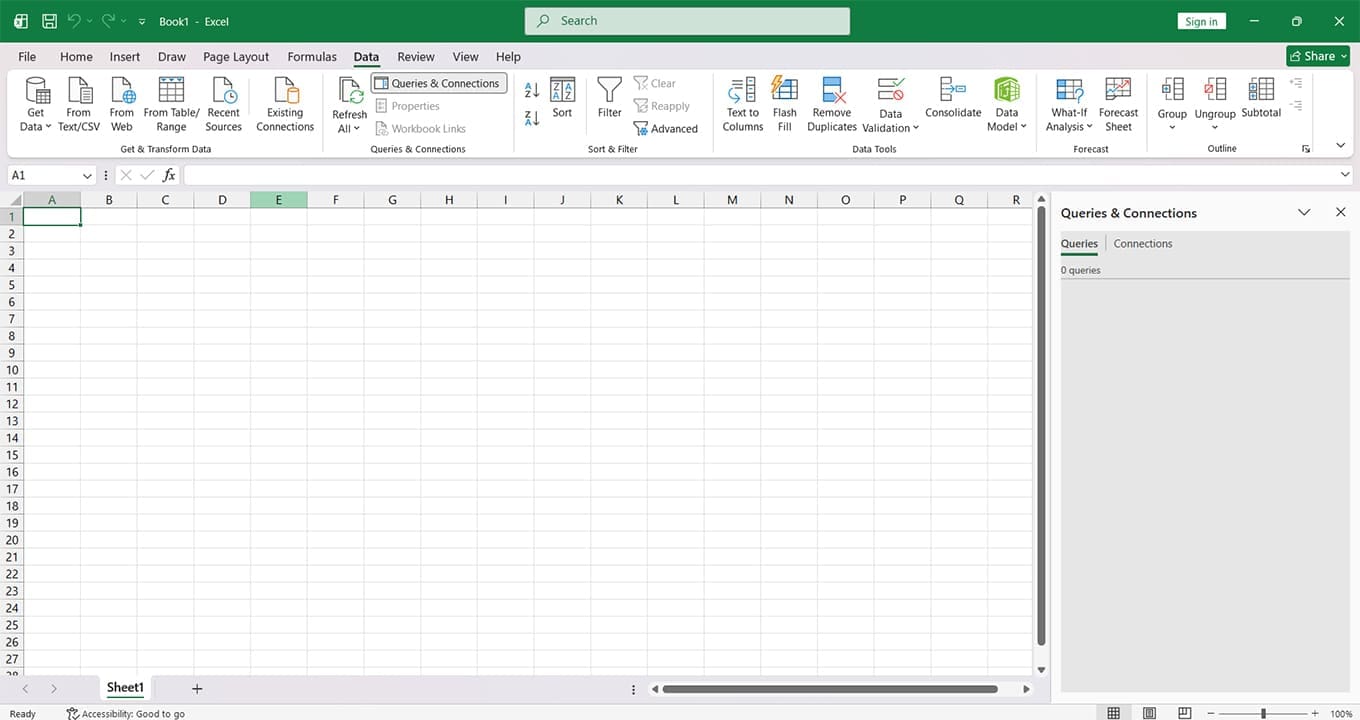
Step 2. In Excel, click “Queries & Connections.” In Power BI, right-click your query in the Queries pane.
Step 3. In the pane that appears, right-click your query and select “Refresh” from the dropdown menu.
Load the Right URL
For SharePoint, sharing the URL of specific folders can lead to certain files not showing up. To ensure Power Query gets the full picture, do the following in Excel:
Step 1. Head to the “Data” tab and click “Get Data.”
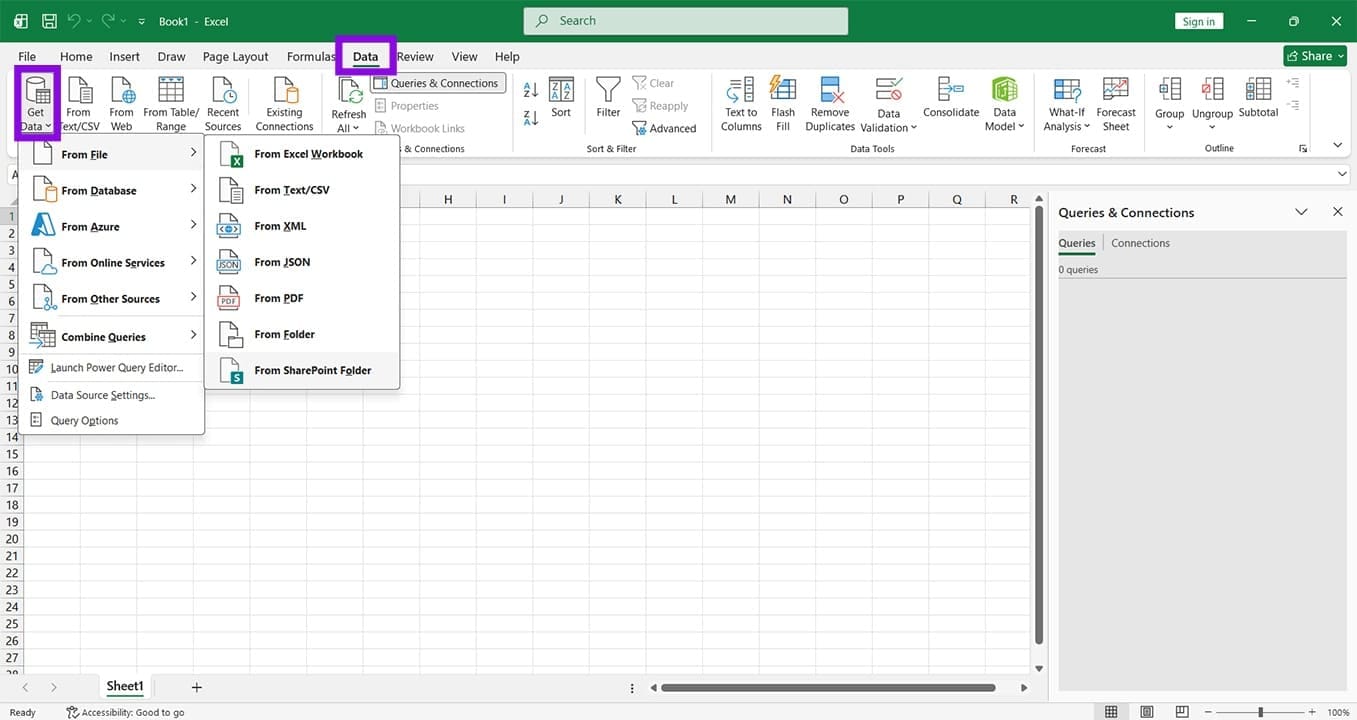
Step 2. Choose “From SharePoint Folder.”
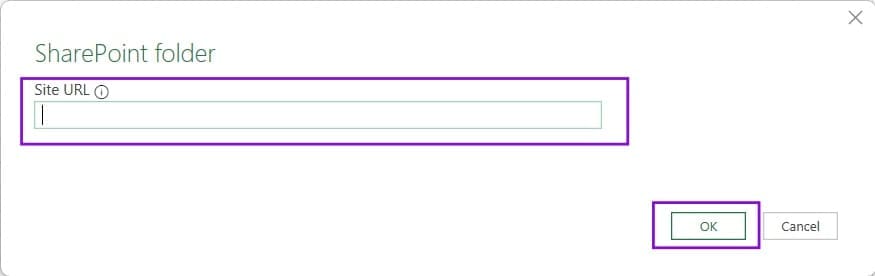
Step 3. Enter the SharePoint homepage URL and click “OK.”
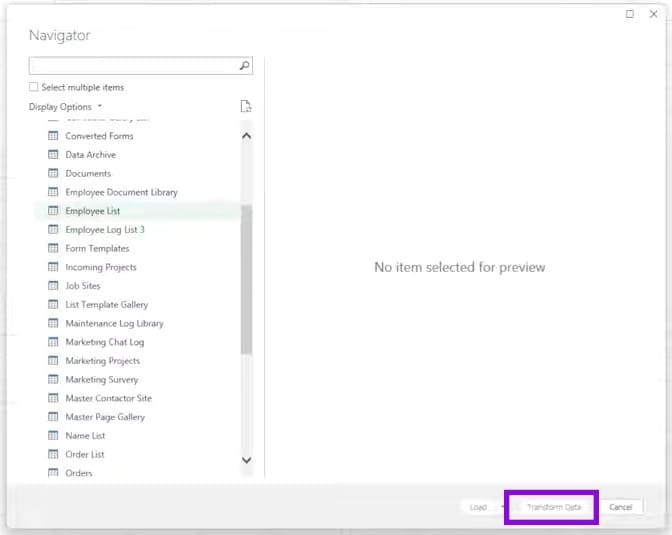
Step 4. In the Navigator window that pops up, click the file and choose “Transform Data.”
Step 5. In the Power Query Editor window, click the Home tab and the “Refresh Preview” button.

Step 6. Verify the new files and click “Close & Load.”
Clear the Cache
Seeing as one of the big offenders is the Power Query cache, it’s a good idea to flush it and see if this resolves the issue. To do so:
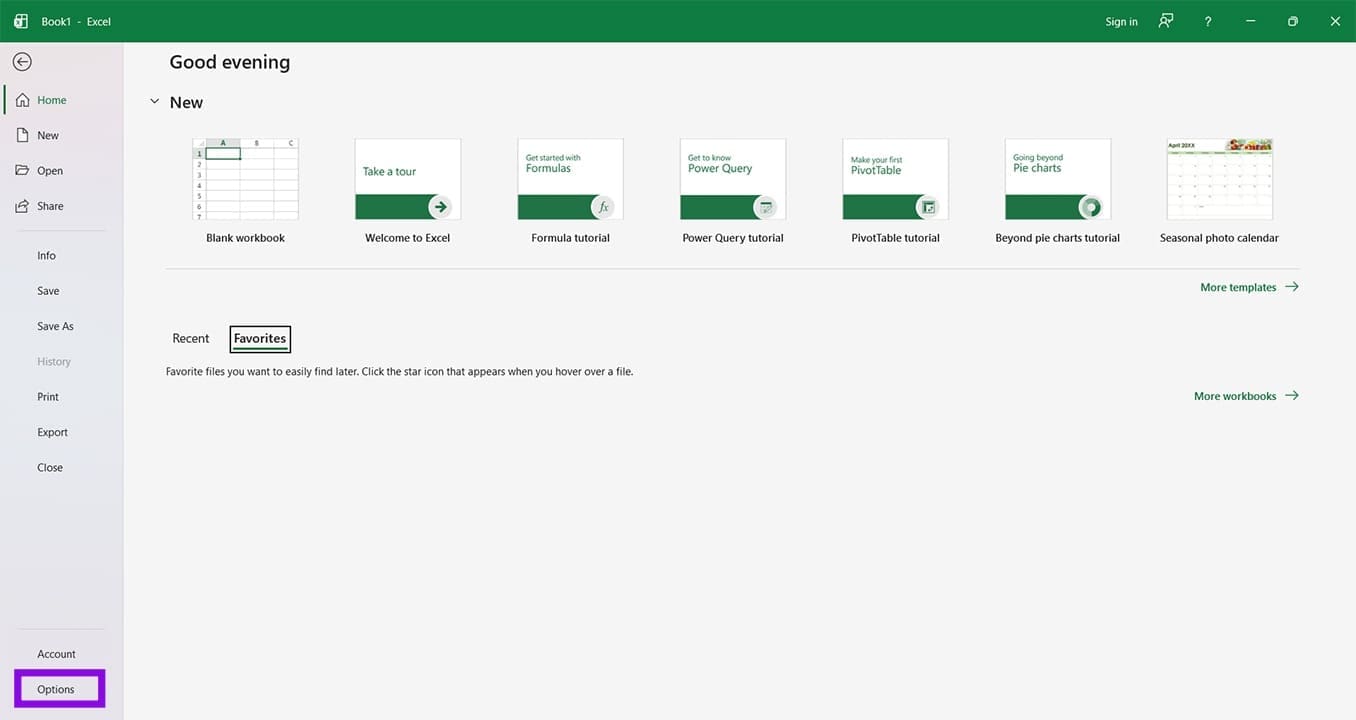
Step 1. In Excel, click the “File” tab and click on “Options” in the sidebar.
Step 2. In the Options window, click “Data.”
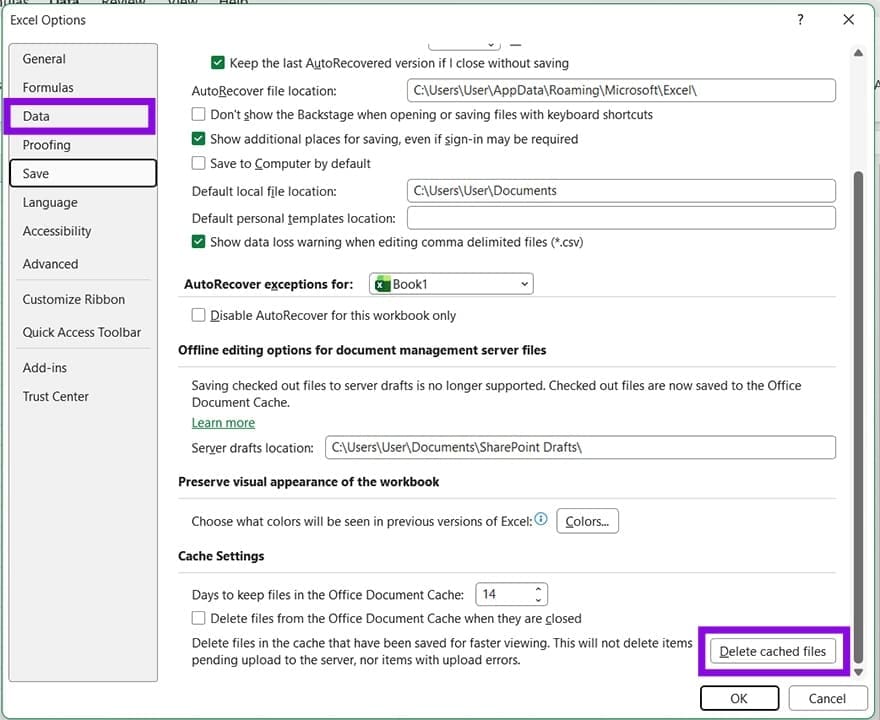
Step 3. Scroll down to the “Cache Settings” subsection and click “Delete cached files,” and confirm in the pop-up.
Step 4. Restart Excel and see if the new files show up.
In Power BI, the cache clearance button can be found in the “Data Load” tab of Options.
Check Your Filters
It might be that filters in the Power Query Editor are blocking your view of new files in the results. To check this:
Step 1. Open your data in the Power Query Editor window.
Step 2. Check the “Applied Steps” pane on the right side of the screen for changes.
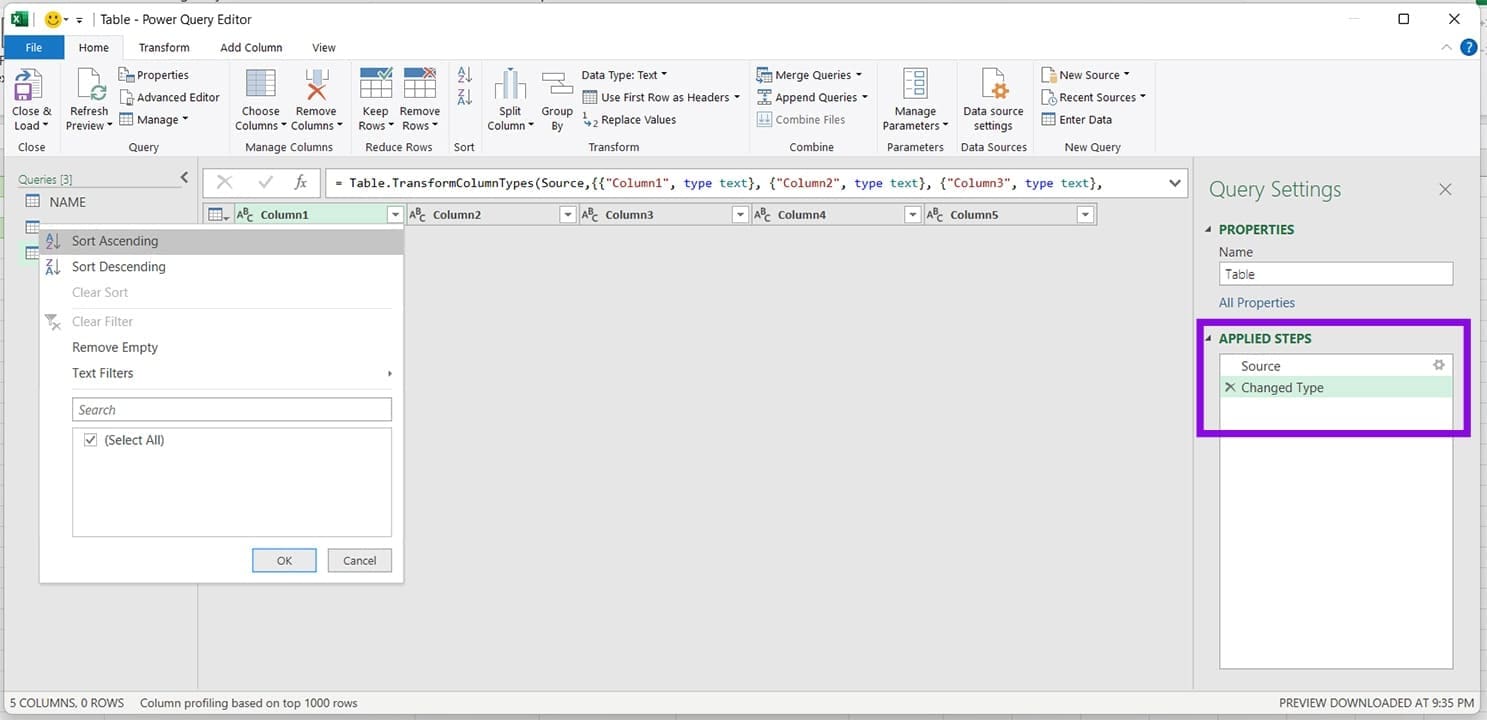
Step 3. Click the dropdown arrow in each column and ensure filters are cleared.
Step 4. Once happy, click “Close & Load.”