

The Quest 2’s Guardian Boundary feature is one of its best safety features – it makes sure that you know where you can step. When set up correctly, it will actively prevent you from banging into things.
If you have a small play space or get a bit overexcited when moving around, you might end up seeing your barrier fairly often. Between that and the different games you can play, you may find yourself wanting to change the Guardian Boundary – or, more specifically, its color.
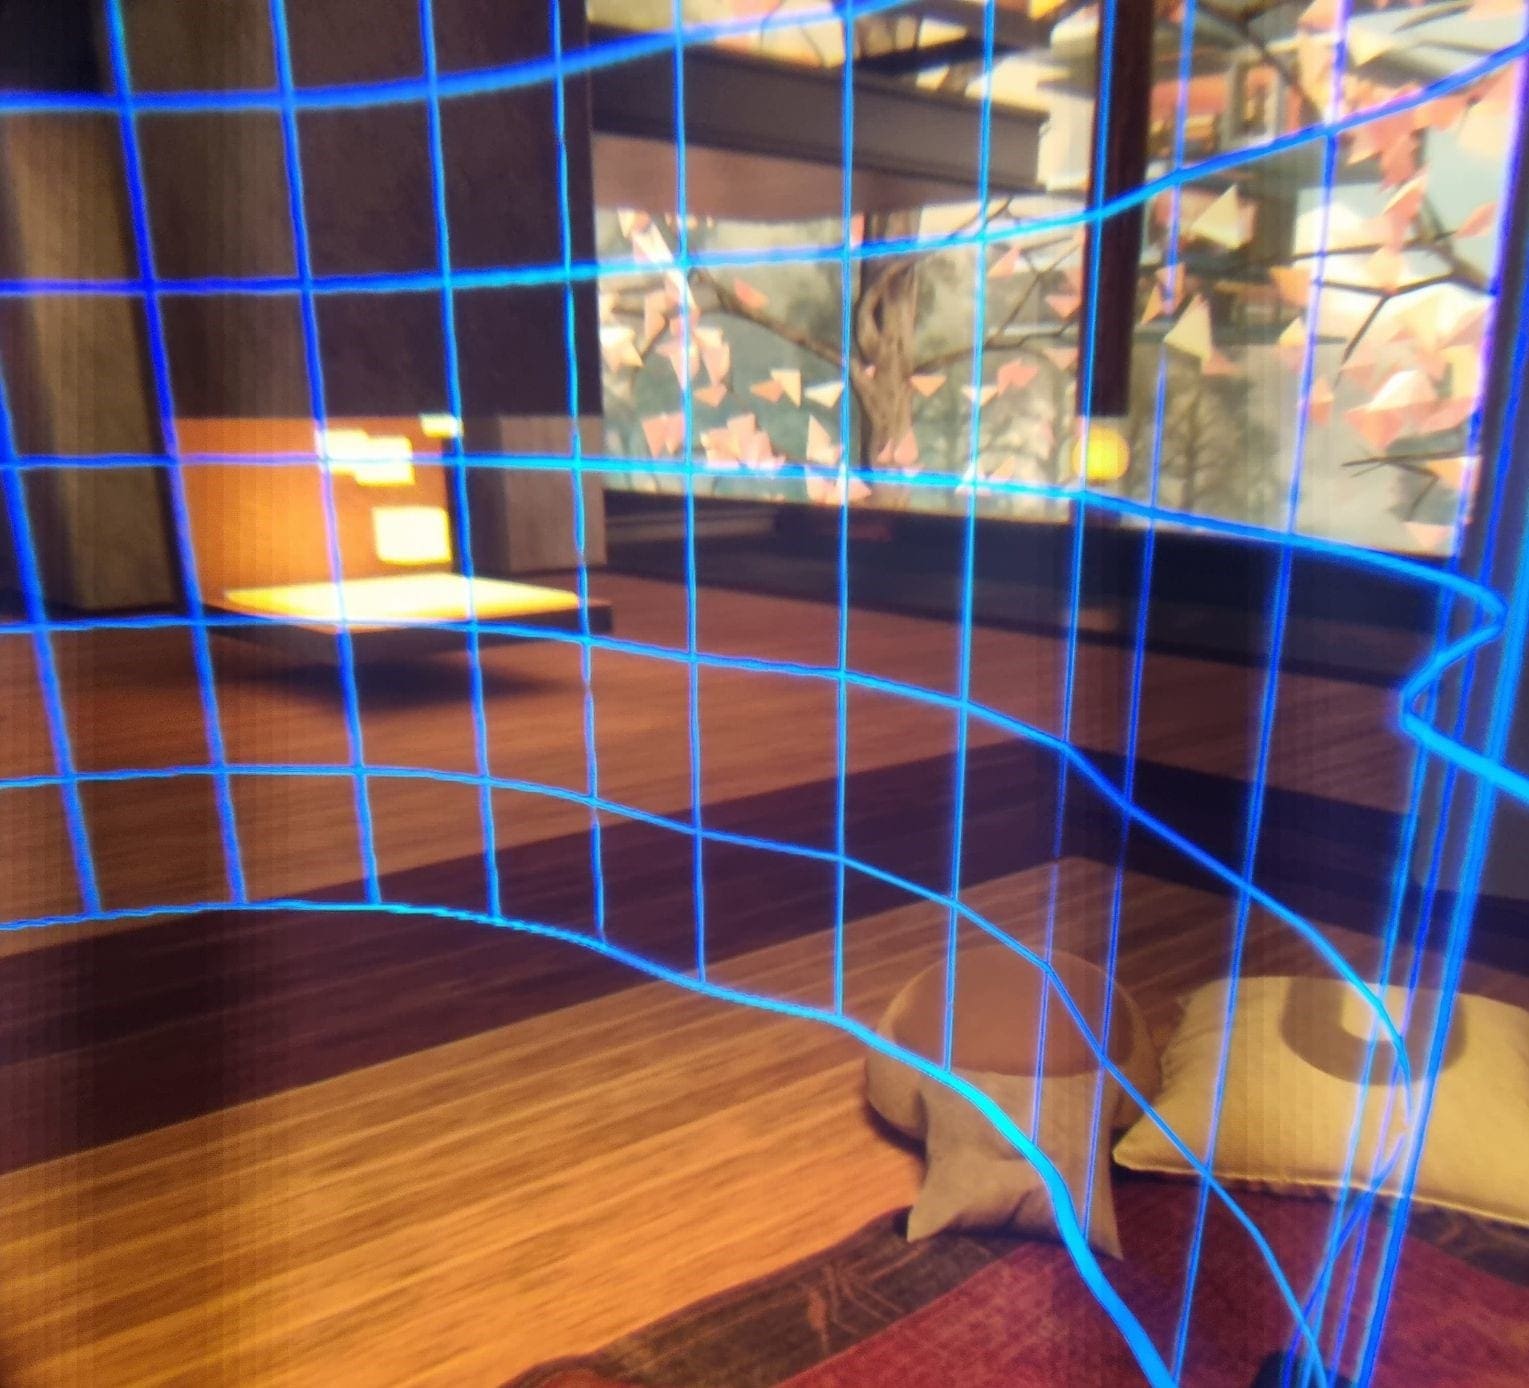
While it will always go red as you get close to breaching it (or when you actively do), its default color can be changed. Normally it’s blue – but you can also change it to yellow or purple. Why?
One of the primary reasons is to make sure it’s visually distinct from the game you’re playing. If you play something set in the desert, you may struggle to see a yellow border or a blue one in a water- or snow environment. You can change the color any time, even mid-game, so don’t hesitate to switch to something you can easily see!
Changing Your Color
To change your Boundary color, press the Oculus button on your right controller. The menu will pop up. Click on the cogwheel on the far-right to get to your Settings. There, on the left-hand side, you can find a section labeled Guardian.
Here, scroll a little until you see the option labeled Boundary Colour. It’s a drop-down menu where you can pick from three options. Blue, yellow and purple. Adjust this whenever you feel your boundary color doesn’t suit what you’re playing!

Tip: In this section of the menu, you can also find some other options for adjusting the Guardian – such as sensitivity, how soon it becomes visible, and more. It’s also where you can draw a new Guardian Boundary if you need to!
Conclusion
By following the step in this guide you can configure the boundary color in your headset. What’s your favorite Boundary color? We usually use yellow or purple.