
If you install a new HDD or SSD and run the “list volume” command, only to end up with DiskPart no volumes listed and a “There are no volumes” message, the drive itself is rarely dead. Most often, the drive is new and just hasn’t been initialized, or a partition got deleted. In rarer cases, the drive uses a file system that Windows can’t read. Here’s what to do to get your volumes back.
Fix 1 – Check if DiskPart Can See the Disk
First, you need to find out whether the problem is the volume or the entire drive.
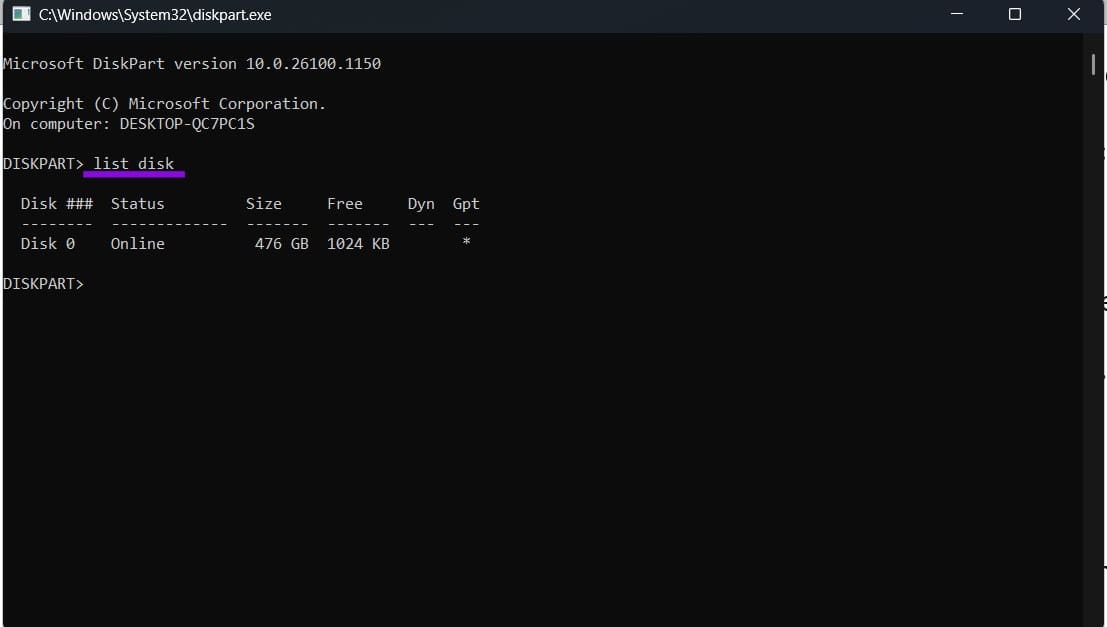
Step 1. Press the Windows key, type in “cmd,” and select “Run as administrator.”
Step 2. Type in “diskpart” and hit “Enter.”
Step 3. Type in “list disk” and hit “Enter.”
Step 4. If your drive isn’t there, reconnect it with another cable or port, then run the “rescan” command.
If the disk appears on the list with its expected capacity, Windows can detect the drive. If it has no usable partitions or volumes, you can move on to the fixes below. You can move on to the fixes below.
Fix 2 – Recover the Lost Partition
If the drive had files you need, don’t initialize or format it yet, since that makes recovery harder. Windows doesn’t provide a general built-in tool for restoring a deleted partition, so you may need third-party partition-recovery software such as AOMEI Partition Assistant or EaseUS Partition Master.
Step 1. Install the partition manager and open it.
Step 2. Select “Partition Recovery” and choose the disk with the missing volume.
Step 3. Run the quick scan first. If it doesn’t find anything, go for the full scan.
Step 4. Select the lost partition from the results and confirm the recovery.
Step 5. Select the lost partition from the results and follow the software’s instructions to recover it.
Note that partition recovery is usually a paid feature in these apps, so check what the free version covers before you install one.
Fix 3 – Initialize the Disk to Fix DiskPart No Volumes Listed
A brand-new drive doesn’t have any partitions, so there’s nothing for DiskPart to list. The same goes if you don’t need the old data.
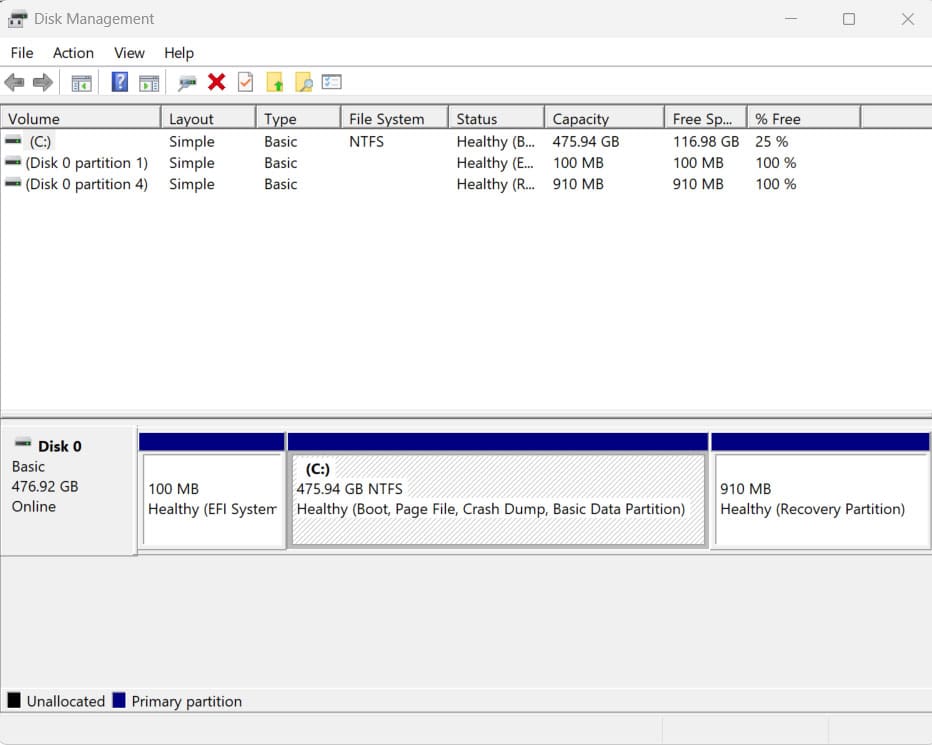
Step 1. Right-click on the Start icon and select “Disk Management.”
Step 2. If the “Initialize Disk” window pops up, select “GPT” and click “OK.” If not, right-click on the disk labeled “Not Initialized” and select “Initialize Disk.”
Step 3. Right-click on the “Unallocated” space and select “New Simple Volume.”
Step 4. Follow the wizard to assign a drive letter and format the volume as “NTFS.”
Fix 4 – Create the Volume in DiskPart
If the disk is new or contains no data you need, and you can’t use Disk Management, you can create a new partition and volume directly from DiskPart. The commands below erase the disk, so don’t use them on a drive containing files you want to keep.
Step 1. Open DiskPart as you did in Fix 1, run “list disk,” and note the number of the disk you want to work with.
Step 2. Run the following commands one at a time:
select disk 1
detail disk
clean
create partition primary
format fs=ntfs quick
assign
Replace the “1” in the first command with your disk number. Before running clean, use detail disk to verify that you selected the correct drive.
Step 3. Run “list volume” again. Your new volume should be there with a drive letter, and you should no longer see DiskPart: no volumes listed.