When you need to do some picture editing, Microsoft Word might not be your first choice. But, the good news is that it does have some basic photo editing features you can use. If what you need to do is very little, you could very well get it done without having to open another program.
One of those basic options Microsoft Word has is the option of turning an image upside down or to the sides. The process is beginner-friendly, and it won’t take you very long.
How to Rotate a Picture Upside down in Microsoft Word
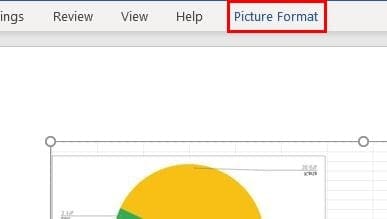
First, make sure that the document you have open has the image you want to flip. Go the image and click on it, so you see white dots around it, that means you’ve selected it correctly. Click on the Picture Format tab at the top.
Go to the Rotate Objects icon (it looks like a triangle) and click on the drop-down menu. You’ll see options to rotate your image right 90 degrees, left 90 degrees, flip horizontal, or flip vertical. Make sure to click on the Flip Vertical option.
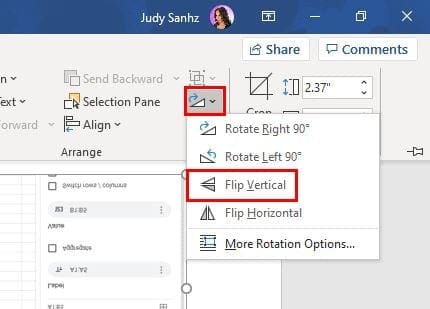
Microsoft Word will show you a preview of how your image will be flipped only by placing the cursor over an option. If you like what you see, just click on it to make the change permanent.

If you don’t like what you see and what to flip the image again, you can follow the same steps you did to flip it in the first place, or to undo you can simply press the Ctrl + Z keys for Windows or Cmd + Z for Mac users.
Conclusion
Knowing how to flip an image can come in handy, but it’s also a great way to play a prank on someone when they leave their work area. You can sneak in and flip the image while they’re gone and watch them freak out from a reasonable distance. What will you be flipping the image for? Share your thoughts in the comments below.