SmartArt is a handy way to represent data and thoughts into a coherent and appealing visual representation. What happens, though, when you already have an image? While full conversion of an image into SmartArt in Microsoft Word isn’t possible, it can definitely be remade as such or worked into art. So if you want to convert picture to SmartArt, Word lets you do that.
Contents
What Pictures Work Best for SmartArt?
Seeing as SmartArt deals more with data and ideas than actual pictures, it’s best to use images that conform to this format. While you can definitely work in photos and illustrations, graph images, charts, and simplified vectors are much better suited to the task. You’ll be able to do more with these using the Microsoft SmartArt process.
Different Ways to Convert Picture to SmartArt – Word
Let’s take a look at the different ways to remake and incorporate Word pictures into your SmartArt:
Incorporating a Picture Into SmartArt
If you want to work a pasted picture in Word into SmartArt, then you can incorporate it in the following way:
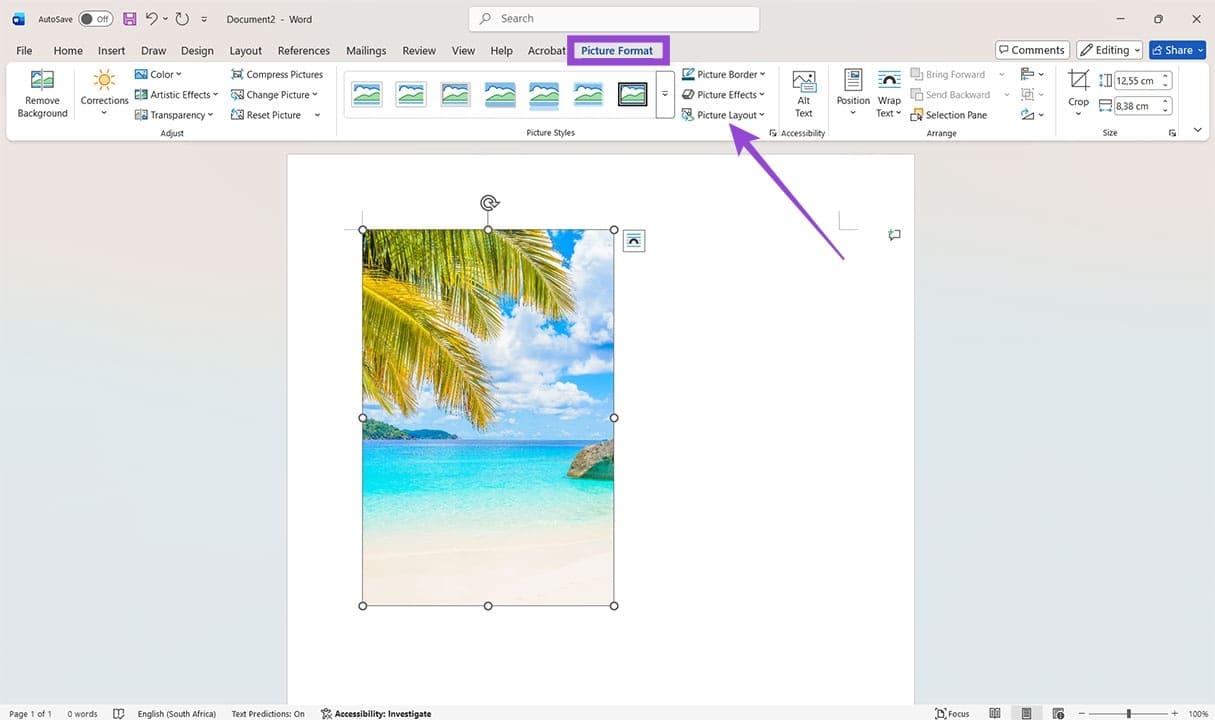
Step 1. Click the image to select it.
Step 2. In the “Picture Format” tab, click the “Picture Layout” button in the “Picture Styles” subsection.
Step 3. Choose a layout from the SmartArt options provided. Hovering your mouse over an option will give you a preview. To finalize, click the option you want.
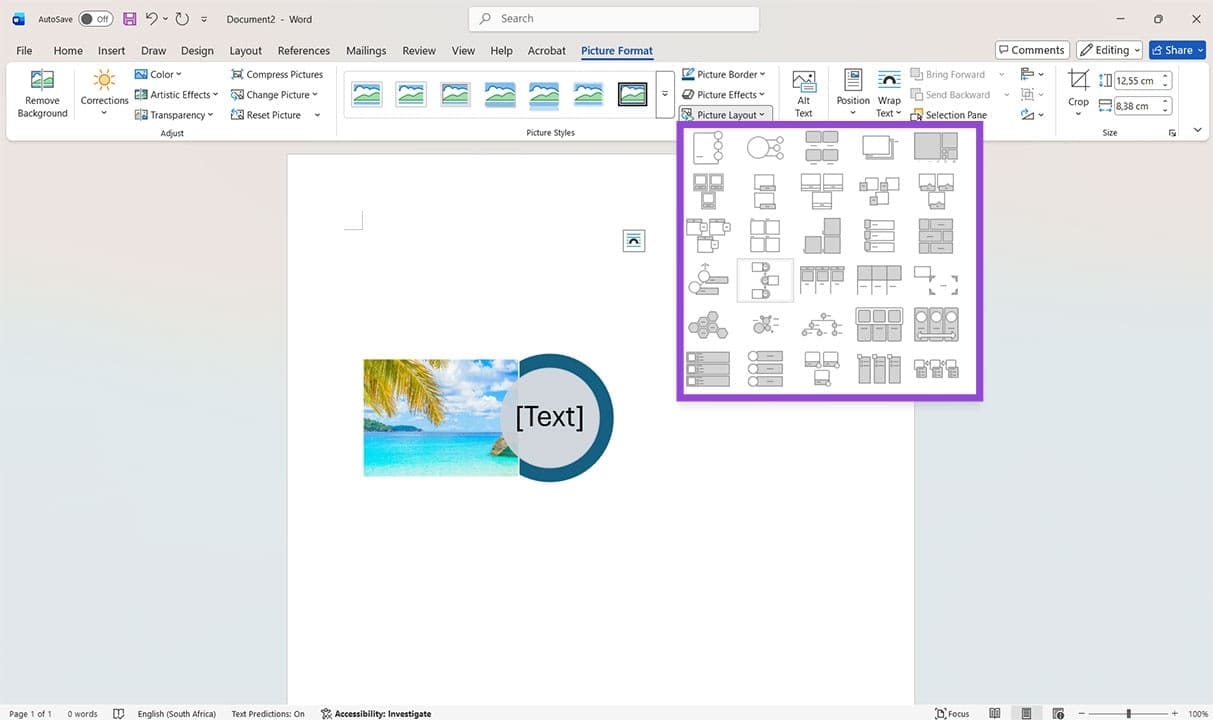
Step 4. Once done, you can change your layout again in “Layouts,” including changing the colors, fine-tuning styles, or adjusting the position in the “SmartArt Design” toolbar.
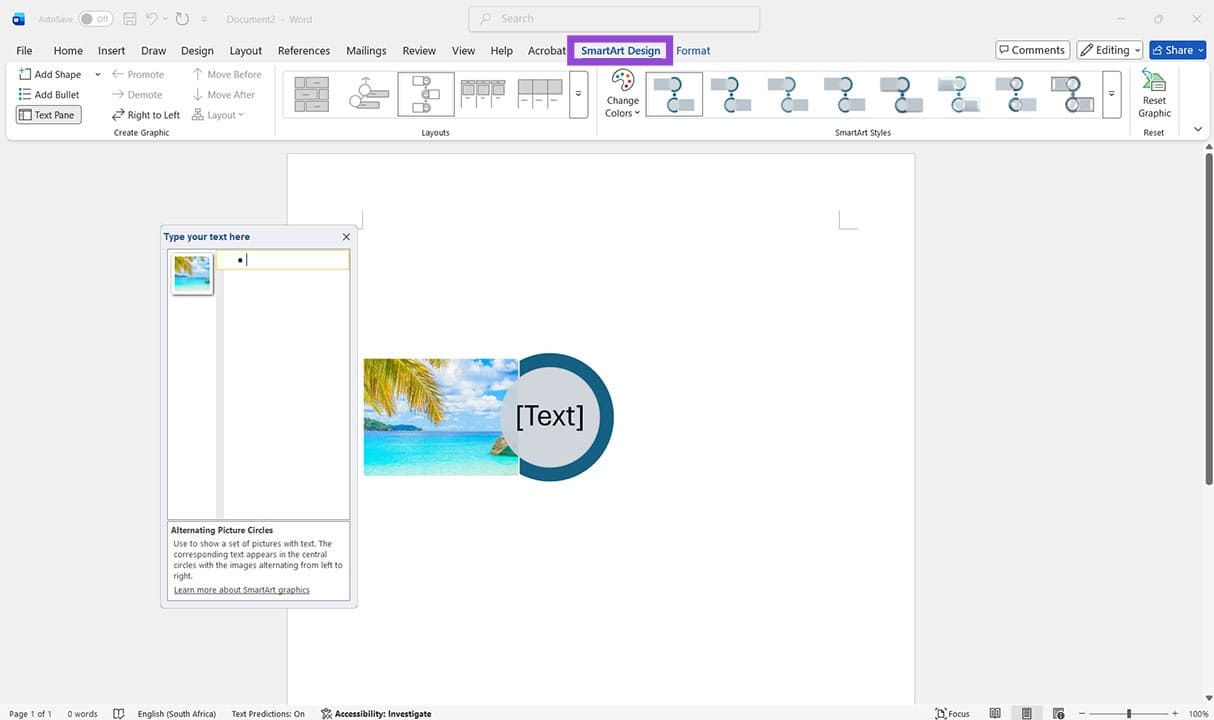
It’s important to note that the image won’t be read as SmartArt, just incorporated as one element of it.
Do Things Manually
If your existing image is a graph, chart, or simplified diagram, then your best bet for making it SmartArt is to make it from scratch. This isn’t ideal, but Microsoft Word does offer templates and tools to make things easier. Here’s what you need to do:
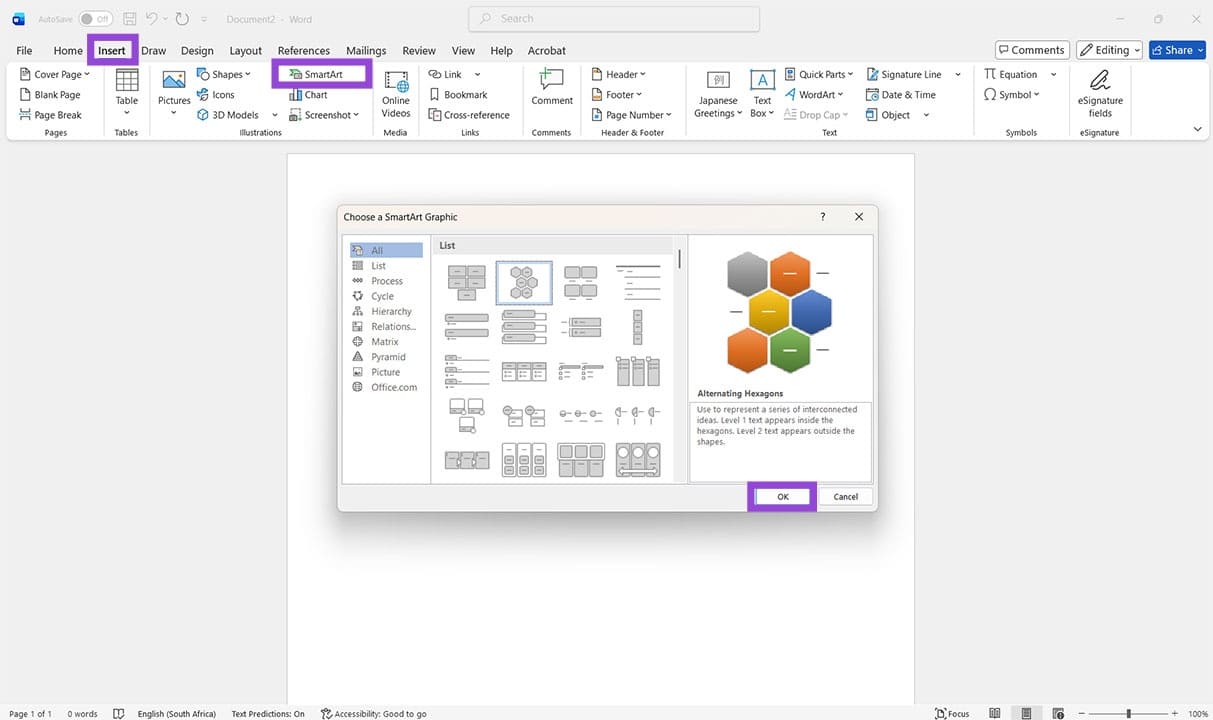
Step 1. Head to the “Insert” tab and click the “SmartArt” option.
Step 2. A window will pop up. Choose your template from the options and categories provided. Press “OK” to insert it.
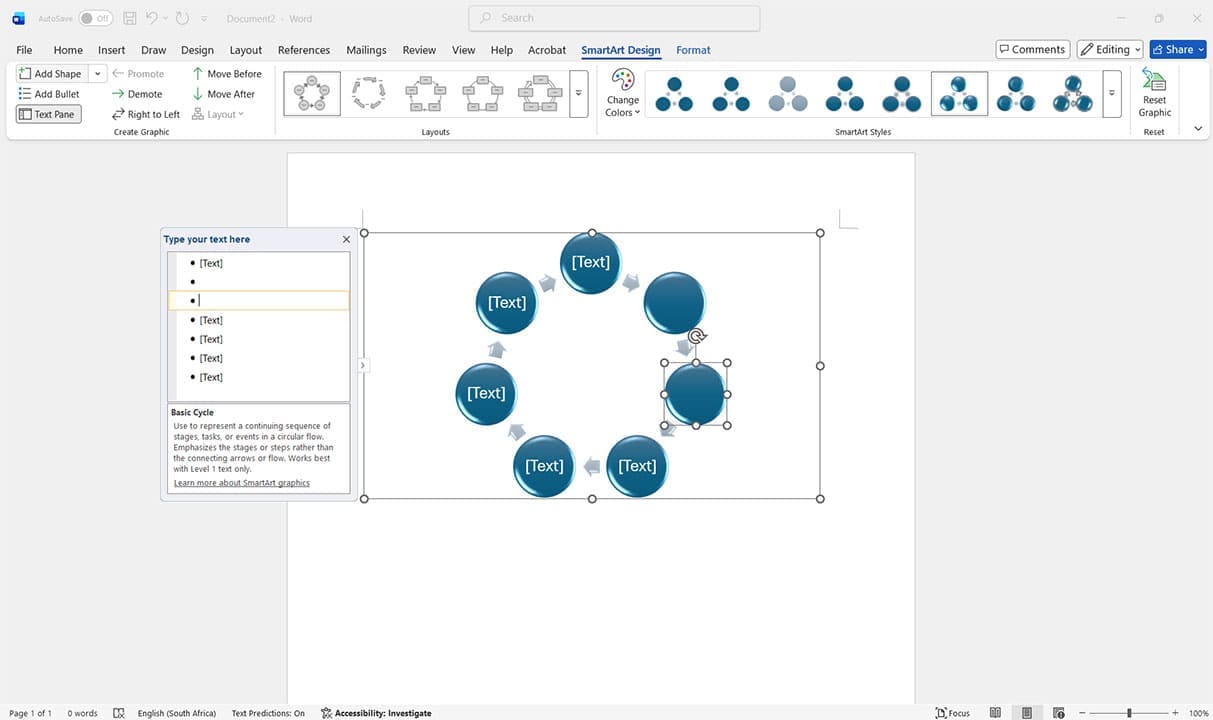
Step 3. With the SmartArt inserted, you can edit it in the “SmartArt” toolbar. Add more shapes (“Add Shape”), change the visual style, and edit the text via the pop-up window or directly in SmartArt.
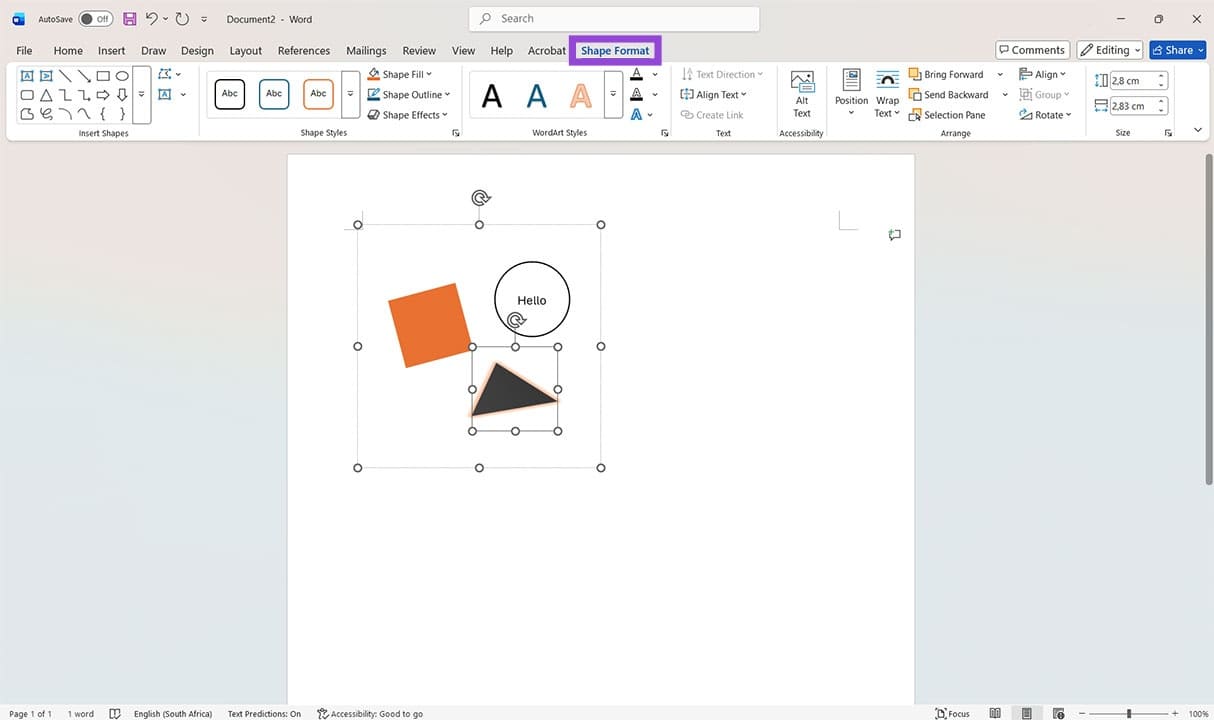
Convert the Picture to Shapes
Our final option isn’t the Microsoft SmartArt process per se, but it works with Shapes, which can easily be edited and altered. If your image is vector-based, a “.svg” file, then you can convert it and edit shape aspects individually. Here’s how:
Step 1. Insert your “.svg” file into your Word document or insert a preset by choosing “Icons” in the “Illustrations” subsection.

Step 2. With the vector inserted, click the image, and then, in the “Graphics Format” tab, click “Convert to Shape.” Your vector image will be converted. Keep in mind, it can’t be changed back once edited.
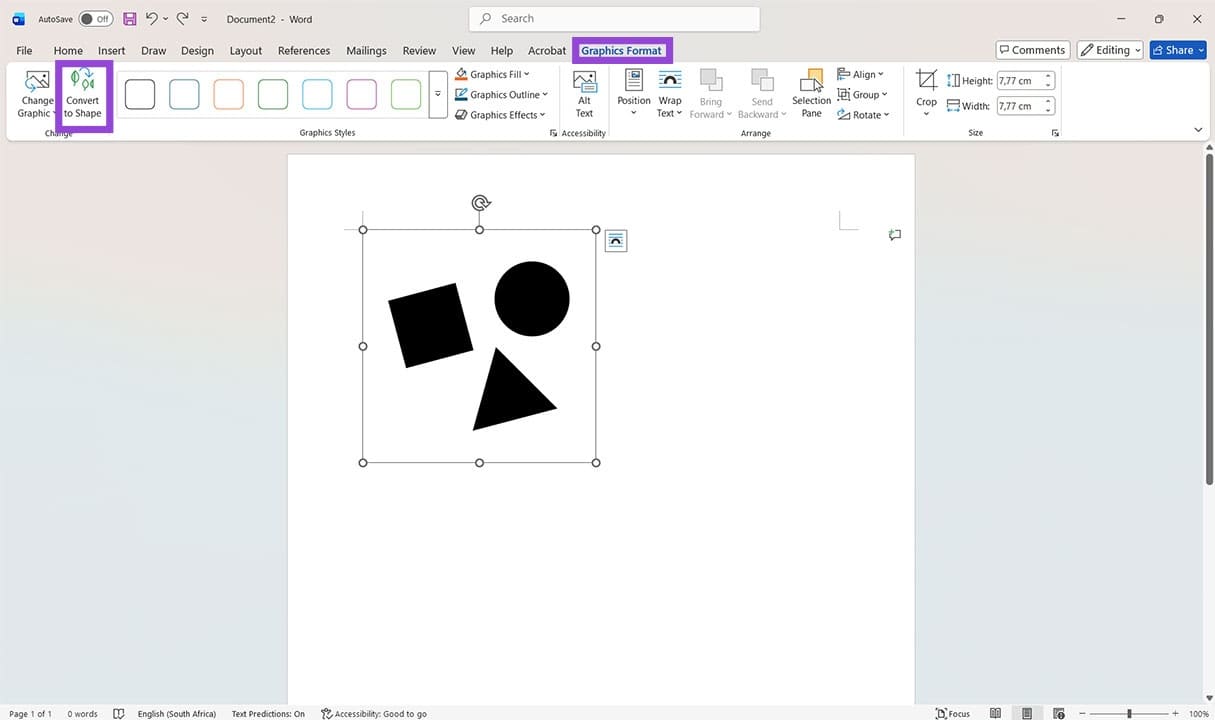
Step 3. You should now be able to click individual elements of the graphic to edit as you please. In the “Shape Format” tab, you can change colors, add effects, turn shapes into custom textboxes, and much more.