You may already be familiar with taking scrolling screenshots on Firefox and Chrome. But, if you’re starting to use Safari, you might not be too sure how you can do the same on this browser. The good news is that the steps are easy and quick to access. You’ll also see the editing options you can choose to make the necessary changes to the screenshot.
Before you get started on how to take a scrolling screenshot on your iPad, there is something you should know first. For example, the full-page screenshots will be saved as a PDF. So when you take it, you’re not going to find it in the Photos App. You can only save the screenshot to the Photos App if you convert the PDF file to PNG. You can find the PDFs in the Files app; sharing them using other apps shouldn’t be a problem.
How to Take a Long Screenshot on iPad
Note: This will only work on Safari and not on Chrome or Firefox.
Once you have Safari open, take the screenshot using your preferred method. For example, you can try pressing the top and home buttons at the same time. You should see the screenshot at the bottom left-hand corner. Tap on it to make it bigger. At the top, you’ll see two options: Screen and Full Page. If you realize that you’ve taken a screenshot of the wrong site, for example, you can press the trash icon to erase it.
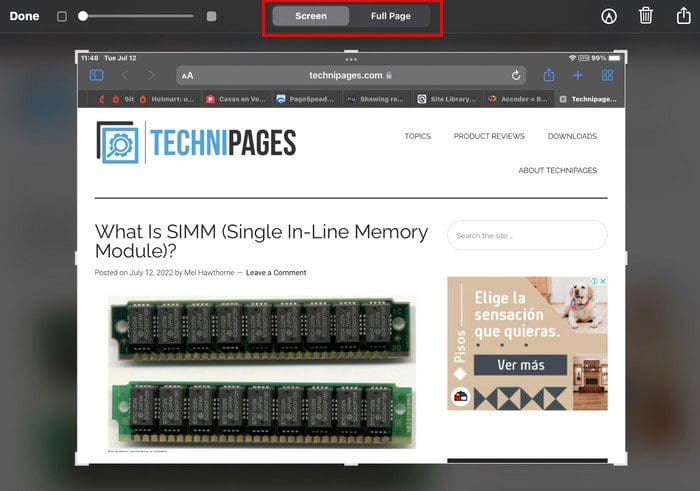
If you choose the Screen option, you’ll only get a screenshot of what you’re currently looking at. Tap on Full Page to get precisely that, the whole page. You’ll see a set of editing options at the bottom when you do. You can choose from different options, including a ruler. There are also different colors to choose from. It would be nice if there were more options, but at least you can choose from more than two.
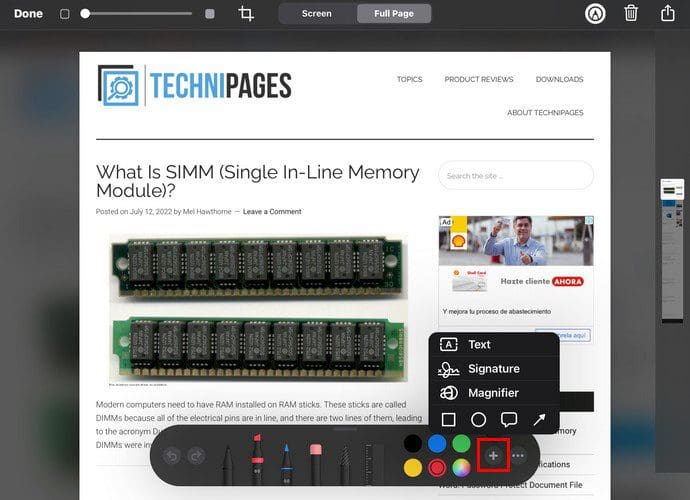
Tap the plus icon to access additional options such as text, signature, magnifier, and shapes. The dots will show you the options to enable or disable options such as auto-minimize and draw with a finger. You can also use the slider at the top left to make the content on the page a little harder to read.
You can see a specific part of the screenshot by dragging the highlighted square on the right. Tap on the crop option to do just that. Drag the top, bottom, or side of the screenshot to select as much of it as you want to keep. After you’ve made the necessary changes, you’ll see a preview of what you’ll be getting after you tap the Done button at the top left. The screenshot will resize after each adjustment.
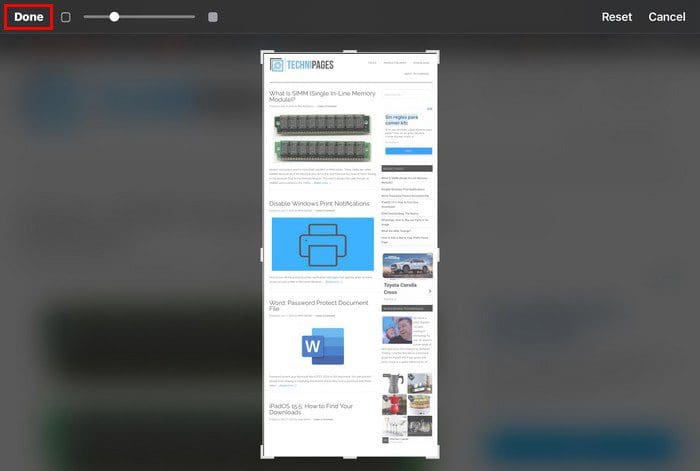
You can zoom in on a specific part of the image and have the screenshot be about that. The file will be saved as a PDF file, where you can find it later by accessing your Files app. If you think you’ve made a mistake on what part of the screenshot you wanted to crop, tap on the reset button to start over.
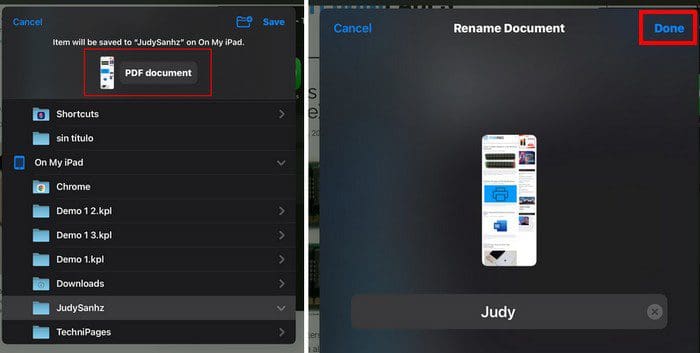
When you’re saving the PDF to the Files app, and you’re about to choose what folder you’re going to place it in, keep in mind that if you tap on where it says PDF document, you can change the name of the file.
Conclusion
Remember that this is something that’s only going to work on Safari and not on third-party browsers such as Firefox and Chrome. When you take the full-page screenshot, you have different editing options, such as drawing on it or cropping it. For an easy find, don’t forget you can also rename your PDF file so you can later find it in the Files app and not in Photos.