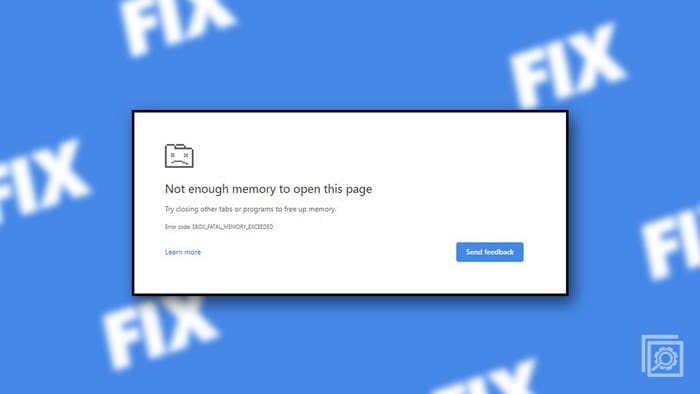
Most advanced web browsers like Google Chrome or Microsoft Edge can encounter temporary errors that distract you from what you are doing. An error you may often encounter is the “Error code: Out of Memory” on web browsers of Windows 11.
Contents
What’s Error Code: Out of Memory?
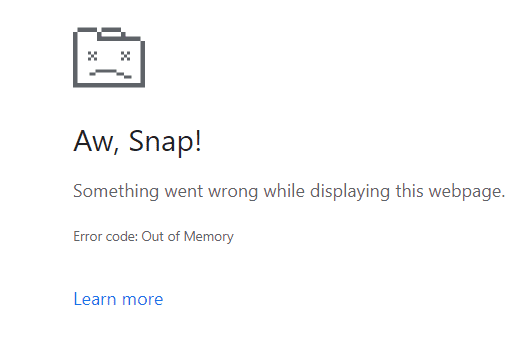
Suppose you’re working on web apps that require a lot of RAM and page files on your PC. Suddenly, you see some glitches in the web app. When you hit the refresh button on Chrome or F5 on your keyboard, the web browser crashes and shows something similar to the above image. This is the dreaded Error code: Out of Memory warning on Windows 11 browsers like Chrome and Firefox.
Increase PC Page File
The page file is a physical extension of your system RAM or memory. The Windows 11 OS automatically dumps a copy of an app from RAM into the SSD or HDD when you don’t use the app actively. By default, Windows 11 OS automatically determines the page file on the Windows installation drive. However, if someone restricted that manually to a few GBs, you can follow these steps to increase the quota for page files:
- Right-click the This PC icon and select Properties.
- On the System > About screen, click Advanced system settings.

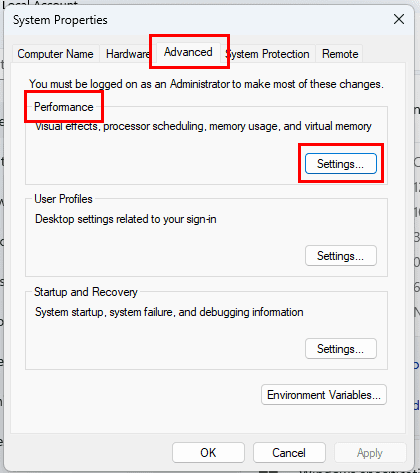
- The System Properties dialog box should pop up.
- Click the Advanced tab and go to Settings under the Performance section.

- On the Performance Options dialog box, click the Advanced tab.
- Click the Change button under the Virtual memory section.

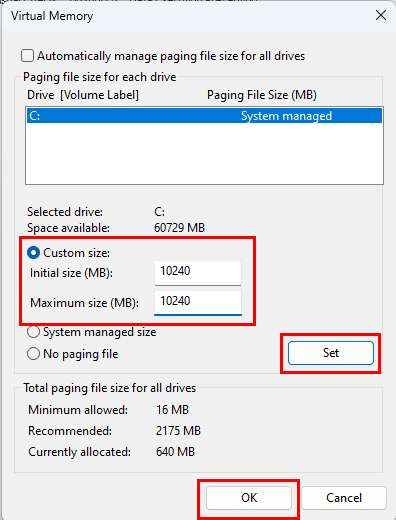
- Under Custom size, if it’s too low, change the value to 10,240 or 10 GB.

- Alternatively, select the System managed size and hit the Set button.
- Click OK and approve the restart request if prompted.
- Manually restart the PC if it doesn’t do automatically.


Now your PC has enough page files to dump apps from RAM to internal storage when the device runs low on system memory.
Free Up Storage Space
You must also clear at least 10% of the Windows 11 installation drive size space for optimal use of the page file system. Mostly, you can move files that are in the following folders of C: drive:
- Downloads
- Documents
- Pictures
- Music
- Videos
- Desktop
If required, you need to uninstall large applications from your Windows 11 PC by following these steps:
- Hit Windows + I and select the Apps option on the left.
- On the right, click Installed apps.

- There, scroll down the list of installed apps and find unnecessary apps occupying a large block on the SSD or HDD.
- Click the ellipses icon or three dots menu at the right of an app and select Uninstall.

- Repeat the same steps to erase other apps.


Kill Some Background Tasks
You can’t refresh the page until there is enough RAM and page files for Chrome. Instead of killing the Chrome app and its browsing sessions, you can close other unused but opened apps on your Windows 11 PC. Here’s how it’s done:
- Open Task Manager by pressing Ctrl + Shift + Esc keys.
- Scroll through the list under the Processes column to find apps with extensive RAM.
- Right-click on the app and choose End task.

- Repeat the steps for other unwanted apps until you can clear enough RAM.

Remove Browser Add-Ons
Google Chrome
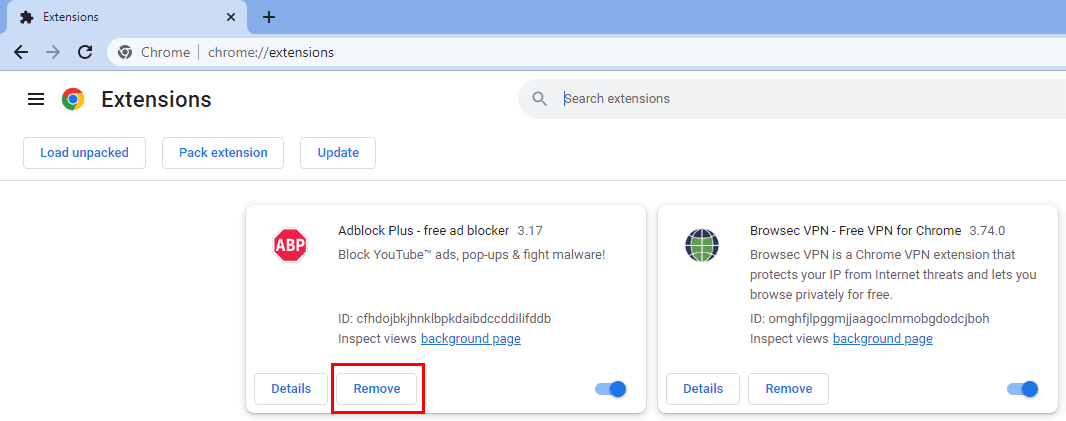
- Click the Extensions icon on Chrome and choose Manage extensions from the drop-down list.

- Hit the Remove button for the extensions you want to remove.


Firefox
- Click the Extensions icon in the top-right corner of the app and select the Manage extensions option.

- All installed ones show up under the Enabled section.
- For an extension, click the ellipses icon and choose Remove.


Enable Chrome Memory Saver
Chrome Memory Saver feature frees up memory and other computer resources from inactive Chrome tabs. Thus, other active Chrome tabs can utilize more RAM and CPU bandwidth. Here’s how to enable this feature:
- Open Chrome and type the following address into the address bar and hit Enter:
chrome://settings
- On the Settings screen, click Performance and toggle on the Memory saver feature.

- Close all Chrome windows and re-launch the app to enjoy a faster experience on Chrome.

Extend PC RAM
If the Error code: Out of Memory appears on your system frequently and none of the methods mentioned so far fixes the issue, you must upgrade your PC with additional RAM chips. You’re likely performing memory-intensive tasks on your PC, which isn’t adequately equipped to handle the workload. Read the Best Gaming RAM 2023 article to learn about the latest high-performance RAM you can buy.
Error Code: Out of Memory: Final Words
Now you know how to fix the out-of-memory issue on Windows 11 browsers. Try out any of the methods mentioned above when you encounter an issue. If you can fix the problem using these methods, please mention that by commenting below.