
Customizing your Zoom waiting room is quick and easy. The only thing you may have a hard time with is choosing what image to add. But the problem is the size and weight of the image. Have you tried adding an image to see that it won’t load? That’s because your uploaded image didn’t meet one or both requirements. But there is a way around that; let’s see what you can do.
How to Use Any Image for Your Zoom Waiting Room
You want your waiting room to look perfect, so you want to add a specific image. But, unless it’s within the Zoom image requirements, it won’t accept it. Sure, you could search for another image with the right size and weight, but you could be forced to leave the one you like to one side.
You could resize and compress your image to those specific sizes. But, don’t worry, there is a site where you can do both without wasting time looking for one that does both or go from one to the other. Once you have the image you want to add, you can compress and resize the image to fit Zoom’s image requirements at iloveimg. You should arrive at the section that resizes the image. Click on the blue Select images button, or you can choose to drag them there.

Once your images have been uploaded, you’ll see the resizing option to your right.
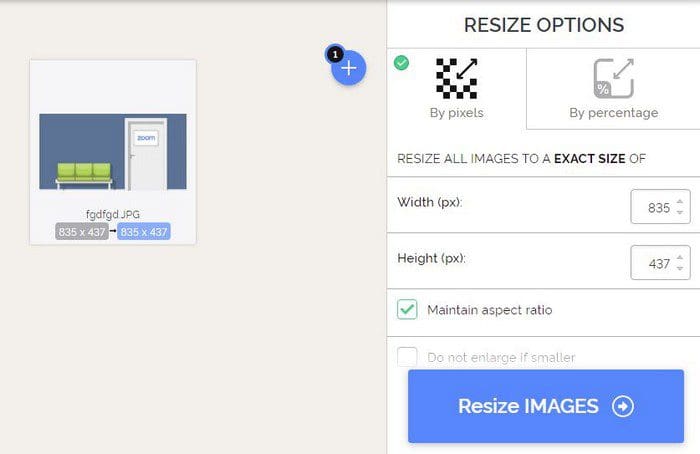
The Zoom meeting image requirements can’t exceed 400px in height and width. You can highlight the numbers, enter 400 or use the up and down arrows. You can use the numbers you want, but as long as they don’t go over 400 for each option. There are also options to modify the image even more; for example, you can choose to keep the aspect ratio or not have the image enlarged if it’s smaller than. There are only two options to choose from.
Once you resize the image, you can compress it in the same area. The picture can’t weigh more than 1MB. If you try to upload it, it simply won’t accept it.
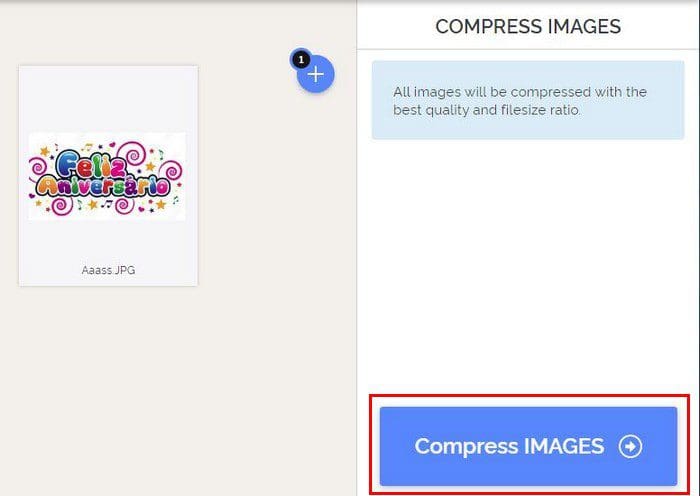
Compress the Image
To compress your image, click on the compress that says that at the top left. Upload your photo (make sure it’s the one you resized earlier) and click on the blue compress button.
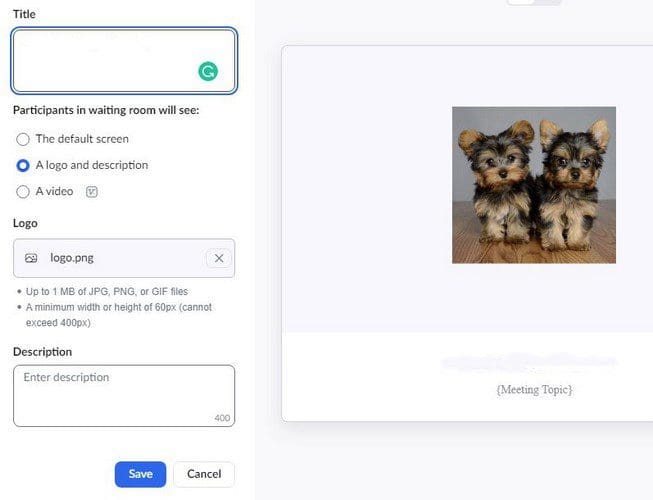
Now, try and upload the image, and Zoom should now accept it. That’s all you need to do to add any image to your Zoom waiting room. Remember that as long as you’re there, you can also add a welcome message to those that join your meetings.
Conclusion
When you host a meeting, you want to make your waiting room as nice as possible. But when you can’t add the image you wish to, you feel like something is missing. How important is customizing the Zoom waiting room for you? Share your thoughts in the comments below, and don’t forget to share the article with others on social media.