Since you’re going to be the one using the Windows 11 computer, it’s only natural that you’ll want to hear sounds you like. If you’re not too happy with the sounds you’re currently hearing, why not change them to calmer sounds? You’ll see that you’ll have a large variety to choose from.
There are different sounds to choose from, such as variants of the already existing default sounds for dark mode. You can also select sounds for things such as the battery, default sound, asterisk, and more. Let’s see how you can choose the sound you like the most.
Contents
How to Modify the System Sounds for Windows 11
To change things up and listen to something new, here’s how you can change the system sounds on your Windows 11 computer.
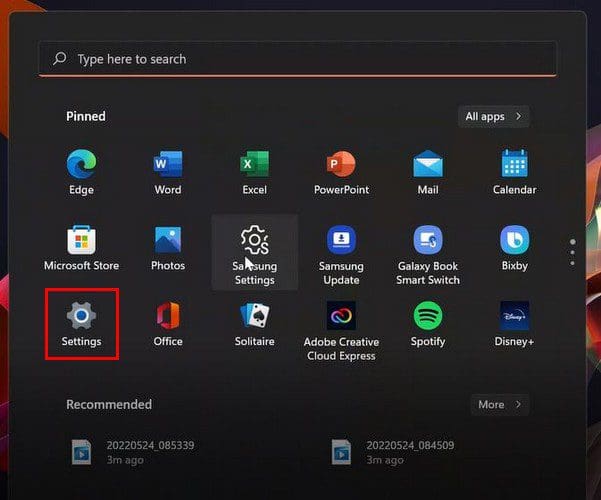
Go to Settings, followed by system. You can open settings by searching for it in the search bar or by clicking on the Windows Start menu and searching for it there. Click on Sound. You can also access sound by right-clicking on the speaker and choosing Sound Settings.
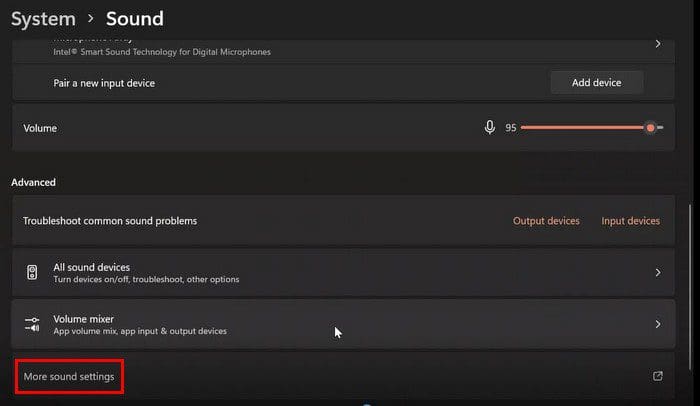
Once you’re in, go to More sound settings, and a Sounds tab will open. Click on the Sounds tab, and you’ll see a list of everything you can change the sound for.
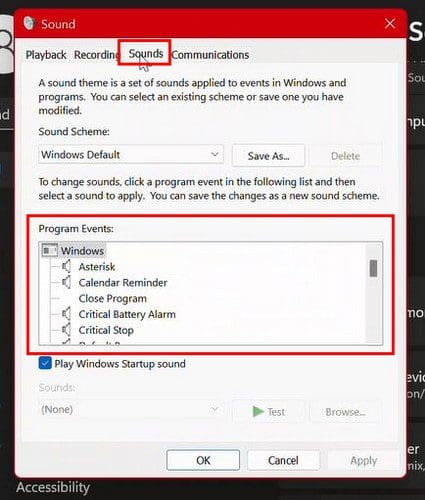
Once you choose an option from the Program events, you have more options in the drop-down menu for sounds at the bottom left. Use the slider to the side to browse through the options, or you can also scroll. You can use whichever option is easier for you.
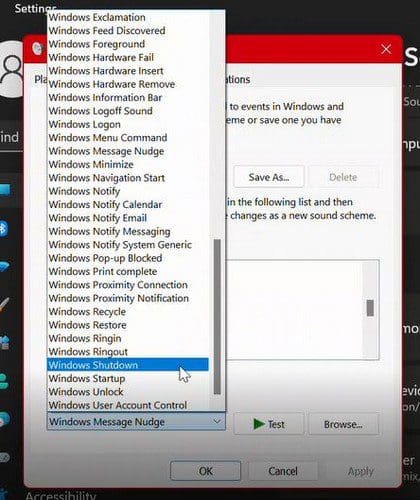
As long as you’re assigning sounds, remember that a lot of program events don’t have a default sound. So, if you want to customize your Windows 11 computer, even more, you can assign these options a sound. One thing to keep in mind as long as you’re changing sounds is that you can’t do that with the Windows 11 Start-Up sound. The only thing you can do is turn it off.
If you ever want to do that, you can turn it off by unchecking the box for Play Windows Startup sound that’s below the Program events box. If you ever want to turn it back on, simply follow the same steps and recheck the box.

Disabling Windows 11 System Sounds
To erase the Sound Scheme click on the options drop-down menu and choose the No Sound option. Click on the Ok option to save your changes.
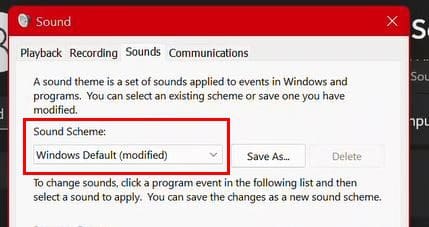
You can also save a new sound scheme. It’s possible by clicking on the Save as option to the right and giving it a name. Click OK to save. From now on, the sound scheme will show up in the drop-down menu.
What to Do If the Sound Keeps Turning Back On
You’ve disabled the sound effects, but when your change how your computer is personalized, it keeps turning back on. This is because you enable it again whenever you choose another desktop theme. This happens because the desktop themes include (among other things) sound schemes that specify Windows Default. So, if you want to turn it off again, you’ll have to go back into Settings to do so. You’ll need to do this every time you change the desktop theme.
Conclusion
As you can see, changing the system sound for your Windows 11 computer is easy. The only tricky part is choosing which sound to go with. But, even if you quickly get tired of that sound, you can always go back and change it. Which sound do you think you’re going to go with for now? Share your thoughts in the comments below, and don’t forget to share the article with others on social media.