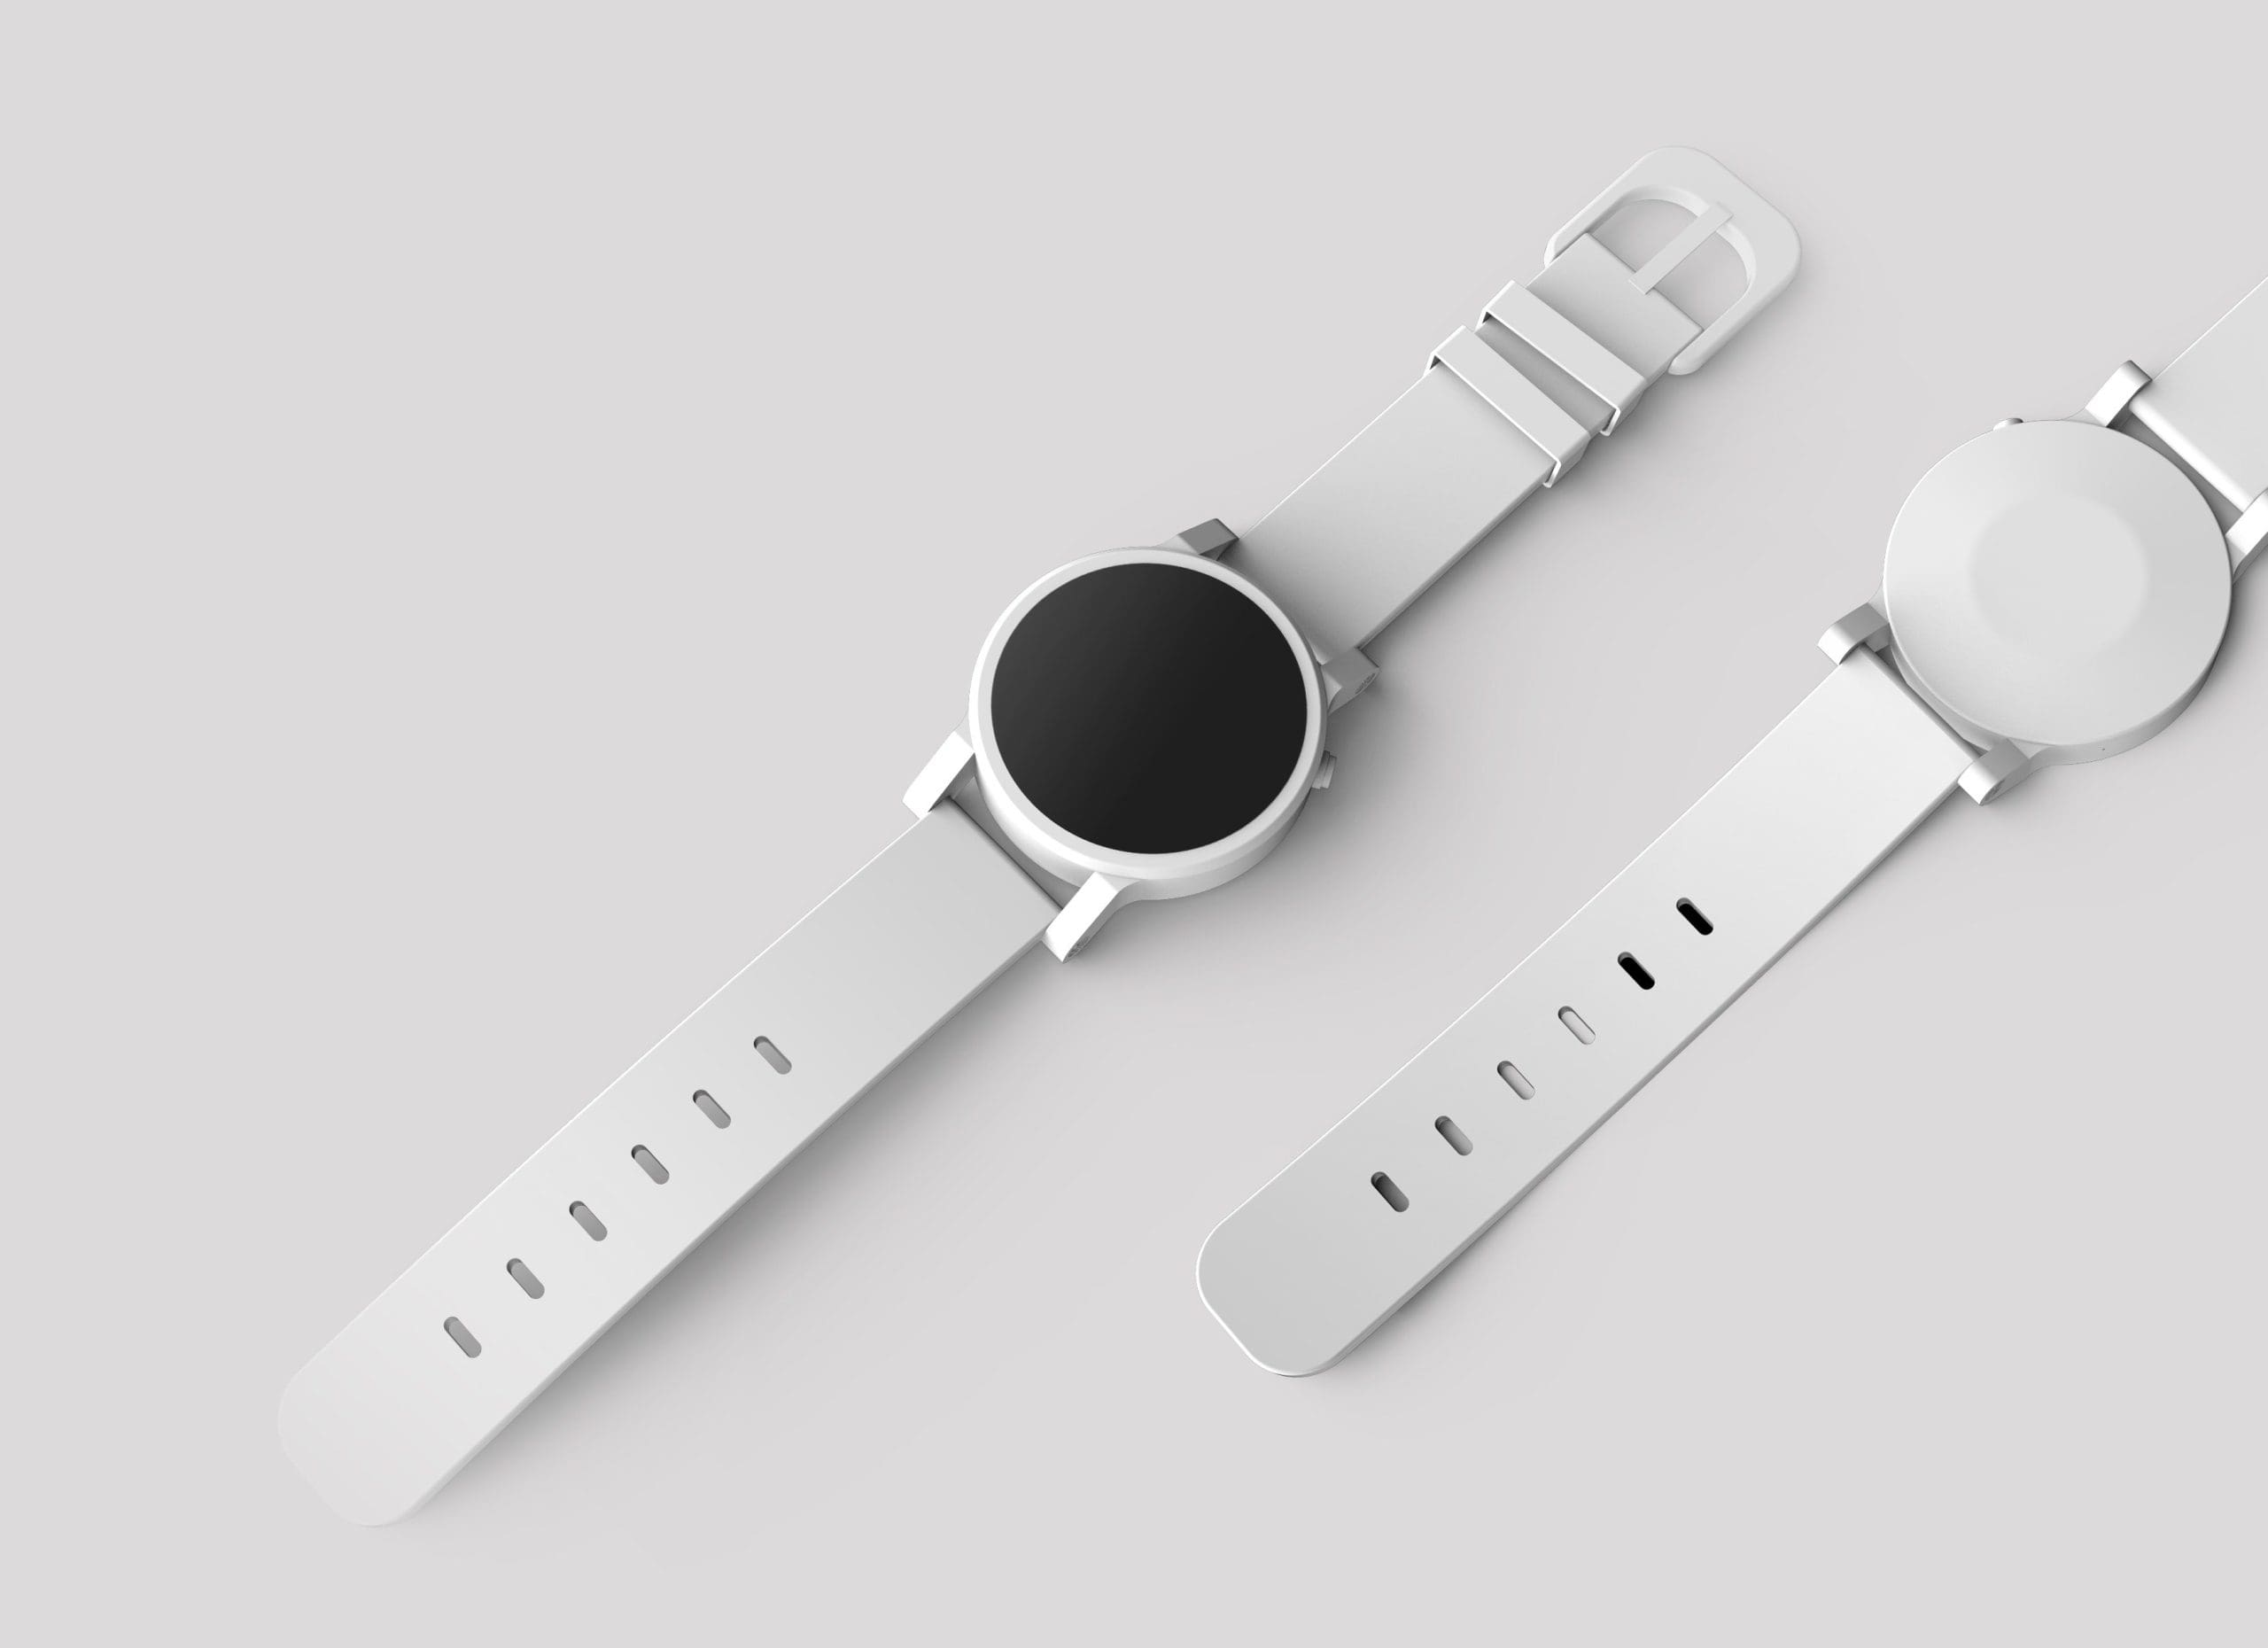
One of the best features smartwatches with Wear OS have is contactless payment. It’s convenient, secure, and easy to use, but a bit tricky to set up. To start using this feature, you need to ascertain a few different things.
Contents
Requirements
There are a few prerequisites to use Google Pay on Wear OS:
- You need to live in one of 11 eligible countries as of right now, which is Australia, Canada, France, Germany, Switzerland, Italy, Poland, Russia, Spain, the UK, or the US.
Don’t live in one of those countries? Well, fret not. Keep reading to see the workaround. - You need a supported smartwatch. To check if your device is supported, there should be the Google Pay app in the apps list of your watch.
- You need to have a supported debit or credit card. Note that PayPal isn’t qualified in this case. Click here for more info.
Add your card to the watch
One of the benefits of using Wear OS for Google Pay is you no longer need your Android or iOS device to pay. First, set up your card for payment.
- Open Google Pay on your watch.
- Tap Get started. Your watch will then instruct you to set up a screen lock if you haven’t done so.
- Next, you’ll be instructed to use your phone. Just follow the instructions to add either your debit or credit card. Don’t worry, your card information is only added to your watch, not the phone.
- If everything goes smoothly, your card info should show up on your smartwatch.
As an additional note, you can also pay with a different card from the one you first add. To do so, follow these steps:
- Use the previous method to add a new card.
- Once the card added, open Google Pay on your watch and scroll to the card.
- When the text “Hold to terminal” appears, your card is ready to use.
- If you want to change the default card or remove an existing card, you can do so by tapping the card —> swipe up on More —> then tap either Set as default card or Remove.
Start using Google Pay on your watch
Now, your Wear OS device is ready to use Google Pay in stores that have either Google Pay symbol, Contactless symbol, or Tap and pay symbol. Here’s how:
- Open the Google Pay app on your watch.
- Hold your smartwatch over the payment terminal until you receive a signal—either a sound or a vibration—from the watch.
- Choose “Credit” as the type of your card, regardless of whether you are using debit or credit card.
- If you are using a debit card, you may be asked to enter your bank PIN.
What if I don’t live in one of the supported regions?
Thankfully, one of the developers at xda-developers.com named Humpie came up with a solution by using a proxy for Wear OS devices. In case you don’t know, proxies are a digital tool that lets you access the web or web services as if you’re in a different country.
By installing Humpie’s application called “Permanent Proxy” and using the appropriate proxy service, you can then use Google Pay for smartwatches in countries where it’s normally unavailable.
Here’s an explanation on how to get it running:
- Enable “Developer options” on your Wear OS device. Tap Settings —> System —> About —> then tap build number seven times.
- Next, go to Settings —> Developer options —> enable Debug over Bluetooth and ADB debugging.
- Download and install the Permanent Proxy app from XDA labs. Open the app and when asked, tap Always allow from this computer.
- Enter the proxy IP address of your choice and the port it listens on. To learn more about how to pick and use a proxy server, check out this article. Note that if you want a reliable proxy provider, you need to research which proxy that can be trusted.
- Finally, Turn on the Enable on boot option.
That’s it! Now you can use Google Pay from anywhere in the world. This approach, however, has its own drawbacks. You need to face the hassle of picking and trusting the proxy server you choose, increased battery consumption issue, and slower connection speed.
Sadly, if you can’t be bothered to do all this, waiting for the feature to be eligible in your country is probably the only way to do.


I need the same answer for above question. Thanks.
To Rasmus and anyone who would like some help: check out the first post on the XDA thread regarding Permanent Proxy: https://forum.xda-developers.com/android/apps-games/app-enable-google-pay-unsupported-t3980625
It contains a guide on how to install it, tips and tricks for when you can’t get it to work and a guide to make your own proxy using Google Cloud (which I highly recommend).
Thanks for the step by step! I’m just a bit too unsavvy. Two questions
1 the download and installation of the xda bit, is that on the watch? If so, how is it found?
2 the proxy server bit. I have torguard vpn for my pc, can that be used?