If you’re looking to optimize your Trello workflows, as well as add more context and background information to your cards, you can use Custom Fields.
This Power-Up feature lets you add drop-down lists, checkboxes, deadline information, as well as specific labels to highlight the tasks already completed.
Steps to Add Custom Fields on Trello
- Open the board menu
- Scroll down to Power-Ups

- Scroll down to Essential Power-Ups

- Select Custom Fields and hit the Add button.


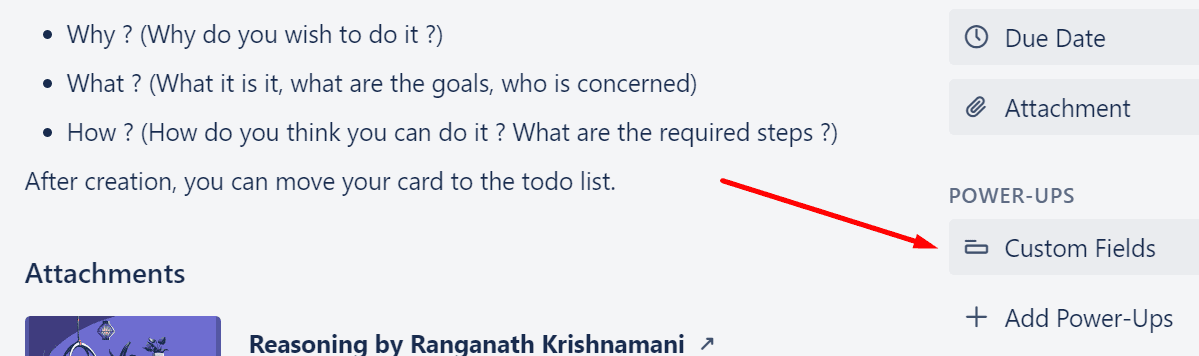
Now that you added this feature, you can start customizing it. If you want to add a new field, you can simply select the Custom Fields button located on the back of your card.
- Click on your card and locate Power-Ups on the right column
- Select Custom fields

- Next, select New field

- Select the type of field you want to add, then add a title and hit the Create button.


There are five input types that you can add to the customized field:
- Checkbox
- Date
- Dropdown (you can add your own dropdown options)
- Number
- Text
You can then check the newly created field and enjoy the new functionality. If you notice you need to edit the entry, select Custom Fields again and then select the field that you want to edit.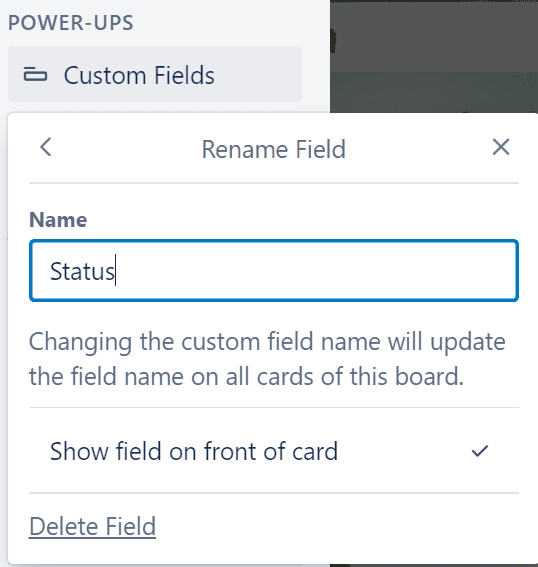
If you no longer need that field, you can simply delete it.
⇒ Note: There’s a maximum number or 50 Custom Fields that you can add to each board.