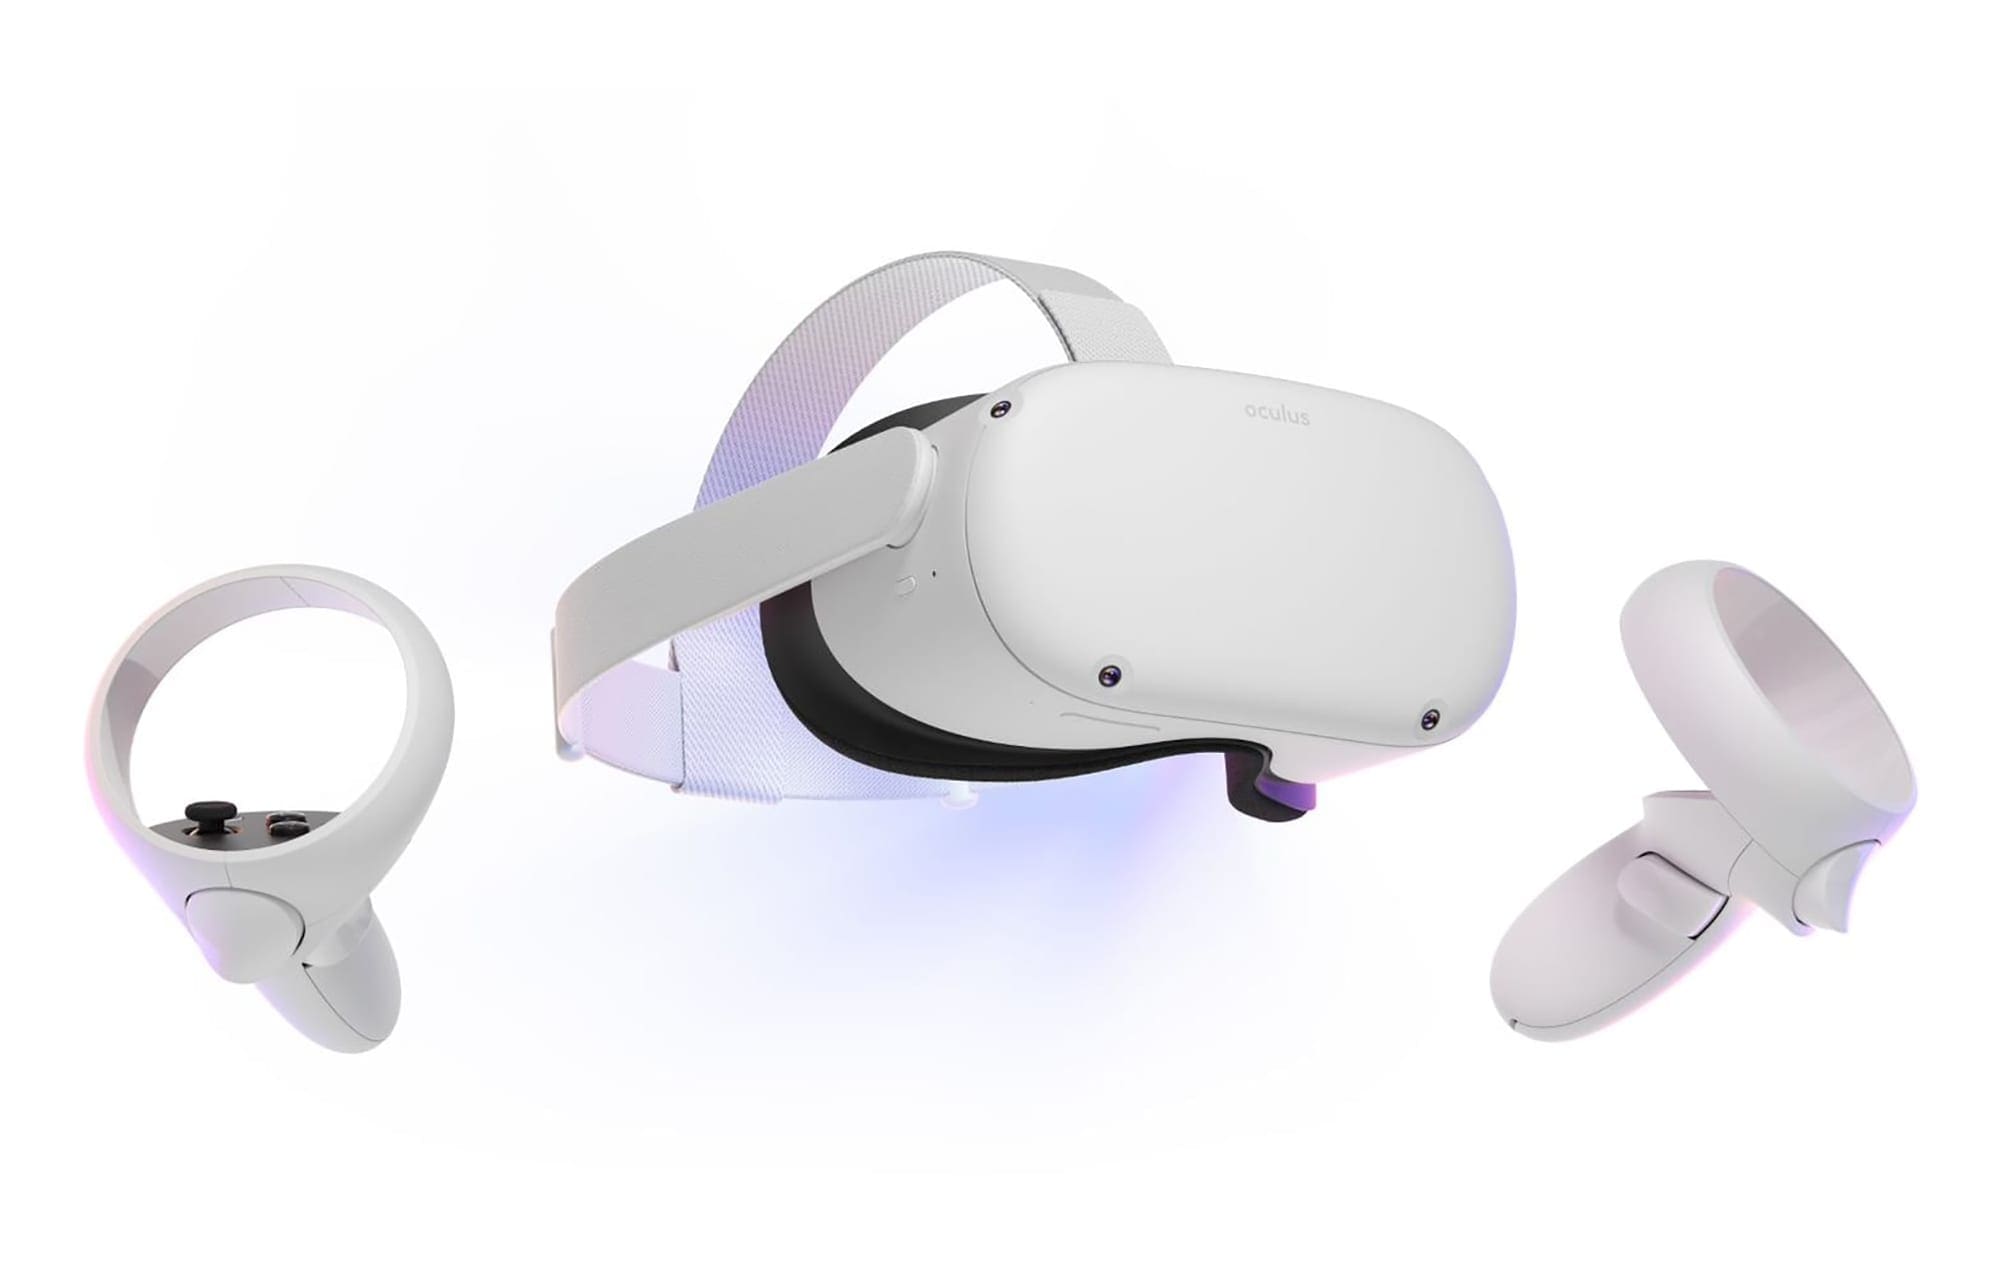
Getting your hands on a Quest 2 is already fantastic. Whether you’re new to VR or upgrading from a cabled device, being able to play your games wherever you’d like is pretty amazing. Of course, to make the most of your device, you’ll have to do more than just switch it on and put it on your head. So here are some tips to get you started getting the most out of your Oculus Quest 2!
Contents
Make an Avatar
Many of the apps in the Oculus store include you, not the real you. Apps such as Epic Rollercoaster allow you to take a ‘selfie’ while riding. The you shown in the picture will be whatever avatar you choose for yourself. Suppose you’re familiar with the Mii’s from the Nintendo Wii. In that case, these are similar – stylized characters that you can style and dress up to your liking. You can either make them look close to the ‘real’ you or make them a pink-haired butterfly-pirate-princess instead. It’s all up to you.
To set up your avatar, click on the profile icon on the home screen and select the Create Avatar option. You’ll be able to try out various looks, styles, skin colors, body shapes, hairstyles, and more on your way to your new digital you. Once you’ve saved your new character, that will be what you (and other players) see when they play games such as PokerStars VR or Topgolf with you. Some games, such as Beat Saber, might still override it and let you create an in-game character for multiplayer play.
Set up Your Virtual Environment
You can use multiple virtual environments as a backdrop for your menu and the Oculus store. While they are all only skins and don’t affect your gameplay experience. They are pretty detailed and really change the feel of your virtual experience between the games.
On the settings page, you can find a personalization tab, where you can select from several different home environments. Each is unique – from a zen garden to a space station and a cyberpunk city. You have many choices. While this change is ‘only’ cosmetic, it really goes a long way in letting you immerse yourself into the Oculus experience. Not to mention it’ll make your virtual space truly yours!
Add Your Friends
The Oculus Quest 2 is a Facebook-owned device – so naturally, you’ll need a Facebook account to use it. While the company has announced that that requirement will be dropped in the future. You’ll be able to use the headset without a Facebook account; that’s not the case yet. For now, you need to log in with your account, but that’s not necessarily a negative – it gives you access to the social features of the Quest 2.
You can easily add your Facebook friends to your Oculus friends list, making it easy to play games with them. Or even just chat using the voice (and group) call functions that the platform supports. You can also add friends you don’t know on Facebook. So if you meet someone in another game and want to add them on the Oculus without befriending them on Facebook, you can! Many Oculus contents are designed to be enjoyed with friends, so don’t miss out on these functions and try playing with some of the people you know.
Get the Right Accessories
While generally, what’s in the box is enough to get started with your Oculus straight away, you might find the odd accessory helpful. For example, suppose your headset is prone to slipping down your face. In that case, you might find an additional or different head strap helpful, such as the Quest 2 Elite strap from Oculus – or any number of cheaper off-brand alternatives. Suppose you’re prone to getting a bit sweaty when playing. In that case, you could find a sweat-resistant face cover to be helpful, as it covers up the default foam that typically sits directly on your face.
Some head strap options also offer a battery that can significantly extend the use time of your headset – though using one will impact your ability to use a cable to connect your PC to your headset. It only has one USB-C port that will be taken up by the battery pack when you plug it in. Still, these batteries can be an excellent help for longer gaming sessions.
Try out Hand Tracking (and other experimental features)
In addition to using the controllers that ship with the Quest 2, it’s also possible to set up hand-tracking. That means that the headset tracks your hands and gestures you make, rather than the press of buttons. This function isn’t supported in all games. It so isn’t a genuine alternative to the handheld controllers. Still, it’s an entertaining way of navigating menus and performing simple tasks with the Quest 2.
You can enable hand tracking through the Settings (specifically ‘Hands and Controllers’). Set the controllers down and look at your hands when you’ve done so. After a few seconds, the headset will show you its outlines, and you’ll be able to use hand gestures to browser the Oculus store, for example!
Note that if you pick up a controller and press a button, the headset will automatically switch back to controller usage, disabling hand tracking for as long as you use the controller. It’s impossible to combine hand and controller tracking, nor can you use hand tracking to override a controller input. However, if your controllers are out of reach and you just want to set up a quick Netflix session, then hand tracking is a superb option – not to mention it’s pretty fun to use.
Suppose it’s not your cup of tea. In that case, you can find several exciting features in the Experimental menu in your settings. For example, voice commands, light and dark themes, and the Oculus Air Link feature allow you to stream games from your PC to your headset. You can also enable the 120Hz refresh rate from the experimental menu. Play around with the options there – you might just discover a fabulous new way to use your Oculus!
Set up a Connection to Your PC
There are three ways to connect your PC and your Oculus via cable or one of two wireless software options. Virtual Desktop is an app you can install on both your PC and your Quest 2 to connect them – or you can go for the Air Link, Oculus’ native solution for wireless streamed play. Suppose you want wireless options. Make sure your internet connection is up to par. In that case, you’ll want to use a 5GHz router with decent speeds to get the most from your gameplay experience, no matter if you choose Virtual Desktop or Air Link.
Both offer roughly the same options, though Virtual Desktop provides some additional functions to let you do more than just playing in VR. For example, supporting work environments and giving access to immersive virtual environments the regular Air Link doesn’t offer. The trade-off is cost – Virtual Desktop isn’t free.
Neither is getting a cable from your PC – though, by default, you’ll find one in your Oculus box when you buy it. That cable might not be long enough, so you might have to invest in a longer cable depending on your PC position and requirements. While the cable solution isn’t as convenient and can potentially be a tripping or head yanking hazard, it suffers fewer lag and delay issues than the wireless options.
Conclusion
The Oculus Quest 2 is an excellent piece of tech that offers some unique fun, as with most things. However, that fun can be tuned to your preferences. While some of these recommendations may not be your thing, they may well unlock a whole new level of VR fun, so give them a try.


