
When you add a header in Microsoft Excel, it makes your file look more organized. The information is easier to find and says you’re very organized. Don’t worry if you’re new to Excel. The following guide will simplify things so you can easily add that much-needed header to your file.
Contents
How to Easily Add a Header in Excel
There are two ways you can add a header in Excel. One way is by using the Insert tab, and the other is by using the Page Setup option. The first method is for you if you want to add a header to a specific sheet. But, if you want to add a header to various sheets simultaneously, then the second method is for you. One thing to remember is that the steps are the same if you also want to add footers.
Using the Insert Tab
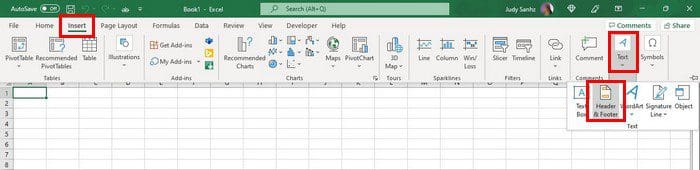
Once the Excel file is open, click on the sheet tab where you want to insert the header. Click on the Insert tab, followed by the dropdown menu for the Text option. When the options appear, click on the Header and Footer option.
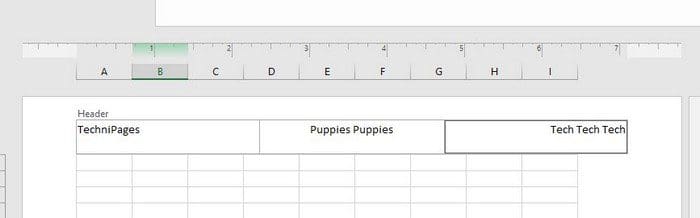
Once you click on the Footer and Header option, you’ll see how the top of your Excel document will have three sections at the top. Your header will have three sections you’ll need to fill in.
You can also use the footer to give your Excel file a page number, date & time, current time, file path, or sheet name. Make sure to click on the footer, followed by the Header & Footer tab at the top, for the options to appear.

In the Header & Footer tab, you’ll also see options to use a different header for the first page or for odd and even pages.

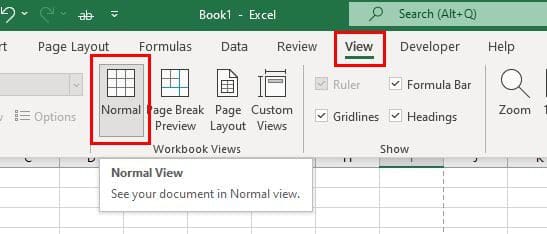
After making all the necessary changes, you can click on the View tab at the top and choose the Normal layout.
Applying a Header to Various Worksheets in Excel
Once you have the worksheet open, make sure to click on the tab for the worksheet where you want to apply the header. Click on the Page Layout option tab at the top.
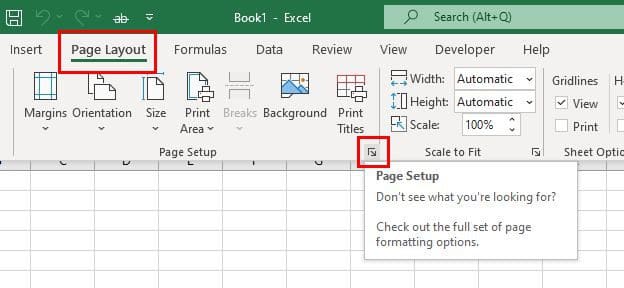
Click on the Page Setup Settings. It’s the arrow icon at the bottom right, as seen in the image above. When the Page Setup window appears, click on the Header/Footer tab.
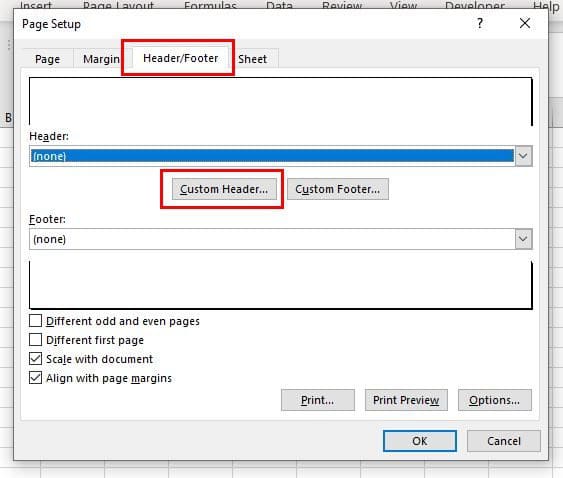
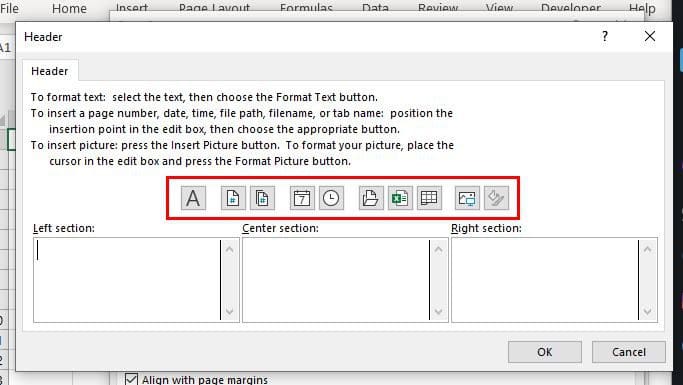
Click on the Custom Header option. When the Header box appears, click on the left, center, or right header to make any changes. You can also add any dynamic items if you want. Once you’ve added the text to the header, click on the OK button at the bottom right.
You should now be in the Page Setup box again. At this point, you only need to click on the OK button at the bottom right, and your worksheets will now have the header you recently added. That’s all there is to it.
Conclusion
For those times when you need to add a header to your Excel file, the steps in this guide will show the steps to follow. As you can see, it can be done within a few minutes, and you can add the information you need to your Excel file. How will you be customizing your Excel header? Share your thoughts in the comments below, and don’t forget to share the article with others on social.