One of the ways to customize your computer is to change your theme. This allows you to change the appearance of a broad part of the operating system to match your personal preferences.
How to Personalize Your Theme on Linux Mint
To manage these settings in Linux Mint, you need to press the Super key, then type “Themes,” and hit enter.
Tip: The Super key is the name that many Linux distributions give to the Windows or the Apple “Command” key to avoid any trademark issues.

In the “Themes” tab, there are five sections that can be individually customized. The top option, “Window borders,” allows you to configure the appearance of the top-bar of windows.
Tip: The theme settings affect most application windows; however, some applications may apply their own settings and remain unaffected.

The second option, “Icons,” allows you to configure the appearance of system folder icons.

The central “Controls” option allows you to configure the appearance of system controls such as buttons, checkboxes, and radio buttons.

The penultimate option, “Mouse Pointer,” allows you to configure the mouse cursor’s appearance.
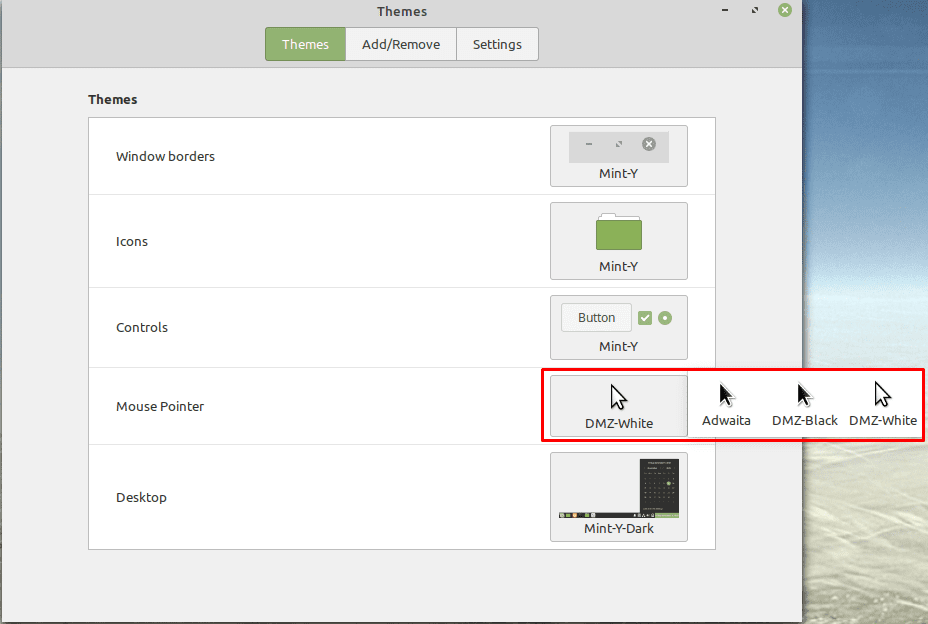
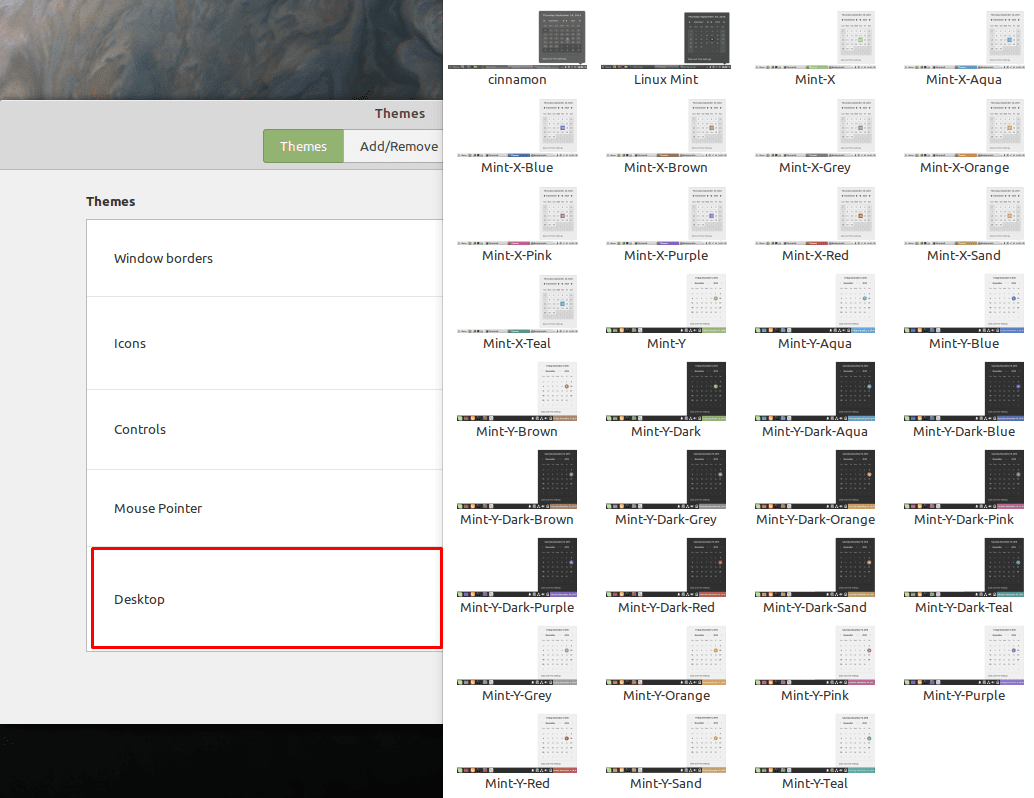
The last option, “Desktop,” allows you to configure the colors of many parts of the taskbar and highlighted elements’ appearance.
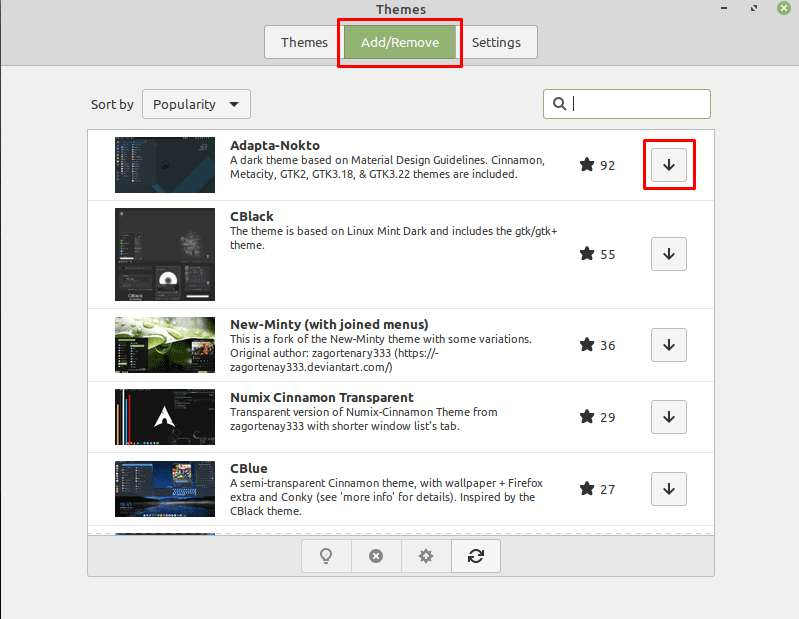
If you switch to the “Add/Remove” tab, you can add new entries to each of the options listed above. To do so, select an option you like, then click the install button. Once the download is complete, the new theme options will be available in the “Themes” tab.
Note: If you decide you want to reset back to the default appearance, the options you need to select are “Mint-Y,” “Mint-Y,” “Mint-Y,” “DMZ-White,” and “Mint-Y-Dark.”