For years, most apps and websites defaulted to a white, or at least brightly coloured background. Recently however developers have started to design separate colour schemes that use darker colours. These colour schemes are generally known as a “dark mode”.
A lot of users find dark modes less glaring in the dark, where a white background can be blinding even on minimum brightness. iPhones have been able to enable an operating-system-wide dark mode since iOS 13 released in September 2019. This guide will walk you through the process of enabling dark mode in iOS.
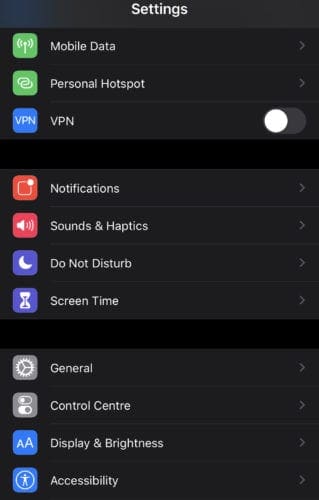
Dark mode can be enabled in the Settings app, under “Display & Brightness”.
To enable dark mode, just tap on the “Dark” checkbox on the right-hand side at the top of the Display & Brightness options. The setting will instantly apply.
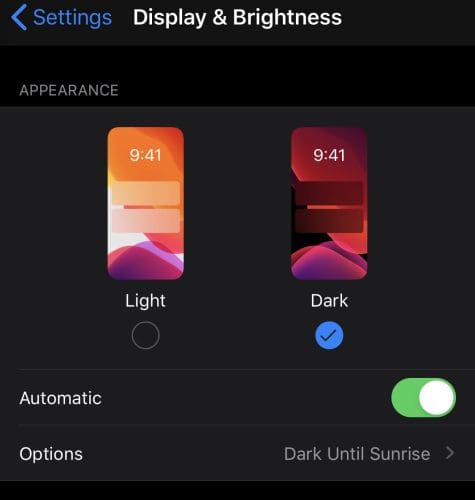
If you leave “Automatic” set to “Off”, dark mode will be left permanently enabled. If, however, you want to automatically switch between light and dark modes during the day you can configure a schedule by enabling “Automatic”.
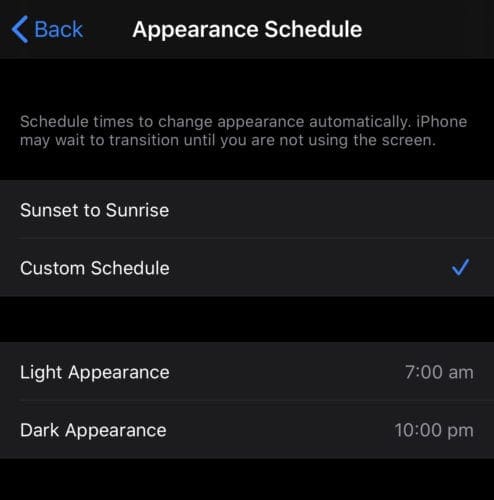
Enabling “Automatic” will default to switching dark mode on at sunset and off again at sunrise. If you want to configure a custom schedule you can tap on “Options”, then tap “Custom Schedule” and then you enter your preferred times for the switch from light to dark mode and vice versa.
Tip: Some apps will check if dark mode is enabled and will enable their own dark mode to match the system setting.