Most Linux desktop distributions come with a desktop environment that gives you an actual graphical interface rather than being limited to using a purely command-line environment as you would be on Linux server distributions. One of the many features that these desktop distributions include by default, is a graphical software update manager. This can really help to make using Linux more accessible to beginners, but it’s a good idea to learn how to use the commands, especially if you’re ever likely to work with Linux servers. On Debian-based Linux distributions such as Ubuntu and Linux Mint, the main command-line tool used to manage software updates is called “apt-get”.
Apt-get is a package manager that compares the version numbers of installed software with that in the list of online repositories to identify which applications have available updates. These updates can then be downloaded and applied. These repositories contain a huge list of software packages that can be searched and then have specified packages installed along with their dependencies.
Tip: Most software packages require other packages to be installed to be able to work. Sometimes these dependencies are already installed, if they’re not then apt-get will install them alongside the specified package automatically.
How to use apt-get
The first thing you need to do with apt-get is to download the latest update list from your configured repositories. To do so type the command “sudo apt-get update”. Doing this will ensure that the software you install or update is the latest available version.
Tip: “sudo” is a prefix used to run commands with root permissions. It should only be used where necessary due to the inherent powers of the root account but is needed for most admin tasks including software installs. When using sudo you will be asked to enter your password to confirm your identity, however, this will be remembered for a few minutes, so you won’t need to enter your password every time.

Next, you need to identify the exact name of the package you want to install. To do so, search through the repositories with the command “apt-cache search [search term]” where “[search term]” is the rough name of the software you wish to install. The search results show the name of the package on the left and a very short description on the right.
Search terms that are too loose may end up returning dozens of results of similarly named and potentially similarly functioning software. Try narrowing down your search term or using multiple terms separated by spaces. If you search for multiple words separated by spaces these terms will be applied cumulatively and only show results that match all terms.

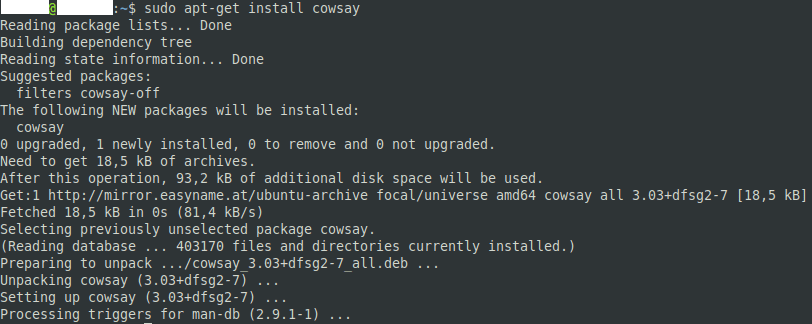
If the package requires dependencies to be installed apt-get will show you the list of packages being installed and ask for confirmation. Press the “y” key to confirm the installation or “n” to abort. If the package does not need to install any dependencies, apt-get will assume that you running the command was permission enough to install it and the process will complete automatically.