Have you ever reached a point where you’ve typed so much you can’t feel your fingertips? Or maybe you’re done with typing. There is good news if you have but still need to type some more on Notepad or another app that allows you to use the Windows 11 feature. You can use Dictation with Auto Punctuation on Windows 11. This feature was available before for Windows 10 users, but something needed to be added. Keep reading to see how to use the dictation feature to finish your work without typing. There is also no need for an Internet connection to use it.
Contents
How to Use Dictation With Auto Punctuation on Windows 11 Notepad
Windows 10 users surely remember using this feature, but something needed to be added. Even though you could dictate, you couldn’t add punctuation. But that’s not the issue now in Windows 11. You can easily add punctuation and not have to go back to add it. It is recommended that you keep a good speed when speaking. If you pause long enough, a period will be added, even if you’re not done with the sentence.

To open Windows Dictation, press the Windows + H keys. When Windows 11 dictation opens, a small box will appear, ready to listen to your words. One thing to remember before you start is that if you pause, it’ll add a period to your sentence even if you don’t want it to. It would be nice if it only paused without adding any punctuation until you say so, but hopefully, they will fix that soon.
How to Turn Off Auto Punctuation
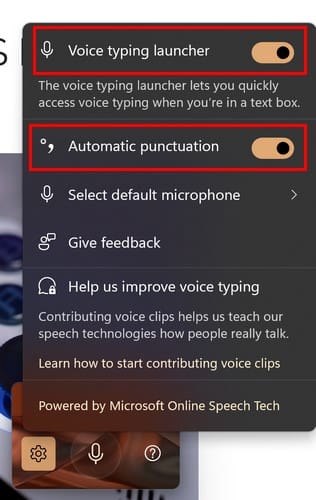
If you prefer not to deal with this, you can turn off auto punctuation by going into its Settings. When you launch the dictation tool (Win +H), click on the cogwheel, and the Settings window will appear. Toggle off the auto punctuation option, and you’re good to go. If you want to change your default mic, you’ll see an option to do that too. If you ever want to change the setting, you can always return and turn it on again.
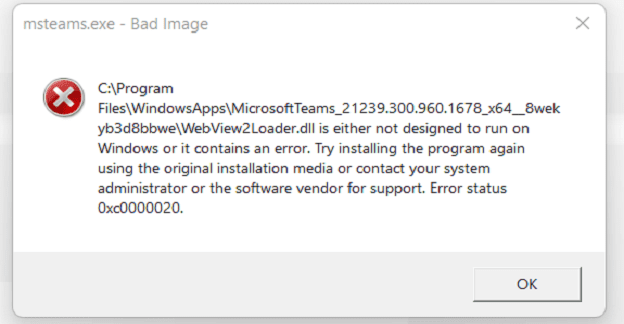
The Dictation tool will start listening as soon as you turn it on, but if it turns off, you can enable it again by clicking on the mic. It’ll say listening, and the mic will have sound waves coming out of it. If you leave the auto punctuation on, it’ll add the necessary punctuation by listening to your voice. If you tried to use it but got an error message, try clicking on where you’ll be typing and then pressing Win + H.
This tool is a real time-saver if you need to type something but need to improve on typing speed. The Dictation tool will determine where your question mark or period is required. Remember to proofread your text at the end if any mistakes are made.
Further Reading
Speaking of voice typing, since you can experience issues with it, here are some troubleshooting tips you can try when the Google Voice typing feature isn’t working. Did you know that you can also send messages on WhatsApp without typing? Here are the steps to follow to do that. There is also Speech-to-Text in Google Docs that you can use.
Conclusion
Why waste energy typing when you can sit back and relax and have Windows do the typing for you? The Dictation feature is beneficial, and no need to install more apps. You can talk away and help get that paper done by pressing two keys on your keyboard. The keyboard shortcut you can use gives you quick access to the feature. Do you think you’ll use the Dictation feature often? Share your thoughts in the comments below, and remember to share the article with others on social media.