In the modern digital age, where data is a valuable asset, cloning a hard drive on Windows can be a crucial process for many. This comprehensive guide aims to delve into the intricacies of cloning a hard drive, ensuring that even beginners can accomplish this task with confidence.
What is Hard Drive Cloning?
Cloning a hard drive is a process that involves creating an exact copy of your hard drive’s contents, including the operating system, installed applications, settings, and personal files. This guide will walk you through the process of cloning a hard drive on a Windows system.
Why You Would Want to Clone a Hard Drive
There are several reasons why you might want to clone a hard drive:
- Upgrading Your Hard Drive: If you’re upgrading to a larger or faster hard drive, cloning your existing drive can make the transition smoother. You won’t need to reinstall your operating system or applications, and all your files will be in the same place as before.
- Data Protection: Cloning a hard drive can serve as a form of backup. If your primary drive fails, you can switch to the cloned drive and continue working with minimal disruption.
- System Migration: If you’re moving to a new computer, cloning your old hard drive can make the process easier. You can clone the drive and then install it in your new computer, preserving your old setup.
- Dual-booting: Want to experiment with different operating systems without risking your main setup? Cloning your drive allows you to create a dedicated partition for another OS, letting you switch back and forth easily.
How to Clone a Hard Drive on Windows
Here’s a step-by-step guide on how to clone a hard drive on Windows:
Step 1: Prepare Your New Hard Drive
Before you can clone your existing hard drive, you’ll need to connect your new hard drive to your computer. You can do this by installing it inside your computer or connecting it externally using a USB-to-SATA adapter.
Step 2: Download and Install a Disk Cloning Software
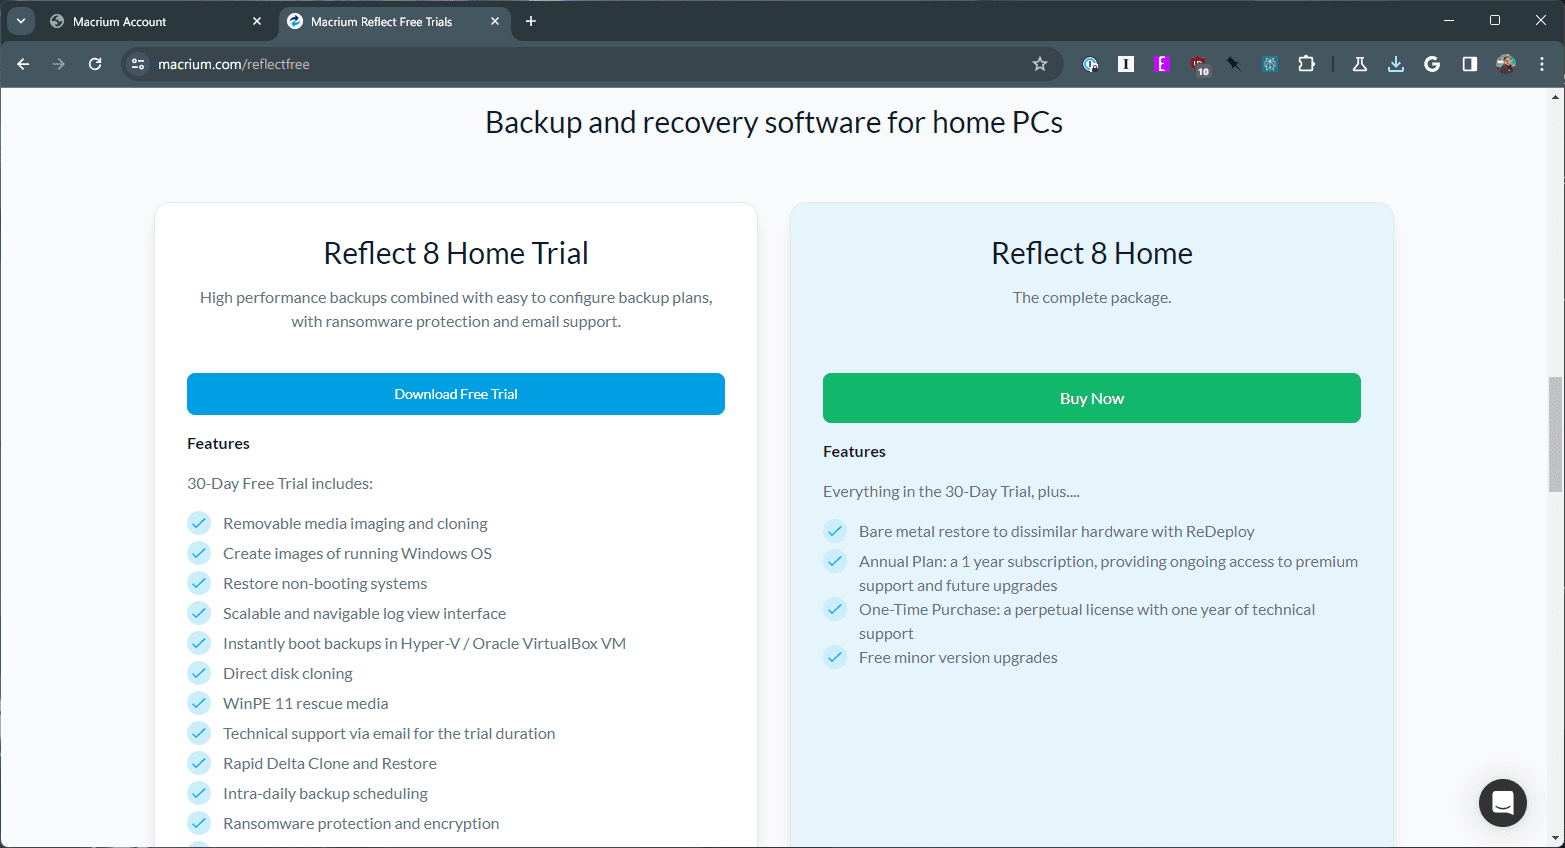
There are several disk cloning software options available, such as Macrium Reflect, Clonezilla, and Acronis True Image. For this guide, we’ll use Macrium Reflect, which offers a free version that’s sufficient for most users.
- Download Macrium Reflect from the official website.

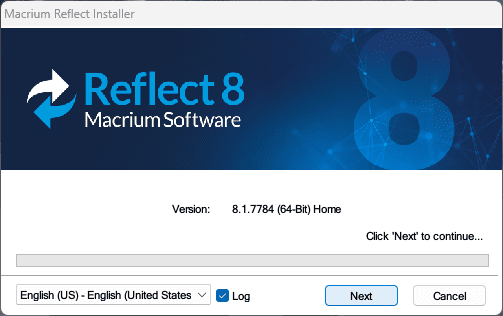
- Install the software by following the on-screen instructions.

Step 3: Preparation for Cloning
Cloning a hard drive is a straightforward process, but proper preparation is key to ensuring a smooth and successful operation. Here’s what you’ll need:
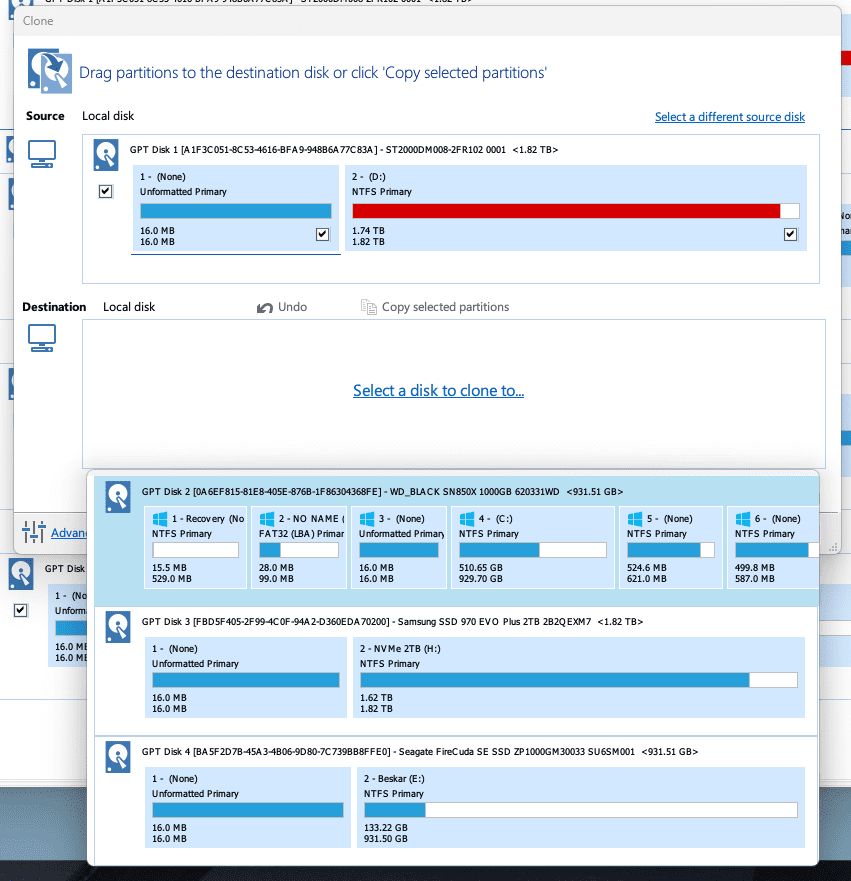
- Selecting the Target Drive: Choose a drive with sufficient capacity to hold the entire contents of your source drive. Ideally, opt for an SSD for faster performance and boot times.
- Drive Connection: Details on connecting the target drive to your computer, whether internally or via USB-to-SATA adapters.
- Data Backup: Backing up important files separately to avoid any loss during the cloning process.
- External enclosure (optional): If your target drive is not already installed in your computer, you’ll need an enclosure to connect it externally.
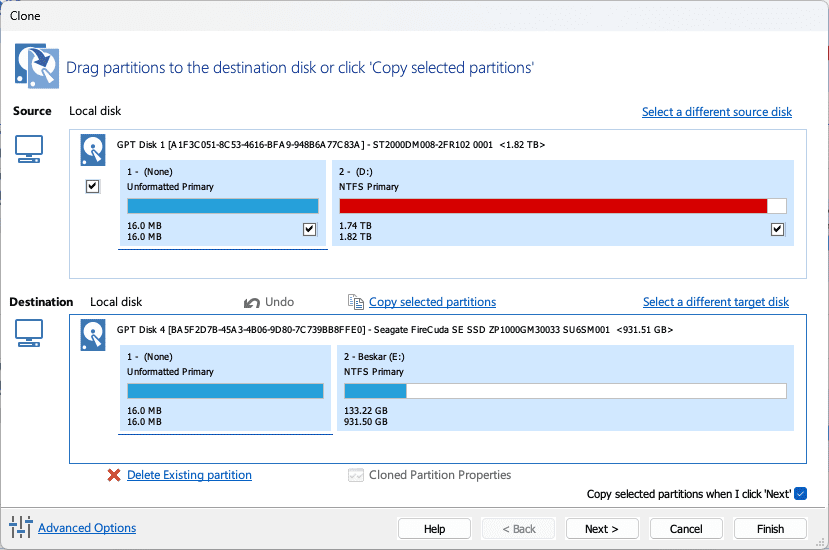
Important note: Cloning erases all data on the target drive. Make sure you back up any important files you might have stored there before proceeding.
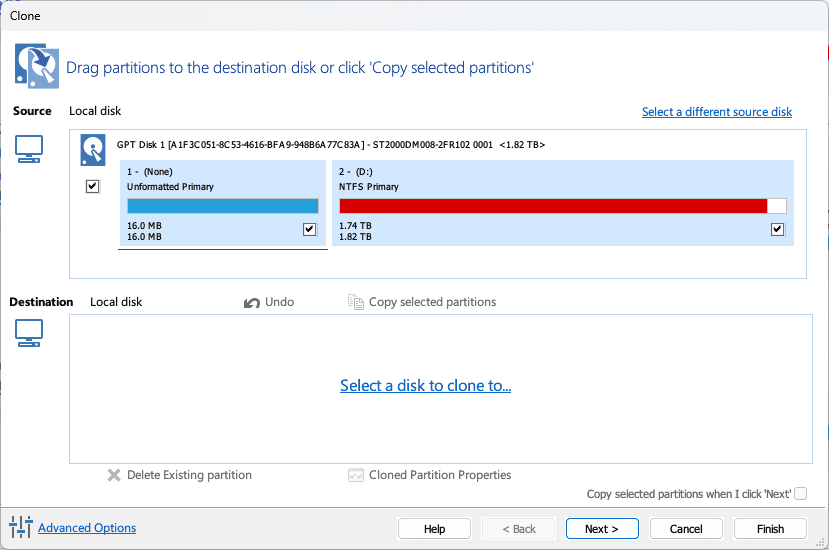
Step 4: Clone Your Hard Drive
Now that you’re prepped, let’s walk through the cloning process using Macrium Reflect Free as an example. Other software might have slightly different interfaces, but the general steps remain consistent:
- Connect the target drive: Ensure it’s securely connected to your computer through the appropriate interface (SATA, USB, etc.).
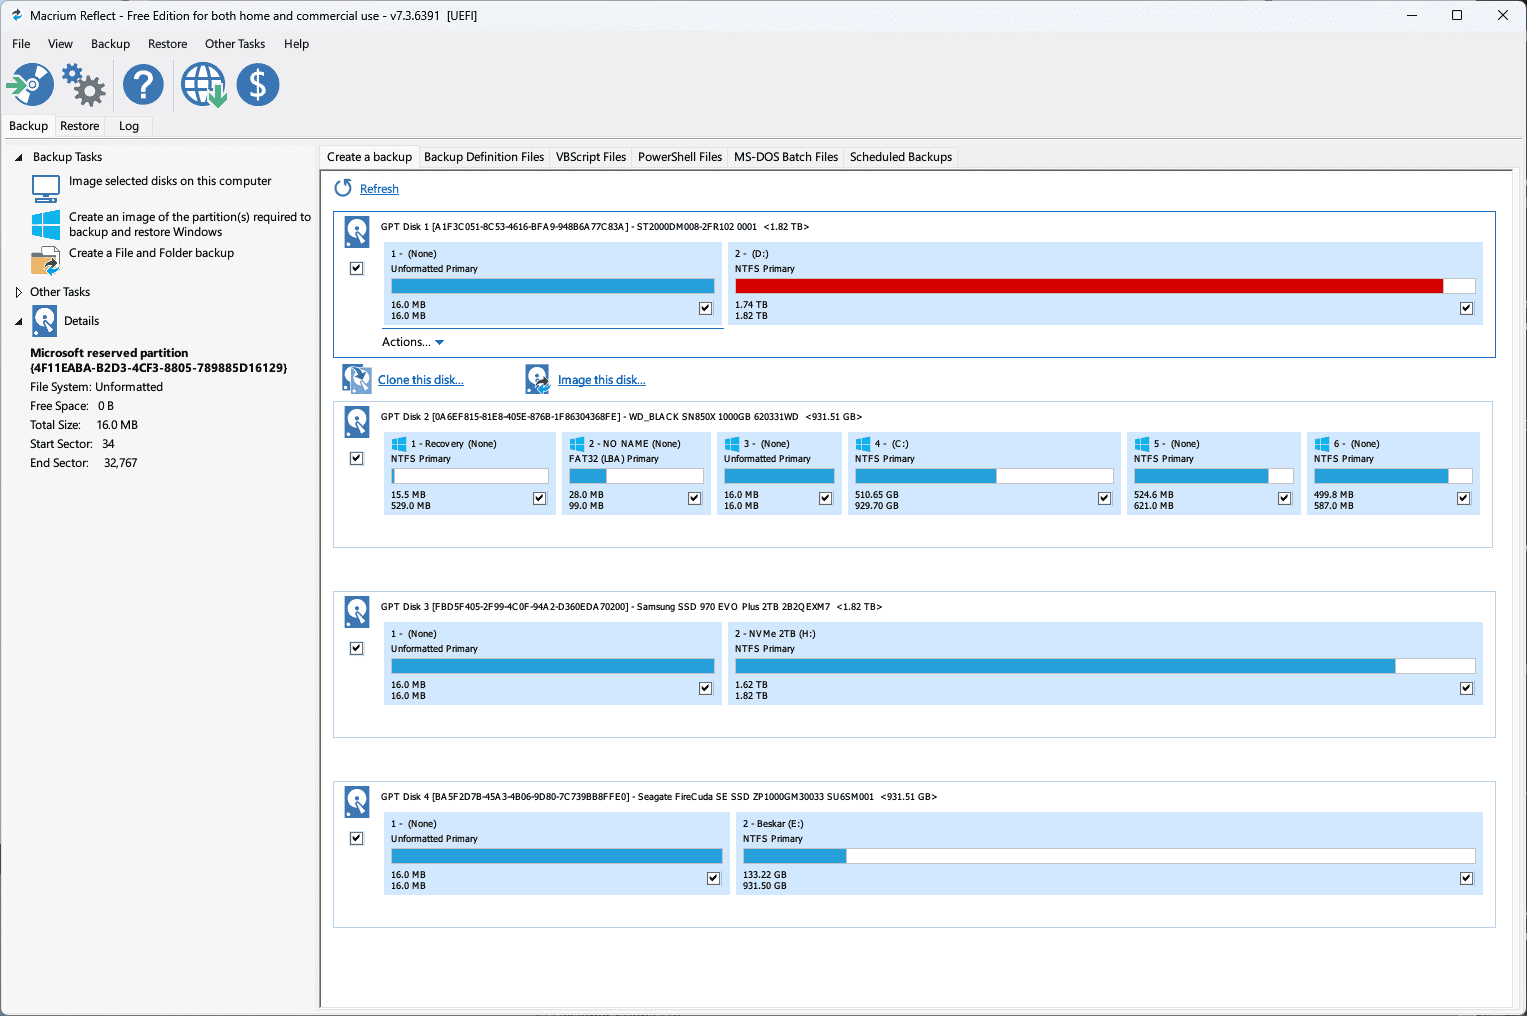
- Launch the cloning software: Open Macrium Reflect Free and navigate to the “Clone” tab.
- Select the source and target drives: Choose your current system drive (usually C:) as the source disk and the new drive as the destination disk.

- Configure cloning options (optional): Most software offers options like sector-by-sector cloning (for a complete and exact copy) or intelligent sector cloning (faster but skips unused sectors). You can also resize partitions on the target drive if needed.


- Start the cloning process: Review your selections and click “Clone” to begin the process. Depending on the size of your drive and chosen options, this could take anywhere from minutes to hours.
- Monitor the progress: Keep an eye on the progress bar and any error messages that might appear.
- Verify the clone: Once complete, the software will prompt you to verify the clone. This ensures the data transfer was successful.
- Shut down and disconnect: Safely shut down your computer and disconnect the target drive if necessary.
What to Do After You’ve Finished Cloning the Hard Drive
Once the cloning process is complete, you’ll need to do the following:
- Test the New Drive: Restart your computer and boot from the new drive to ensure the cloning process was successful. You may need to change the boot order in your computer’s BIOS settings to do this.
- Update the boot order: If you plan to replace your old drive with the clone, you’ll need to adjust the boot order in your BIOS settings. Set the cloned drive as the primary boot device to boot from it.
- Format the Old Drive: If you’re planning to use your old drive for storage, you’ll need to format it to remove the old operating system and files.
- Backup Regularly: Remember to continue backing up your data regularly. Even though you’ve cloned your drive, it’s still important to have up-to-date backups in case of data loss.
Maintaining the health and efficiency of your cloned drive is crucial. This section offers advice on regular maintenance practices, software updates, and data management strategies.
Conclusion
Cloning a hard drive on Windows is not just a technical procedure but a step towards greater data security and system efficiency. Whether for upgrading, backup, or system deployment, this guide aims to provide a thorough understanding and practical know-how of the cloning process, ensuring that your digital assets remain secure and accessible.