If your live location often gets stuck when you’re navigating with Google Maps or the app needs a few minutes to actually detect your current location, then you really need to calibrate the compass.
If you don’t know how to do that, follow the steps listed in this guide.
Contents
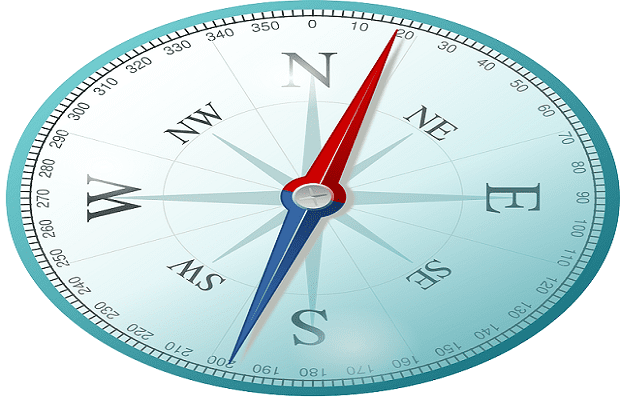
Steps to Calibrate Google Maps’ Compass
- Launch the Google Maps app and make sure the location feature is enabled
- Move your phone with a figure-of-eight motion
- Repeat the motion for one minute and check if the compass is working properly now.
If you don’t notice any improvements, touch the blue dot on the screen indicating your position, and then select the option to calibrate the compass. The option is visible on the bottom left.

Enable high-accuracy mode
If you own an Android phone, you can turn on the high-accuracy mode. Here are the steps to follow:
- Go to Settings and select Location or Security and Location (depending on your phone model)
- Select High Accuracy and check if your phone detects your current location accurately.

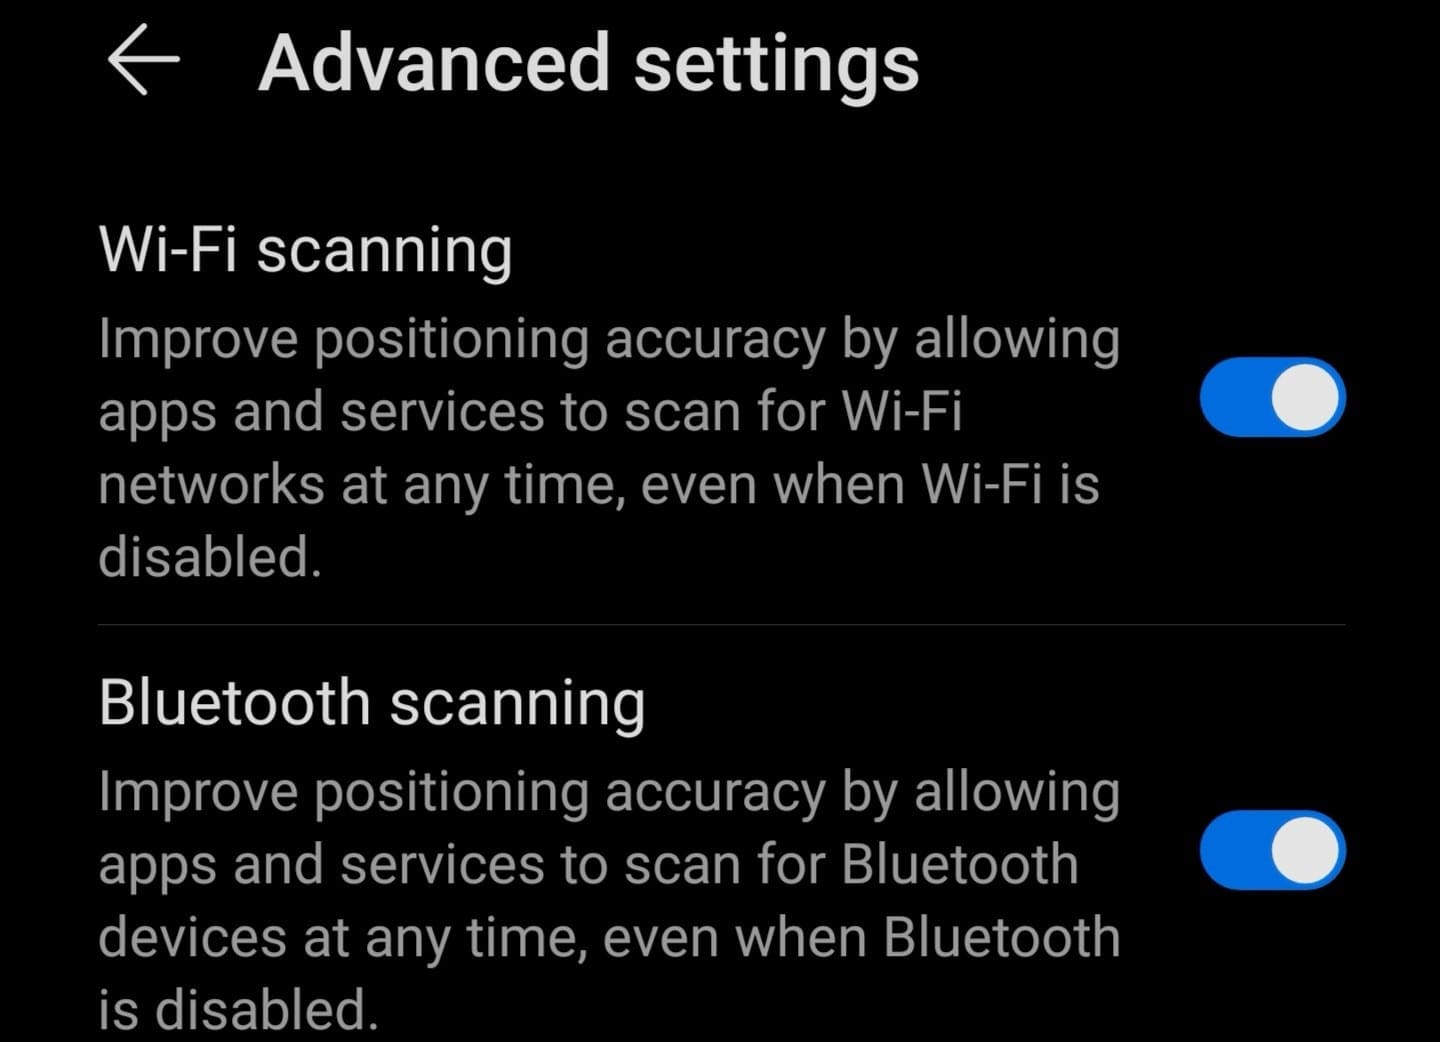
There are also additional settings that you can enable in order to improve your phone’s location services after you calibrated the compass:
- Return to Settings and select Location
- Go to Advanced Settings and enable the following two features: Wi-Fi scanning and Bluetooth scanning.
Use a third-party app
There are many third-party apps available in the Google Play Store that you can use to check the status of your compass and calibrate it.
Some of the best compass calibration apps include GPS Essentials, GPS Status, and GPS Tools. Check them out and keep the app that works best with your phone.
How to improve Google Maps location on iOS
If you’re using an iOS device, try turning Wi-Fi mode on. Your iPhone will automatically scan for nearby wireless connections and this will improve your device’s location accuracy.
Let us know if you managed to calibrate the compass using the tips and tricks we offered you in this guide.