
One of the issues with using any platform for a large amount of time is that it gets difficult to move on to a different platform if you ever want to. This is because you’ll lose the data you have saved or will have to spend time and effort to manually transfer what data you can to the new platform. For example, when switching to a new email platform, you’ll either have to transfer your contacts and message history or deal without them.
Thankfully if you ever want to move away from a Google platform, all of your information is available for download. These downloads are available in formats that are designed to be uploaded to other services. This design means that the data may not be the easiest to read if you’re just wanting to see what data Google has about you.
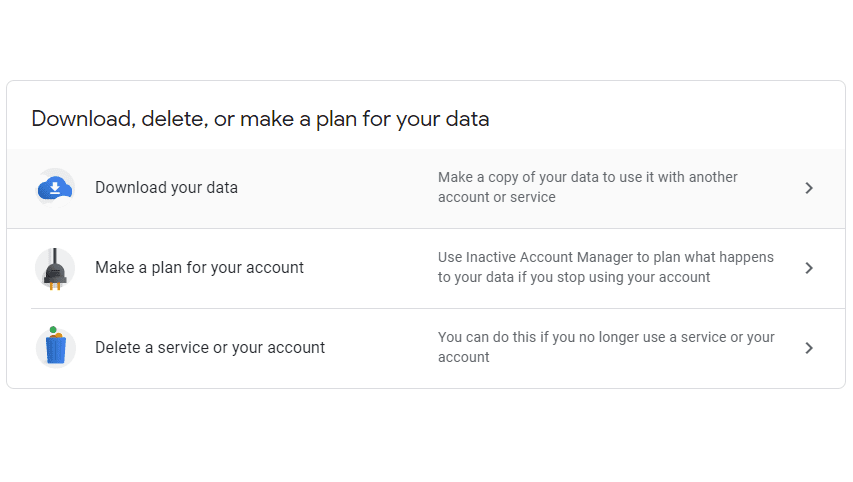
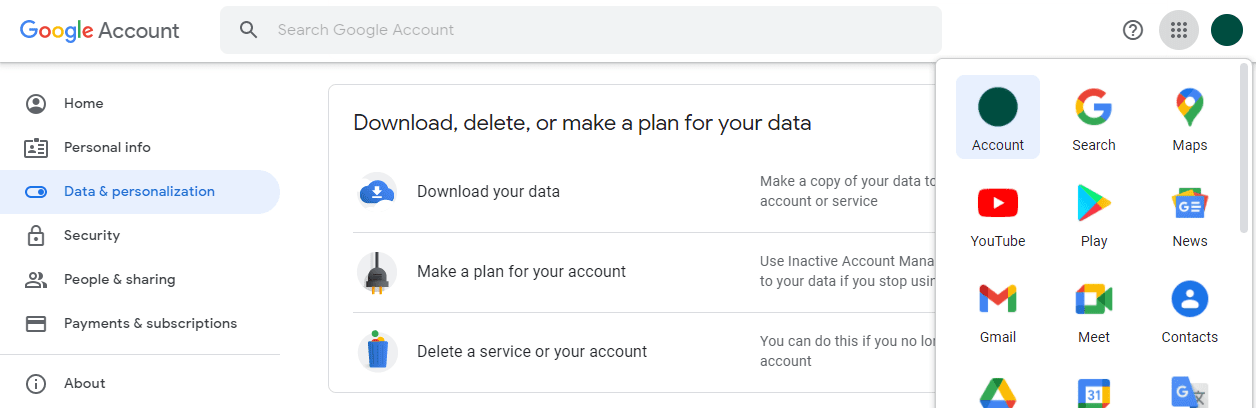
To download a copy of your data, you first need to click on the nine-dot icon in the top-right of most Google pages, then click on the top-left option “Account”. On the account page, switch to the “Data & personalization” tab then scroll down to the “Download, delete, or make a plan for your data” section, and click on the top option “Download your data”.
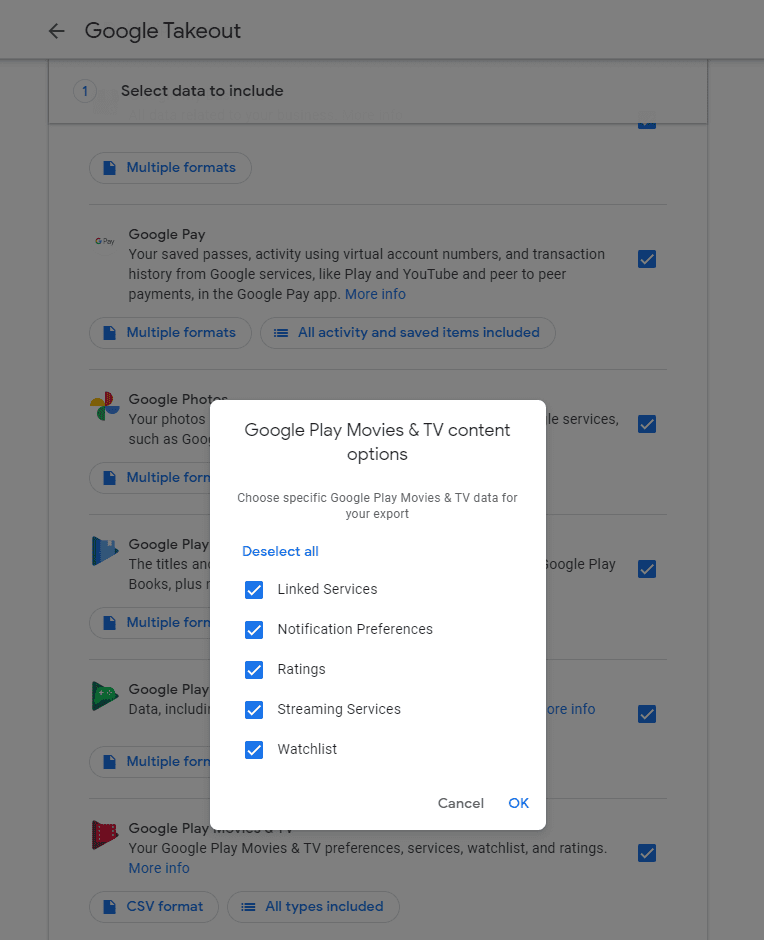
Select the data you want
In the “Google Takeout” screen, you can then select which Google platforms you want to download data from. A number of platforms allow you to select which format you want the data downloaded to be downloaded in, such as JSON or CSV. Many options also offer you the ability to specify subsets of data you want to download.
For example, the “Google Play Movies & TV” settings allow you to pick between the CSV and JSON formats and choose to download any combination of your: linked services data, notification preferences, ratings, streaming services, and watchlist.
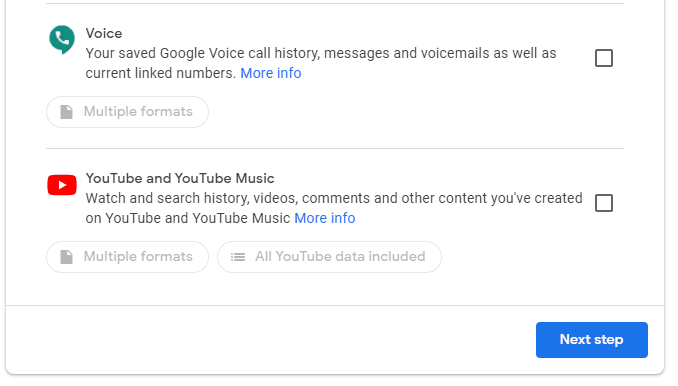
Once, you’ve selected all the data you want to download via the checkboxes, scroll to the bottom of the page, and click “Next step”.
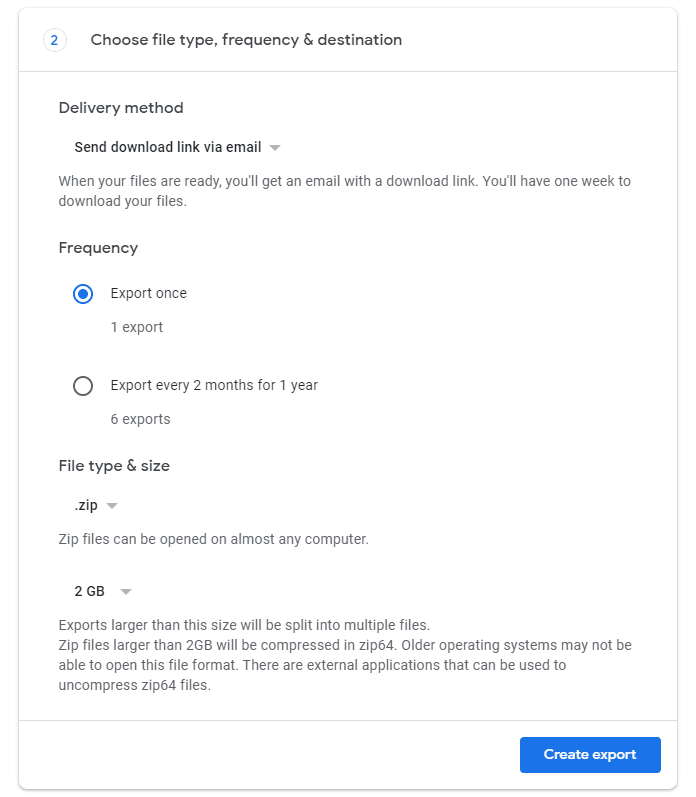
Select how you want to download your data
You can then configure how you want to download the file. You can choose to be emailed a link, or for it to be uploaded to Google Drive, Dropbox, OneDrive, or Box. You can also choose to have the export be a one-off or scheduled to happen once every two months for the next year.
Tip: Your export could be quite large, so be careful uploading it to cloud services as you may not have enough storage available.
Next, you need to choose your preferred compression method, “zip” or “tgz”, if you don’t know which to pick, go with “zip” as this format is more widely supported.
Finally, you need to choose how big a single compressed file should be before it is split into multiple files. If you choose a zip file larger than 2 GB, then you may need a third-party decompression tool as this isn’t supported by default on all systems.
Once, you’ve made your selections, click “Create export”.
The process of creating your export may take a long time depending on the amount of data you included. Once it’s finished, you’ll be sent a link to download your export. You’ll need to reauthenticate to verify that you’re the true account owner. Once you’ve done so, click “Download” on your export to download it.

Once the download is complete you can browse through it manually or use the included “archive_browser.html” file to see a helpful web interface to browse through your downloaded files.


No! Want my account working so can transfer money to credit card.