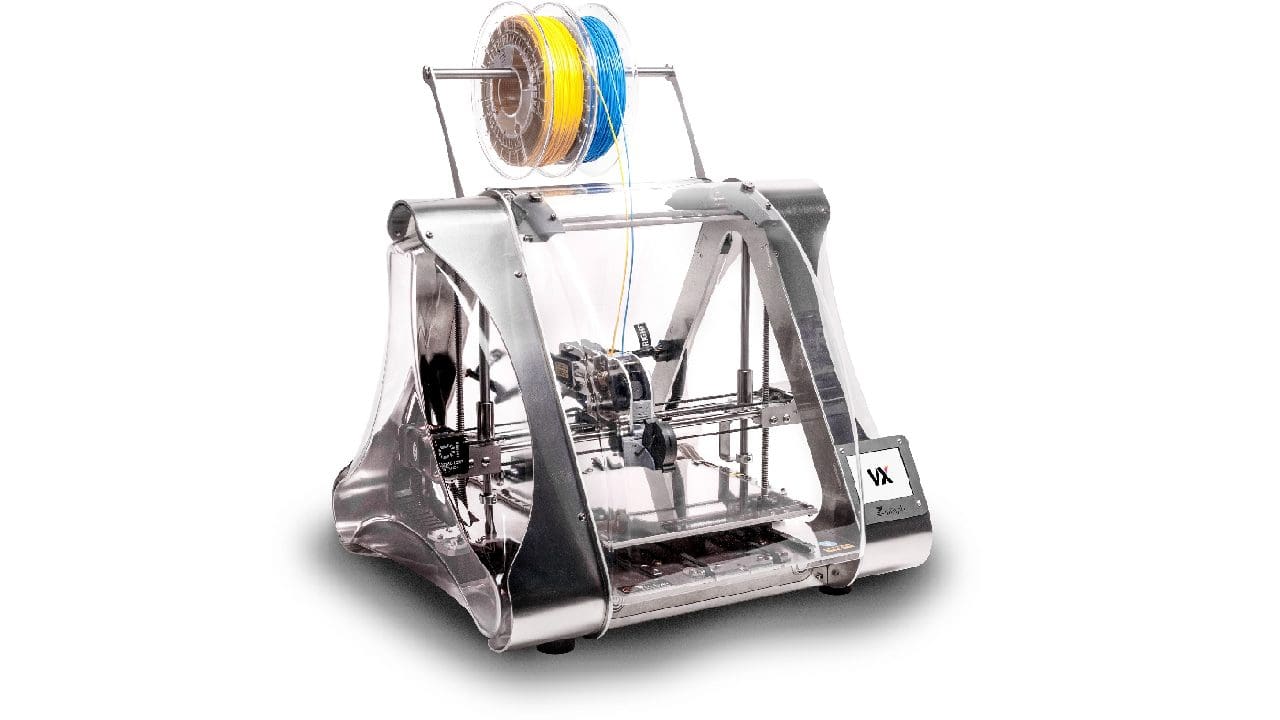
To have a good chance at getting a high-quality result from your 3D printer, you need your first layer to be perfect. There are a number of things you can do to help this or to make it worse. The most basic requirement is to have a properly levelled print bed. You can, however, face issues if you add something to the bed after you’ve calibrated it.
If you add a sheet of tempered glass, for example, it will interfere with the print head because the pane of glass has a noticeable thickness to it. Depending on the height your print head stays above the print bed and the movements it needs to do you may get away with it just tapping the glass. If you’re unlucky the metal nozzle could scratch or otherwise damage it. This issue can also affect thinner coverings like a sheet of paper or a diffraction grating. The gap between the print bed and nozzle is generally very small. With most materials it’s intended to be roughly the thickness of a sheet of paper above the print bed. Even if the nozzle doesn’t impact on the print bed covering, you can still face issues with the under-extrusion. With the nozzle now unexpectedly close to the surface, material can’t be easily printed, preventing a perfect first layer.
Enter Z-offset
The answer to these issues is to relevel your print bed or to adjust the Z-offset. Relevelling our print bed can be a slow process. Especially if you just did so before carefully placing a sheet of paper on top. If you’re confident your print bed is level, you can instead change the Z-offset setting in your slicer to instruct your printer to allow more of a gap. The Z-offset setting literally tells your printer to adjust its Z-axis position by the offset value. Your print head should default to a home position a little over one layer height above the print bed. if you adjust that gap by adding anything, you should adjust the setting by the exact thickness of the added material.
The Z-offset setting can also be used to significantly adjust the height of the first layer. This allows you to print on top of existing prints. Unfortunately, doing so will require the top of the existing model to be flat. You will also need to know the height of the existing mode with a lot of precision to avoid any scenario where the print head hits it or is too high. You will want to measure the model’s height with callipers beforehand to get a precise and accurate measurement. This can be a good way to include an item such as a magnet inside a model.
Z-offset is a slicer setting that allows you to configure an extra gap between the print bed and the nozzle. It’s usually measured in millimetres and can be particularly helpful if you’ve temporarily changed the height of the print bed but know it is level. Have you got any other cool uses for Z-offset? Let us know down below.