A basic necessity of 3D printing is building on previous layers, you can’t just start printing a part in mid-air. Realistically though many designs contain some form of overhang where one layer is printed further out than the layer below it. Depending on how steep the angle of your overhang is, this can be fine, however, you can also face overhang drooping if it’s too steep. This where the printed plastic just doesn’t have the structural integrity and support from lower layers to stay in its proper place.
A good guideline to determine if an overhang is too steep is the 45° rule. Overhangs that are 45° from the vertical, or less, are almost always fine to print, the problems tend to start with overhangs at angles steeper than 45° from the vertical. Of course, the 45° “rule” is more of a guideline, as modern 3D printing technology can generally print steeper angles thanks to improved slicing software and cooling solutions.
How To Prevent Overhang Drooping
To be able to get good overhangs it’s important to be able to get good quality normal prints first. Make sure that your filament is dry and that you’re printing in the right range of temperatures for the material you’re currently using.
Overhang drooping is often caused by insufficient cooling. Increasing fan speeds or, if necessary, swapping out your fans or fan ducting can help to cool the extruded plastic faster. Lowering the print head temperature a few degrees can also help here, as the cooling you have has less work to do if the printed material starts out cooler.
Tip: To find the optimum cooling and print head temperature configuration for your setup, printing a temperature tower can be a great idea. These temperature towers print a repeating structure, often including overhangs, with the print temperature increasing with each layer of the structure, so you can see what printing temperatures work best for you.
Decreasing the print speed can help to prevent drooping as the reduced speed allows the print head temperature to be lowered further and the cooling fans affect one area for longer. In some cases, especially when bridging and when you have a strong cooling solution, increasing the print speed can help. This works because it adds tension which helps to hold the intended shape, it also moves the hot print head away faster, allowing the cooling to be more effective.
Adjusting your layer height can help to reduce overhang drooping, although both directions have advantages so this may require some trial and error to find the best fit for your situation. Reducing layer height increases the number of steps used to print the same amount of height, this means that each layer has to protrude less from the previous layer which means less plastic is suspended. The reduction is layer height also decreases the weight pulling each layer down, although it also reduces the structural strength too. Thicker layers are more rigid but heavier, they’re also harder to cool and result in a more strongly stepped appearance as the layers protrude more.
It’s a good idea to check that your wall printing order is optimised. You want to print interior walls first, then the exterior shell. This is preferred as it gives the exterior overhanging shell more structure to hold onto and means you aren’t starting layers in mid-air.
How to Support the Overhang
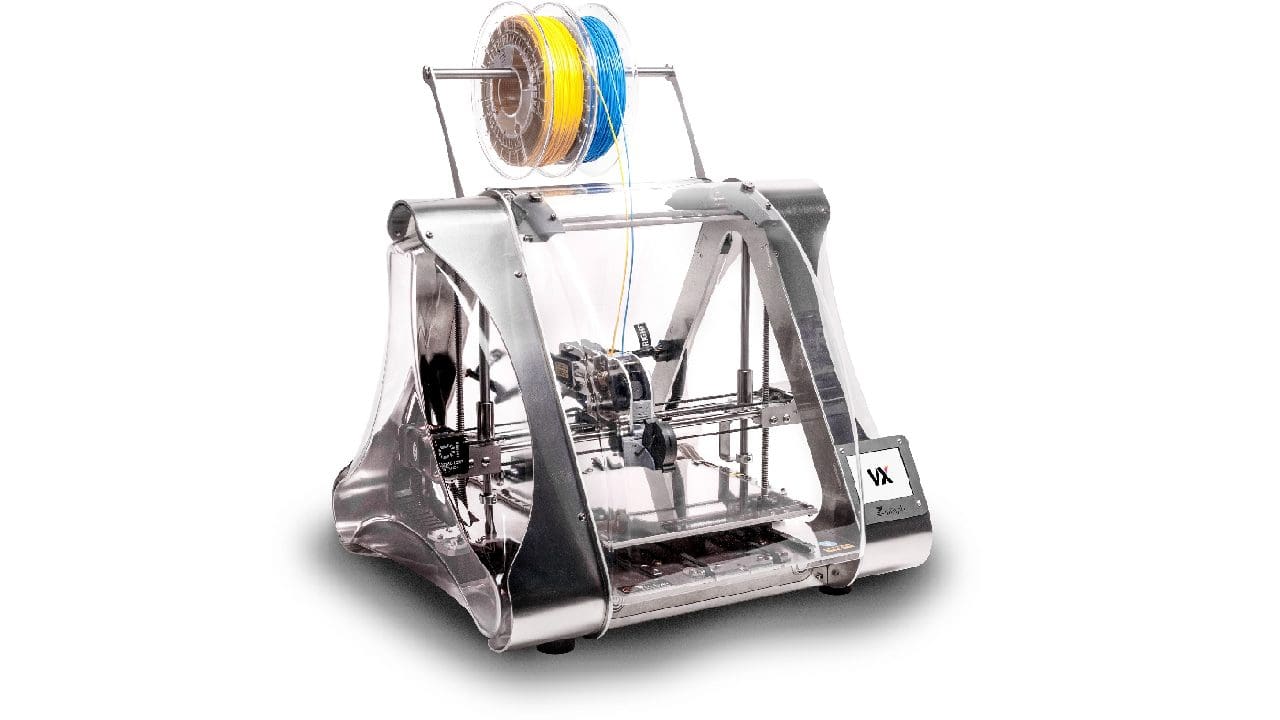
Support structures are a very common method of supporting overhangs. These are literally pieces of scaffolding deliberately printed to provide support and they’re intended to be cut away once the print is complete. Unfortunately, this cutting process can potentially damage the print or leave unsightly marks, even after careful sanding. If you have a 3D printer that has more than one print head, you can try using dissolvable support structures. These take advantage of the ability to print with two different materials at once to build support structures out of a material that can be dissolved, generally in water, although some require the use of other solvents. Dissolvable support structures make it possible to provide support to previously unprintably complex geometry because you don’t need to be able to reach in with a knife to cut it off. Dissolvable support structures also leave the main print surface clean and unmarked, they are, however, more expensive than normal filament and can take hours to fully dissolve.
You may be able to avoid adding support structures entirely or at least minimise their necessity by designing with overhangs in mind. Keeping the 45° rule in mind, you can design chamfered holes and arches rather than rounded ones. These use a teardrop shape to ensure that the overhang never exceeds 45°, thus removing the issue of potential drooping overhangs. For some designs, you can avoid overhangs by rotating the model. For example, if you’re printing the letter “E” there are two overhangs if you print it vertically. If you rotate the model 90° counter-clockwise so it sits on its side, the two overhangs now point straight up. You could also lay the letter flat to achieve the same result.
It may be difficult or impossible to find any angle of rotation which eliminates or even particularly minimises overhangs for many complex models. In these cases, you may want to try splitting the model into multiple pieces that can then be glued together later. For example, if you’re trying to print an aeroplane, there’s no single angle without significant and visible overhangs because of the wings. If you instead cut the model in half horizontally at the wings and then print the bottom half upside down, you can virtually eliminate overhangs and the need for extensive supports at the cost of having to glue the two parts together afterwards.


