Configuring Windows to use your preferred language can make using your computer easier. With Windows in your native language, you never have to worry about misunderstanding or not being able to find a feature. It’s also useful if you want to experience Windows in your second or third language, for example, to practice! So, if you want to add a new language to Windows, what do you have to do?
You can configure the installed “Local experience packs” through the Settings app. Local experience pack is the name Windows uses to describe the language packs your system can install and use. To change these, press your Windows key and type “Language settings”, then press enter. The Settings app will open to the correct page. There are two steps to adding a language to Windows: You need to add a “display language” and then set a “preferred language”.

A display language is used to configure the language that core Windows features are displayed in. This includes things like Windows alerts or menus. To install a new display language, click “Add a Windows display language in the Microsoft store”. This will open the Microsoft Store app on a full list of all available local experience packs. Find the pack you want by scrolling through the list or by using the search bar in the top right corner of the Store app. Once you’re on the page of the local experience pack that you want to install, click “Get” to start the installation process. (“Get” may be called “Install” if you’ve previously had this pack.)

A window will pop up asking which features you want to install. Some local experience pack features are optional and can be deselected by unticking the blue tick box, other parts are required. You can disable options like handwriting recognition in that language, or speech recognition, which will make the pack you have to install smaller. Other options, like basic typing are essential and can’t be disabled.
You can also choose here to immediately set the new language as the display language with “Set as my display language”, and if you want to also install the Microsoft office language pack with “Install language pack”. If you do that, your Microsoft Office programs (assuming you have Word, Excel, etc) will also learn your new language immediately! Additionally, languages that are spoken in different countries or regions may have different variants localised to those specific places. You can select which variant of the language you want to install as you get the pack. Click the drop-down box at the top and select your preferred language variant.

Once you’ve selected all the local experience pack options that you want, click “Install” and it will download and apply the settings you chose. By default, a newly installed local experience pack will then appear at the top of your “Preferred languages” list. Once the pack has finished downloading, you will receive a prompt informing you that you must sign out to change your Windows display language.
Tip: If you do NOT want to set your new language to be your display language, make sure to manually set it back to your old one WITHOUT logging out and back in.
Sign out and back in to switch immediately to your new language, or stay signed in to edit your language preferences manually.
Tip: The preferred language list is used to inform apps and websites (in the Edge browser) of your language preference, those that have support for your chosen languages will utilise the highest language in your list that they support.
Once a local experience pack is installed, you can configure which language is the display language with the drop-down box at the top of the language page in the Settings app. Remember, this is the language that your windows, menus, etc will appear in.

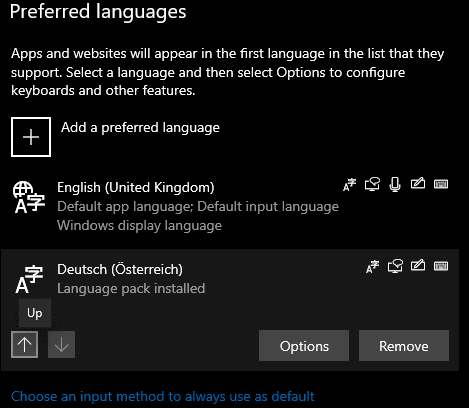
You can also re-order your preferred language list by clicking on a language, and then using the arrows at the bottom of the list to move it up and down the list.
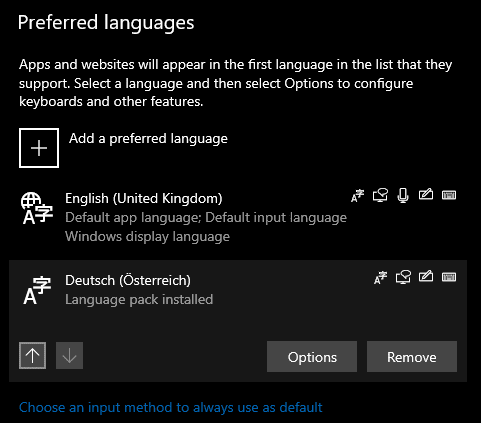
Finally, to remove a language from Windows, select the language you wish to remove and click remove. It will be instantly uninstalled. If the removed language was the current display language, the display language will only change to the new display language on the next login. You can never remove your last language, of course – and if you change your mind, you can still get uninstalled ones back from the store.
Tip: You can’t uninstall the language at the top of your preferred language list. If you want to remove the top language, you first have to re-order your list, so it is not the top language.