
The Microsoft Teams Admin Center offers plenty of options for IT admins and team owners to control external access. For example, you can use the admin center to enable guest access or customize specific access settings when it comes to external users.
But many people still prefer to use PowerShell to configure and manage user accounts within their organizations. If you’re new to this whole PowerShell and Teams thing or you’re looking for specific ways to manage external access, this quick guide is for you.
Contents
How to Manage External Access in Microsoft Teams Using PowerShell
One of the key differences between external access and guest access in Teams is that guest access offers access permission to individual users. On the other hand, external access gives access permission to all the users from a specific domain.
Keep in mind that, depending on your actions, you may need to wait between one and 24 hours for the changes to propagate across the organization.
Allow or Block Domains
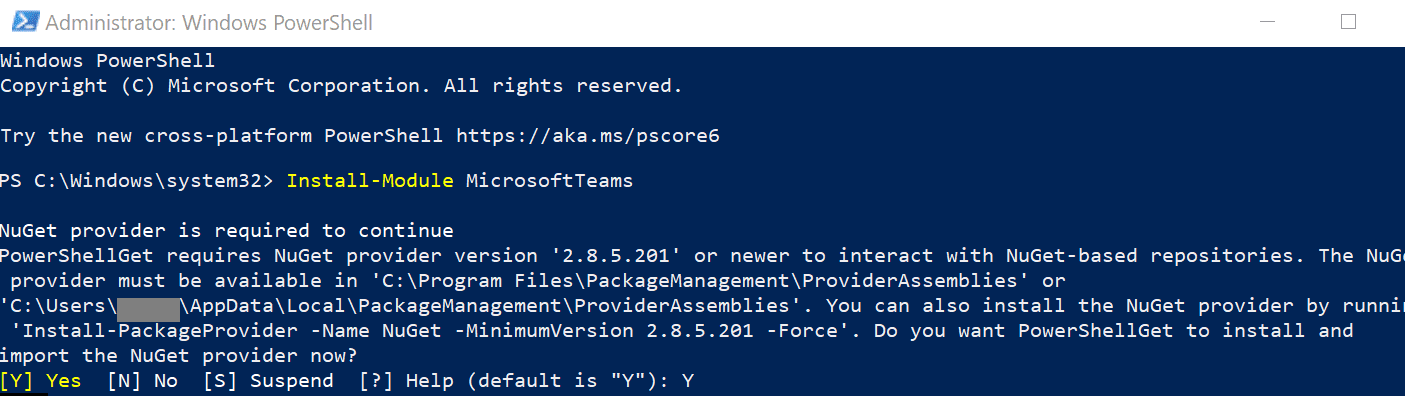
First, you need to install the Microsoft Teams PowerShell module. Simply launch PowerShell with admin rights and run the following command Install-Module -Name PowerShellGet -Force.
You can allow users from your organization to communicate with users from a different domain with the help of the Set-CsTenantFederationConfiguration cmdlet. You can use this command to enable or disable federation with other domains and public providers.
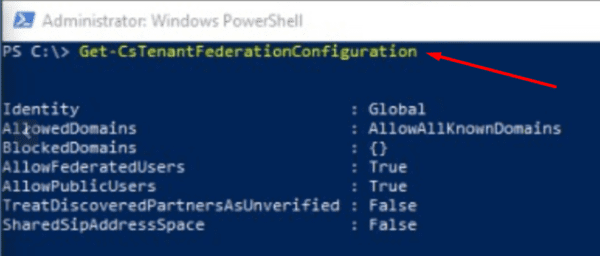
On the other hand, if you want to check the current settings, you can run the Get-CsTenantFederationConfiguration cmdlet.
For example, use the cmdlet Set-CsTenantFederationConfiguration -AllowPublicUsers $True to allow communication with public providers.
If you, hypothetically, want to block external users from the microsoft.com domain, use the command below:
$x = New-CsEdgeDomainPattern -Domain “microsoft.com”
Set-CsTenantFederationConfiguration -BlockedDomains @{Replace=$x}
You can read more about the Set-CsTenantFederationConfiguration cmdlet on Microsoft’s support page.
Check External Access Policies
You can always check and review the current external access policies configured for your organization using the Get-CsExternalAccessPolicy cmdlet.
If you want to check specific external policies, you can run this command: Get-CsExternalUserCommunicationPolicy. For instance, if you want to check information about the external file transfer policy, you can run this command: Get-CsExternalUserCommunicationPolicy -Identity BlockExternalP2PFileTransfer.
Create a New External Access Policy
If you need to set up a new external access policy, you can use the New-CsExternalAccessPolicy command. For example, if you want to block users from transferring files to external users, you can run this command: New-CsExternalAccessPolicy -Identity BlockExternalP2PFileTransfer $True.
If you want to learn more about using PowerShell commands to configure Teams, visit Microsoft’s Support page. Additionally, you may also want to check out these cmdlet references that are common for Skype for Business and Microsoft Teams.
Conclusion
To conclude, the Teams Admin Center offers plenty of options to configure and manage external access policies for your organization. However, many users still prefer to use PowerShell to get the job done quicker. Which side are you on: PowerShell or Admin Center? Let us know in the comments below.