
Microsoft Teams is one of the most popular tools for remote learning. Millions of teachers and students worldwide rely on Teams for hosting or attending online classes and tracking assignments.
Speaking of assignments, if you’re not sure what are the steps to follow to turn in assignments in Microsoft Teams, this guide is for you.
How to Hand In Assignments in Microsoft Teams
- First, go to your classroom.
- Then select the General channel.
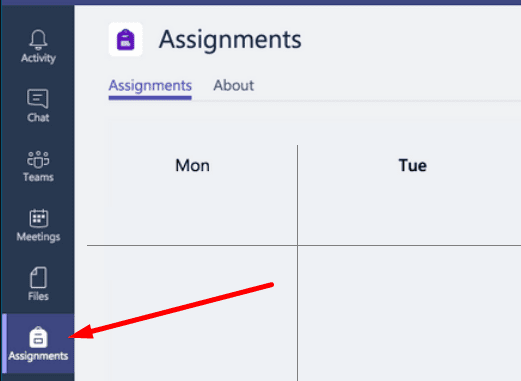
- Click on Assignments.

- The list of your assignments will appear on the screen. It’s filtered by the due date. In this manner, you’ll know what assignments are urgent and which can wait.
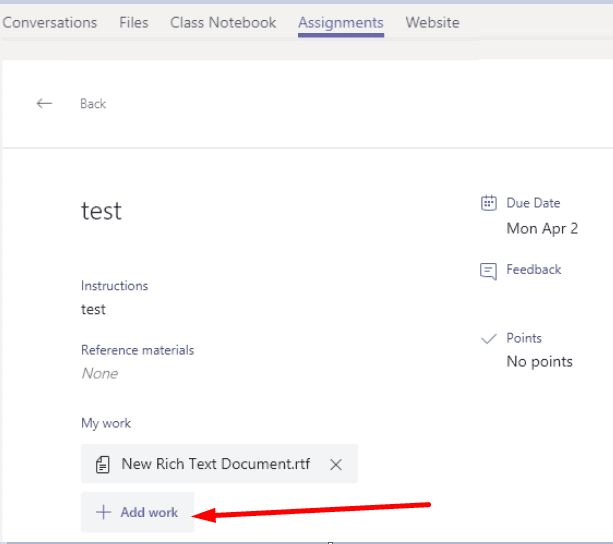
- Select your assignment card. Open it and check the assignment details.
- To hand in documents and files related to your assignment, click on the +Add work button and upload your files.

- Hit the Turn in button to submit your assignment. Your teacher can now check your assignment and the files you attached to it.
Keep in mind that the maximum file size is 500MB. You can add up to 10 additional resources for each assignment.
The Assignment Hand-In Status
The status of the Turn in button may vary depending on whether you met the deadline or not.
- Turn in late. This status indicates you’re submitting your assignment after the due date. The good news is that your teacher has allowed late hand-ins. You’re lucky.
- Not turned in. This status is visible if you failed to meet the deadline for handing the assignment in. The bad news is that your teacher hasn’t allowed late turn-ins.
- Undo turn in. Use this button if you need to edit the assignment you already handed in.
- Turn in again. You can use this button to upload the edited version of an assignment you previously submitted.
Make sure to always hand in your assignment on time. Stay organized and try to meet the deadline.