Computers have gone through some major advancements in just a few decades, and fortunately for consumers, we get to use those advancements. It used to be that we could surf the web using dial-up, send an email, and maybe use AOL Instant Messenger. Now, we can edit videos, talk to people halfway across the world, calculate advanced algorithms without having to input a formula, and playback all sorts of media. Still, there’s one drawback. Since we have streamlined the design of our laptops and desktops, their small screens and built-in speakers make watching a movie or video an unsatisfying experience.
Wouldn’t it be nice if we could just put these videos on our Smart TVs? Well, as you may already know, it’s possible, and you don’t need to use a laptop or phone. You can do it using a regular desktop. Connecting your Windows 10 to a Smart TV can generally be done in two ways: media streaming or screen mirroring.
Contents
Media Streaming
Media streaming is the most reliable and easiest way to cast your PC onto almost any Smart TV. Media streaming sends a compressed video or audio file from your computer to the TV. Then, the TV decompresses the file and plays the media in real-time.
Step 1: Setup
First, you have to configure your PC.
- From your PC, hit the Windows key on the keyboard. Type in “Control Panel” and hit Enter.
- Select Network and Internet —> Network and Sharing Center.
- On the left panel of the window, click on Change advanced sharing settings.

- Turn on the network discovery and file and printer sharing under the profile of your choice. If you do the media stream at home, choose Private. From any other place, use the Public profile.

Next, you need to configure the settings on the Smart TV. To connect PC to TV, you can either establish a peer-to-peer communication from both devices or rely on a wireless access point (WAP) such as a router.
To put it simply, you can opt to directly connect your PC and TV without the help of your Wi-Fi router—if both devices support Miracast. We will discuss Miracast later. Alternatively, you can use your home network as the ‘bridge.’ This option requires your PC and Smart TV to be connected to the same Wi-Fi router.
Whichever you choose, you need to enable the Wi-Fi on your Smart TV.
Step 2: Play Media Files
Once the TV’s Wi-Fi is turned on, do the following.
- Open the File Explorer on PC, then locate which video or audio file you wish to play over the TV. This connection will support MP4, MP3, WMV, WMA, AVI, WAV, and MOV files.
- Right-click on the file and hover the mouse pointer above Cast to Device option.

- Choose your Smart TV’s name from the list. Give your PC some time to find your TV on the network.
- After the TV name is selected, your video or audio file will automatically play on TV. The Cast Window media control should also appear on the PC.

Screen Mirroring
Unlike media streaming, screen mirroring lets you mirror exactly what is displayed on your PC onto the Smart TV. This includes the mouse cursor, any document you are working on, or even the video game session you’re playing. There’s no file type restriction; you can project anything. However, this comes at a cost.
Screen mirroring requires more bandwidth compared to media streaming, which means a choppier video. This is where Miracast comes in handy.
Step One: Check for Compatibility
As mentioned before, Miracast lets you directly connect PC and Smart TV with a peer-to-peer connection, bypassing the Wi-Fi router, and somewhat reducing latency. Additionally, it also won’t bloat the bandwidth for your daily internet.
Granted, both your PC and TV need to support Miracast. To check if your PC is supported, first, make sure that your Windows version is up-to-date. Afterward, do this:
- Hit the Windows + P key to open the Project action bar.
- Check for a link that says “Connect to a wireless display” at the bottom. If it does, you can proceed.


As for the TV, you need to have either a Miracast adapter built-in to the device or an external Miracast dongle like this one attached to the TV.
After you are certain that everything is set and ready, follow these steps.
Step 2: Enable Mirroring on Smart TV
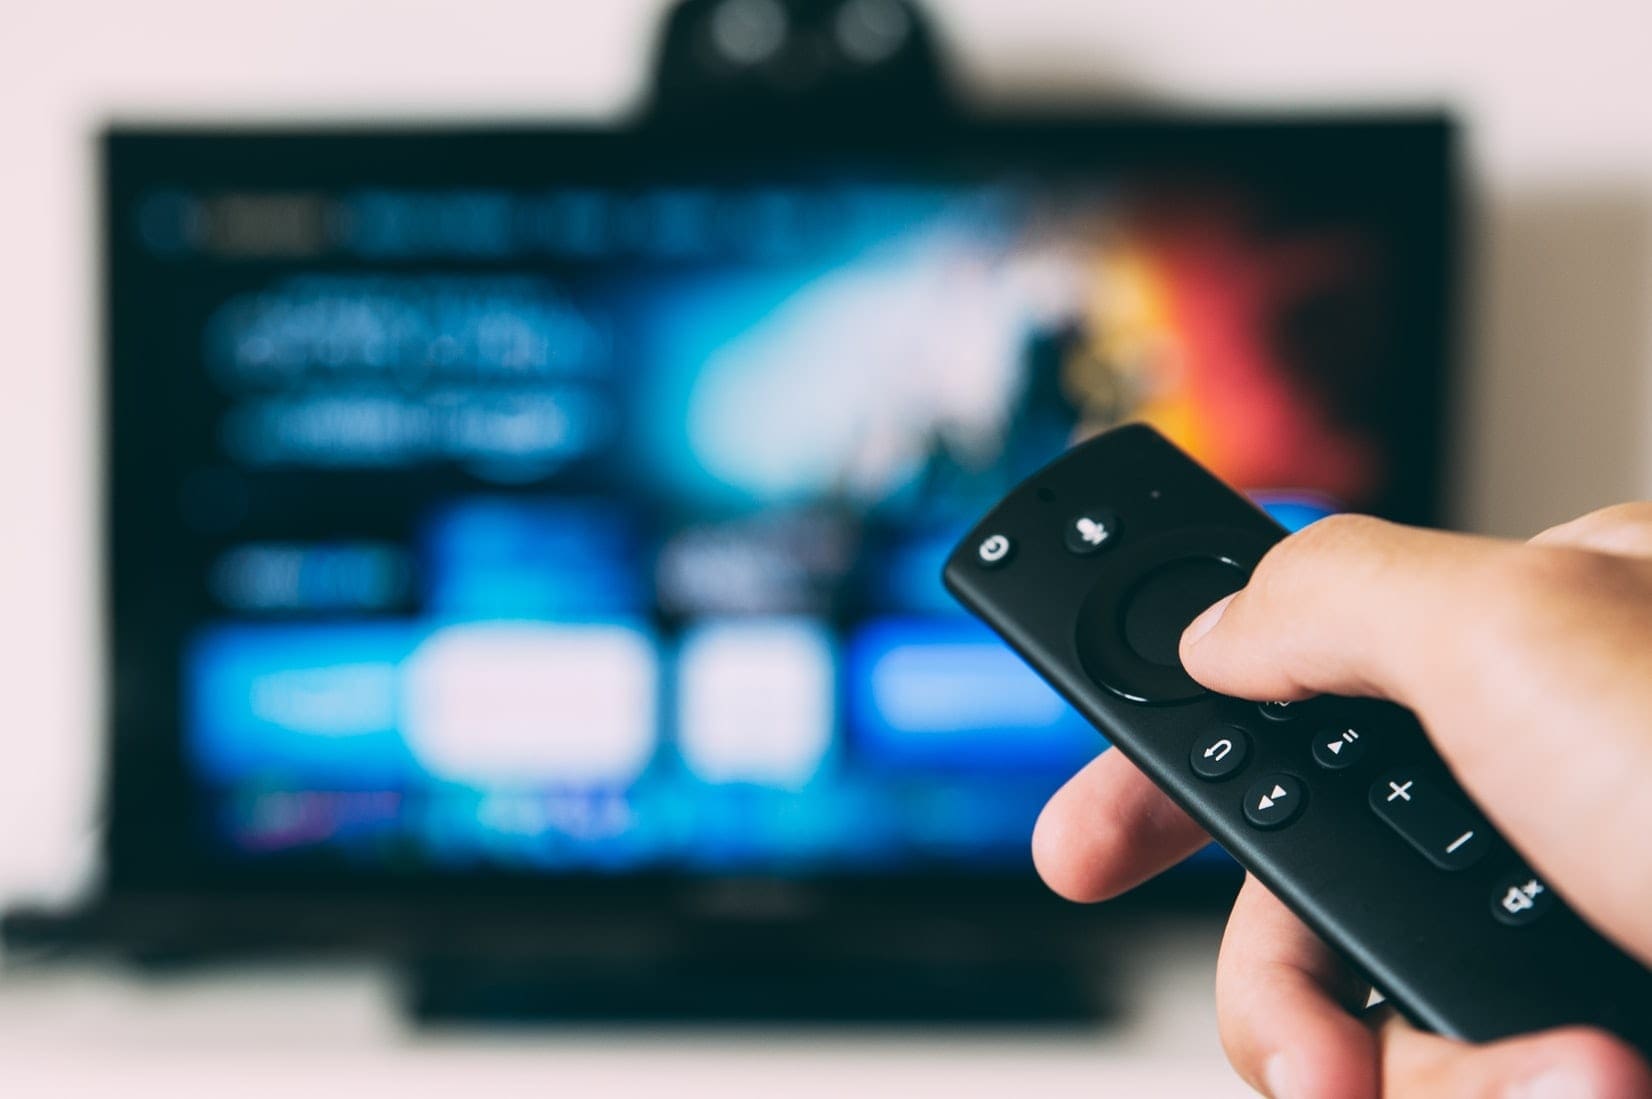
Exact steps differ depending on the TV model, but usually, you can enable screen mirroring on your TV’s end by pressing the INPUT button on the remote control.
- Set the TV’s signal source to the mirroring port or the HDMI port, depending on whether your TV uses a built-in Miracast adapter or an external Miracast dongle.
- On your PC, Press Windows + P Key and click on Connect to a wireless display.
- Your TV or Miracast adapter’s name will show up. Click on it.
- Otherwise, manually add your device from the Settings app on Windows.


A TV with built-in Miracast may sometimes require a password for PC access.
Conclusion
Connecting your Smart TV to Windows 10 is a great way to take advantage of your bigger TV screen for a better entertainment experience. Use Media Streaming for videos and audio, but Screen Mirroring if you want to see everything.