
There are all sorts of reasons why you may want to use a custom ringtone – whether you don’t like any of the pre-set options or you just want to use that sweet tune you’ve had stuck in your head – you can absolutely do that.
There are two ways to add and set custom ringtones. For both, you’ll have to have the file on your phone already. Whether you download it or transfer it another way, make sure it is stored somewhere on your device and that you know where it is!
Option 1:
The first is to add ringtones to your ringtone folder. To do this, open your My Files app.
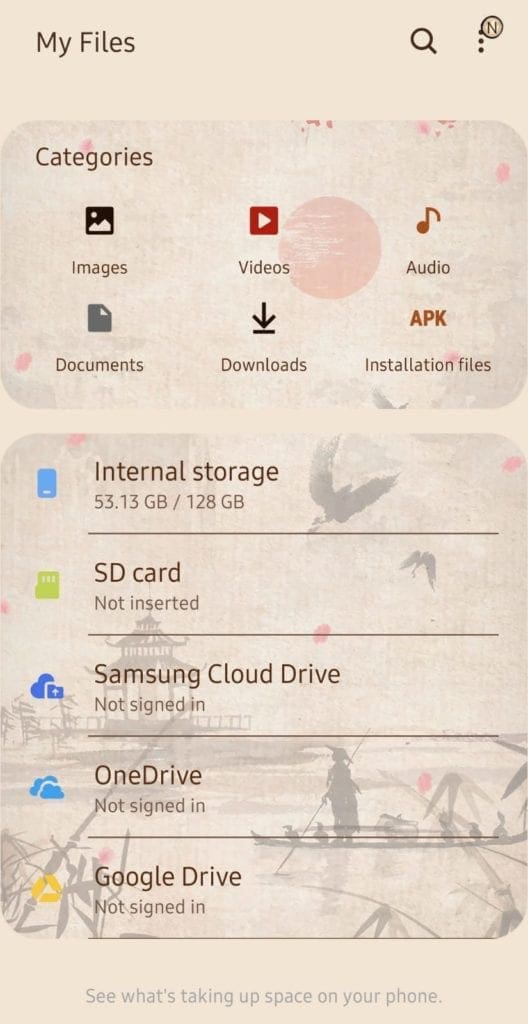
Click on Internal Storage and navigate to the folder where you keep the ringtone you want to use. This may be a Playlist folder, a Music folder or something similar. Tap and hold the file in question until options appear at the bottom.
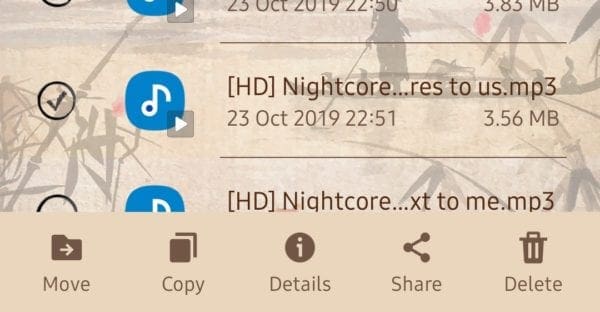
Tap the Copy option, and a notice will appear near the bottom, with the option Copy here. Navigate back to Internal Storage and then find a specific folder – Ringtones. Don’t worry if it’s empty – default tones don’t show up here. Tap the Copy here option, and the file will be copied over.

It’s time to switch to your Settings app now – draw down the app drawer from the top and tap the Settings icon in the tray. Tap the Sounds and vibration section.
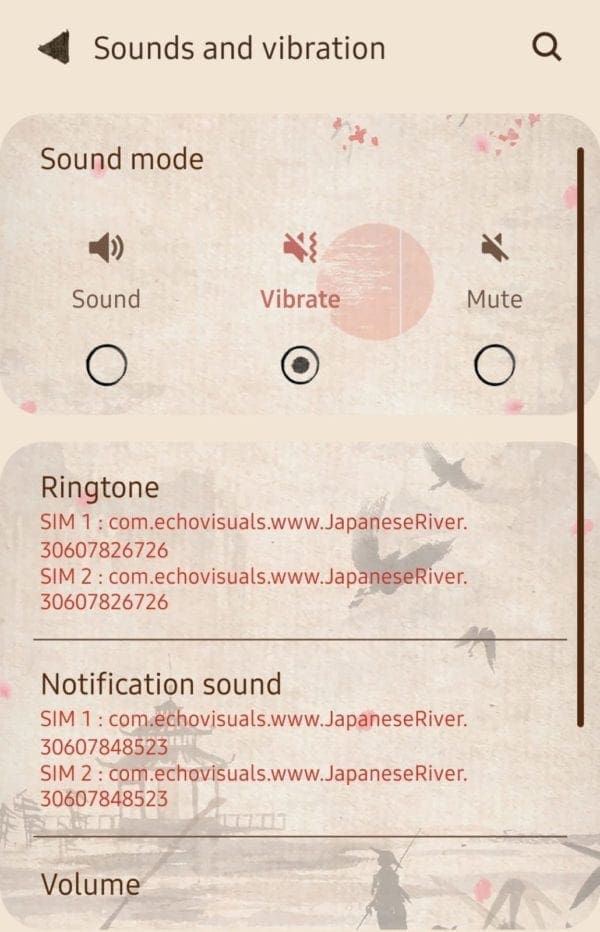
Here, you can set your ringtones. You’ll be able to set a ringtone for each SIM card your phone has – so if you have a dual SIM model, you can set two separate ringtones for the device.
Tap the Ringtone option, if prompted select the SIM you want to set it for and look in the list for your new addition to the options.
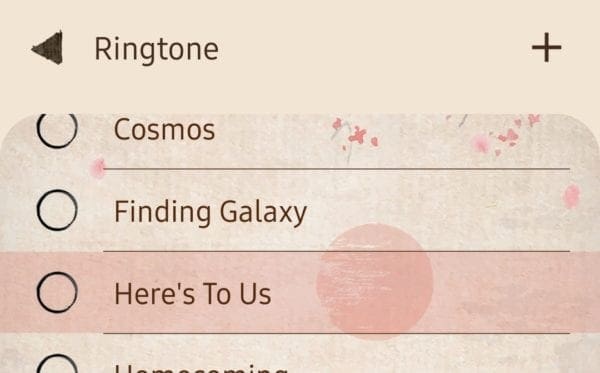
Select the tune you want and back out of the menu – that’s it!
Option 2:
Alternatively, if you want to add a new tune to the ringtone selection, you can head straight to the ringtone selection menu via Settings > Sounds and vibration > Ringtone and tap the + in the top right corner.
You’ll be taken to the sound picker where you can choose whatever song you want to use. Here, you have the option to have the app auto select what part of the song to use. Try it – if you don’t like the section it pre-picks, you can turn off the Highlights only section at the top.
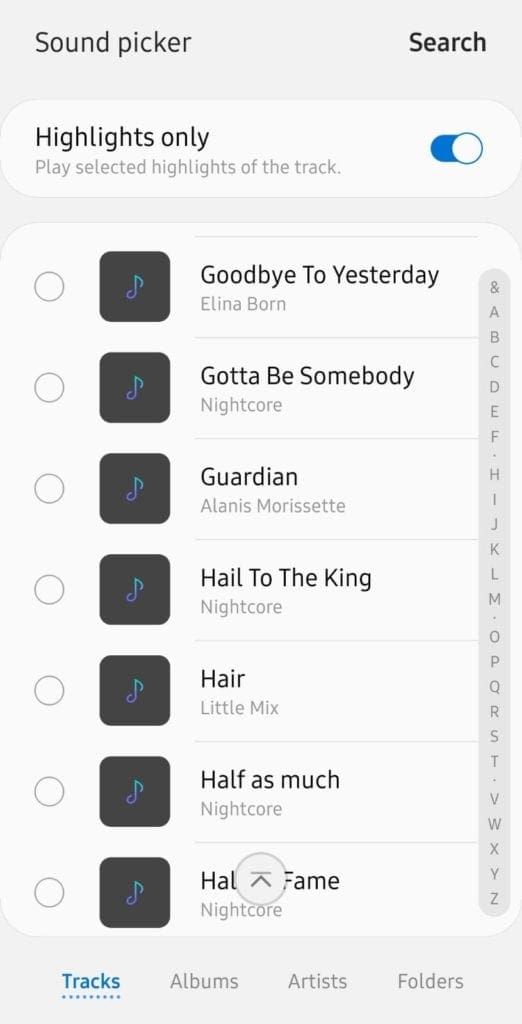
Doing so means that your track will start from the beginning instead. Tap the one you want to use and then tap Done in the top right corner – that’s all there is to it!


absolutely NOT. How do I assign different/specific ring tones to phone numbers in my contacts list?
I go to where it says copy here but it’s dim and nothing happens
Nevermind my question, I found the notification folder! ????
Hi! Most of your instruction was very helpful! I got as far as getting the notification ringtone to my internal files and ringtone file. However, my galaxy s10e only has a + for ringtones and not notifications. Is there any way to add it without the +?
Thanks!