
Setting the factory and default WiFi settings on your Sonos One device is not hard, but isn’t as straight forward either. If you want to change your default WiFi on Sonos one, here are the instructions to follow:
Contents
- 1 Steps to Change the Sonos One Default WiFi
- 1.1 Default WiFi to Normal Play Mode
- 1.2 Default WiFi to Play One Option
- 1.3 Default WiFi to Play Two and Play Three
- 1.4 Default WiFi to Play Mode Five
- 1.5 Default WiFi to Sub Play Mode
- 1.6 Default WiFi to Playbar Mode
- 1.7 Default WiFi to Playbase Mode
- 1.8 Default WiFi on the Sonos System to Beam Mode
- 1.9 Unplug the Speaker
- 1.10 Starting the Restart Option
- 2 You’re Done!
Steps to Change the Sonos One Default WiFi
The default WiFi guides steps below will help you to change the default from play Sonos one play one, Sonos one play five, Sonos one Sub, Playbar, and Playbase options.
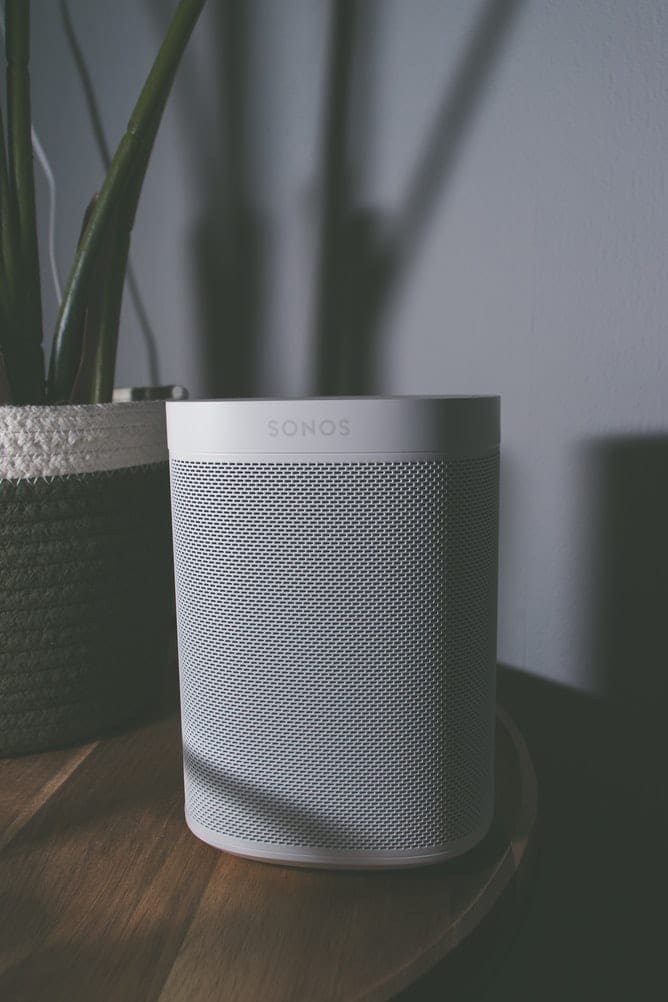
To begin, you will need to reset your Sonos one using the pause button, or you can choose to use the Join button. If you have problems locating these buttons, make sure to look for a button that looks like a number eight located on the system’s side.
Default WiFi to Normal Play Mode
If you’re only interested in changing your settings to the regular play mode, use the pause button that is located on the top of the speaker, and you’ll be set. This will reset your WiFi to the default settings.
Default WiFi to Play One Option
If you want to change the factory setting to default Play One Option, use the pause button again. It will change from the Standard Play option to the Play One Option.
Default WiFi to Play Two and Play Three
Play Options Two and Three of the Sonos system has the same default settings. You can change by pressing the pause button. The button is located at the top of the speaker. This will bring the system back to Standard Play Option, where there is no internet connection.
Default WiFi to Play Mode Five
When looking to change your Sonos system’s default WiFi, use the join button which is located at the back of the speaker.
Default WiFi to Sub Play Mode
Once you have tried the above options to reset your Sonos system WiFi, you might want to try the Sub Play Mode. Changing default WiFi to Sub-Mode is done by using the join button that is located on the right side of the speaker.
Default WiFi to Playbar Mode
If you’re interested in changing your Sonos system’s to Playbar Mode, you will need to use the pause button that is located on the right side of the soundbar.
Default WiFi to Playbase Mode
To change the WiFi to the Playbase option, use the join button that is on the left side of the speaker, it will display all the setting steps to follow to change your default settings correctly.
Default WiFi on the Sonos System to Beam Mode
The other available option you can use to reset your Sonos system is changing the default settings to Beam Mode. When switching to Beam Mode, use the join button that is located at the back of the speaker to display all the settings. This will help you set the default WiFi settings.
If you don’t want to use the above steps, you can follow the below steps which most people prefer because they are easy to follow:
Unplug the Speaker
Unplugging your speaker means restarting it from the power source as well as resetting the WiFi connection. Once your speaker is unplugged, your speaker will wait for about ten seconds before it gets back to its standard settings thus you will have changed default settings back to the standard factory settings you bought the device with.
Starting the Restart Option
Another way to change your Sonos system’s default WiFi is by holding the pause button while you are plugging your speaker back to the socket. Once you have plugged the speaker, continue holding the pause button for about ten seconds.
After ten seconds, your system’s LED will start showcasing a flash white, and after about thirty seconds, your system’s LED will show a flash of orange light. After seeing all the above colors, let go of the button and watch your system reset back to its factory default settings.
You’re Done!
Finally, once you have followed any of the given options, you will have completed the process of changing your default WiFi, and your system will be reset to its factory settings. This should be relatively easy.


i can’t connect with my device wi-fix this issues