If you have Android 11, then you have an improved screenshot system. But, for some, it may not be enough, and they may want to turn to third-party apps for more options. The good news is that there are some free screenshot apps you can try out for free.
If you’re not happy with the app, all you have to do is uninstall it. You won’t have to deal with the whole refund process. Some of the following apps will keep things simple, while others will offer more options. Let’s see what these screenshot apps have to offer.
Contents
1. Screen Master: Screenshot and Longshot, Photo Markup

One of my favorite screenshot apps is Screen Master: Screenshot and Longshot, Photo Markup. It makes taking a screenshot easy by having a floating icon that you’ll need to tap on when you need to take a screenshot. When you open the app, you can make a large variety of changes. for example, you can:
- Enable screenshot service on startup
- Adjust image file format
- Change Image file quality
- Modify Filename prefix
- Exclude status bar
- Enable Landscape mode
- Auto-save to gallery Choose theme
- Change language
- Save path
- Share
At the bottom of the app, you’ll see three tabs:
- Home – Where you can find various customization options.
- Screenshot – This is where you’ll find all the screenshots you’ve taken
- Edit – This option is where the magic happens. You’ll see options to markup pictures, stitch various images together, Web capture, and record video. With the Web Capture option, you must share the URL with the app to take the screenshot. You’ll need to install another app for the record video option, but that won’t be necessary if you have Android 11.
2. Screenshot Easy
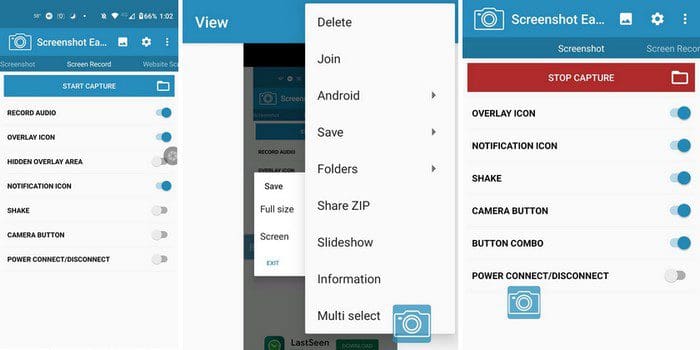
Screenshot Easy may not stitch pictures together like the first app, but it gets the job done. The app has four tabs: Screenshot, Screen Record, Website Screenshot, and Scrolling Screenshot.
- Screenshot – In this tab, you can enable options such as overlay icon, notification icon, shake, camera button, button combo, and power connect/disconnect.
- Screen Record – The options you’ll see here are record audio, overlay icon, hidden overlay area, notification icon, shake, camera button, and power connect/disconnect.
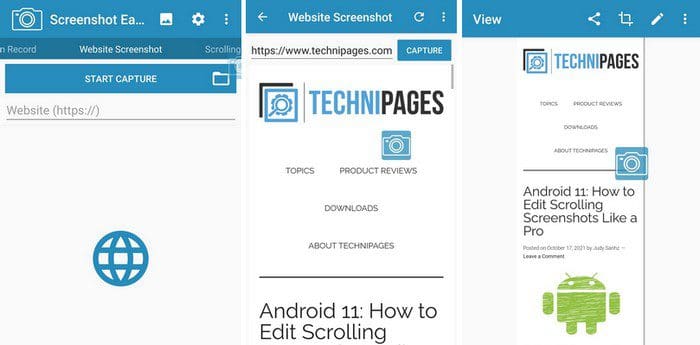
- Website Capture – Simply type the site you want to take a screenshot of. The app will show you the main page with a Capture button at the top, tap on it, and the app will take a scrolling screenshot of the entire page.
Remember to tap on the cogwheel when you’re under a specific tab. You’ll find various options that will allow you to customize your screenshot experience.
3. Screenshot and Screen Recorder

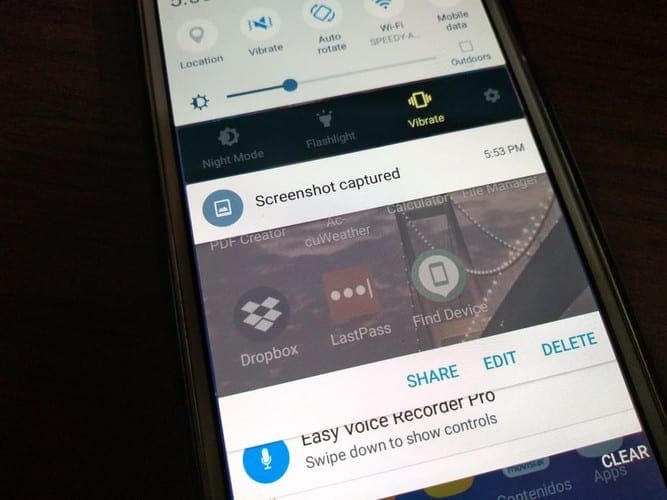
If you don’t like an icon floating around on your display, you might want to try Screenshot and Screen recorder. To take your screenshots, you’ll need to swipe down from the top of your display and choose the Click here to capture option.
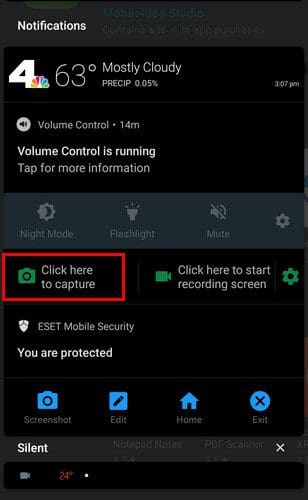
Once you tap on the option, you’ll see a preview of it. At the bottom, you’ll see options such as erase, share, save and edit. In the edit option, you can do things such as add stickers, add blur, draw, crop, add text, and rotate. You can also take webpage screenshots as well.
4. Screenshot Quick Capture Automatic Trimming
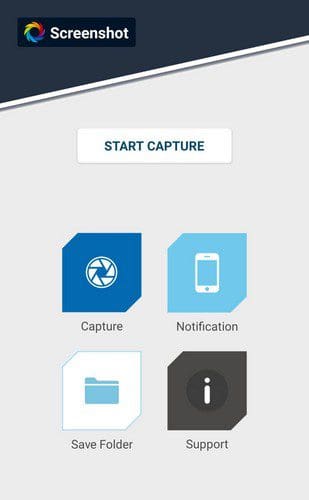
Screenshot Quick Capture also keeps things simple by not constantly placing an icon on your display. You’ll need to open the app and tap on the Start Capture button to start using this app. You’ll see a capture icon on your screen. When you’re ready to take a screenshot, tap on the icon. When you’re done, select the stop button.
This app doesn’t offer you any editing option once the screenshot is taken. You’ll need to use a third-party app for your editing.
5. Screenshot

After giving the necessary permissions, you’ll need to turn on the app. After that, you’ll see a camera icon on your display to take your screenshots. You’ll also see a preview of your screenshot and editing options at the bottom. You can do things such as:
- Crop
- Paint
- Erase
- Add Text
- Mosaic
- Blur
- Sticker
- Adjustment
- Rotate
- Emoji
Once you’re done editing your screenshot, don’t forget to tap on the save icon.
Conclusion
Screenshots are always going to be necessary. Good thing you have various free apps you can choose from. Some apps offer more features than others, but the one you go with depends on your tech needs. Which one do you think you’re going to try first? Let me know in the comments below, and don’t forget to share the article with others on social media.