When you have two speakers, you hear certain sounds on one and the rest of the sounds on the other. So if one speaker stops working, there will be some sounds you’re not going to hear. If you don’t want to miss out on anything, you’ll need to enable the Mono audio in Windows 11. The process is easy, and there are different options you can choose from to enable or disable it.
How to Turn on Mono Audio on Windows 11
Option 1
One way to access the Mono audio option is through the Settings app.
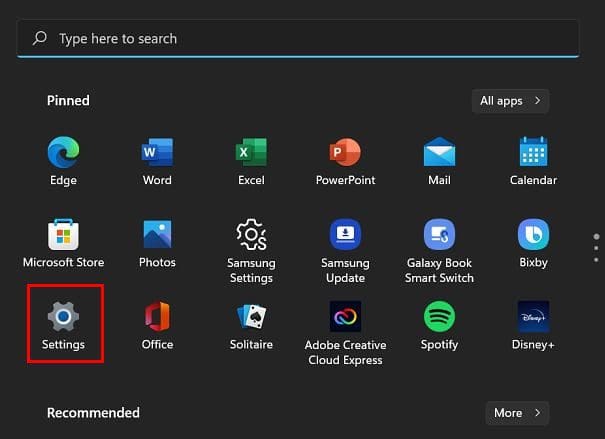
Open Settings by clicking on the Windows start button and go to System, followed by the Sound option.
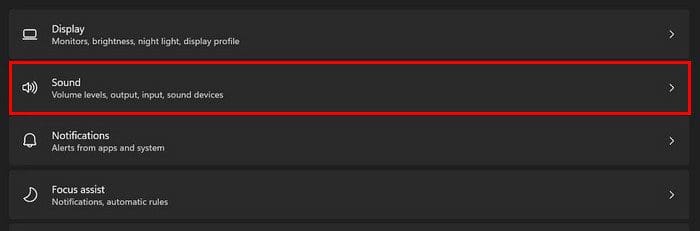
Once you’re in Sound, look for and toggle on the Mono audio option. If you ever change your mind, follow these steps to toggle it off again.

Option 2
You can also access this option through Accessibility. Open Settings like you usually would, but click on the Accessibility option this time.
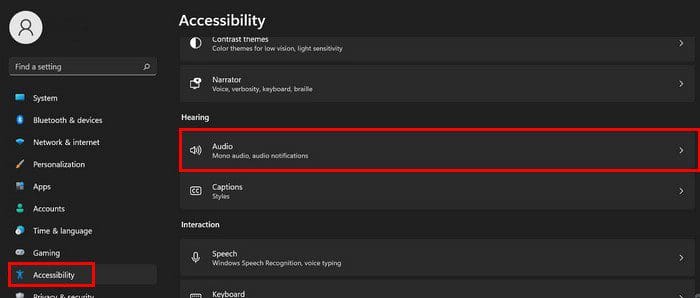
Under the Hearing section, click on the Audio option, and you should be able to see the Mono audio option. Simply toggle it on, and you’re good to go. These are two ways that you can access the Mono audio option on your Windows 11 computer. If you ever want to turn it off, follow the steps mentioned, even if it does say that it’s to turn them on since you’ll only need to toggle them off. The same steps apply.
Conclusion
You won’t miss out on any sounds by changing the audio options on your Windows 11 computer. You can access the Mono audio option through the System or Accessibility option. Just in case you’re having trouble with one option, you can always try the other. What choice do you think you’re going to go with? Share your thoughts in the comments below, and don’t forget to share the article with others on social.