In this guide, we’ll explore why .xps files won’t open on your Microsoft Windows 10 computer and what troubleshooting methods you can use to fix the problem.
Contents
Fix Windows 10 Won’t Open XPS Files
1. Make sure XPS Viewer is active
In order to open .xps files, you need to make sure the XPS Viewer app is installed on your device.
The quickest way to do that is to launch Command Prompt as admin and enter this command: dism /Online /Add-Capability /CapabilityName:XPS.Viewer.
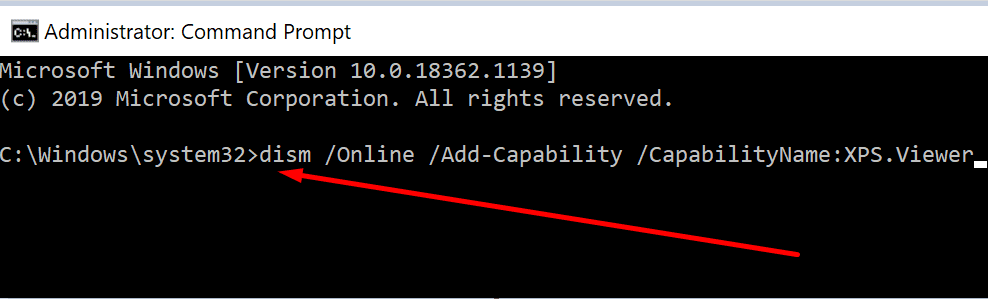
This command automatically adds XPS Viewer to your computer.
2. Use an alternative method to launch XPS Viewer
There are several methods you can use to open XPS Viewer on your computer. If one method failed to open the program, go to the next one.
Maybe there’s something wrong with a certain path. Using an alternative path to open XPS Viewer should work.
How to open XPS Viewer on Windows 10
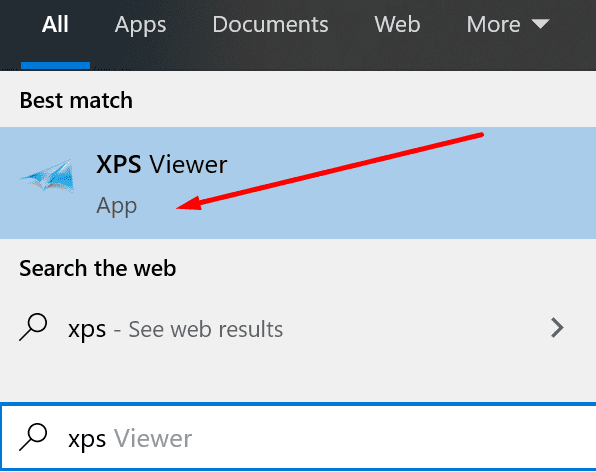
1. Go to the Windows Search bar, type xps and double click on XPS Viewer to launch the tool.
2. Launch a new Run window by pressing the Windows and R keys, and enter xpsrchvw. Hit Enter to launch the program.

3. Launch Command Prompt or Powershell as admin, enter the xpsrchvw command, and then hit Enter.

After you launched XPS Viewer, go to File → Open and try to open the file directly from the program.
3. Use the System File Checker tool
If certain apps or system files got corrupted, this will break particular system functions and features.
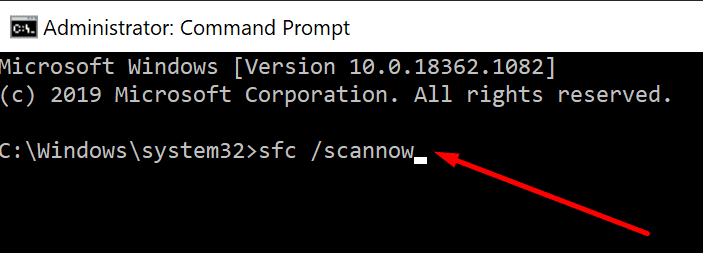
The quickest way to solve this problem is by running a System File Checker scan.
To do this, launch Command Prompt as admin, and enter the sfc /scannow command. Hit Enter to run the command.
4. Set XPS Viewer as your default program
You can open and view .xps files in your browser as well. As a matter of fact, if you can’t open .xps files, this could be because multiple programs (most likely, your browser) are attempting to open the same file at the same time.
To avoid such issues, set XPS Viewer as your default program to view and read .xps files.
- Click on start button, type default programs and double-click on Default Apps
- Go to Choose apps by file type

- Search for the .xps file type and select it
- Select XPS Viewer to set it as the default program to open .xps files
- Save the changes and check if the issue is gone.

5. Convert XPS to PDF
If nothing worked and you really need to open that problematic XPS file, try converting it to PDF.
You can use an online XPS to PDF converter if you’re not worried about privacy issues. But if the document includes personal or sensitive data and you want to avoid any headaches, use a stand-alone software that you can install on your computer.
For example, you can use the XPS-to-PDF Converter from the Microsoft Store.
We hope you can now open your XPS files on Windows 10. Let us know if you managed to fix this problem in the comments below.