• Skip to main content
  • Skip to primary sidebar

Technipages

Tutorials and fixes for smartphone, gadget, and computer problems

  • Topics
    • Android
    • Gaming
    • Hardware
    • Internet
    • iOS
    • MacOS
    • Office
    • Software
    • Windows
    • Definitions
  • Product Reviews
  • Downloads
  • About Technipages
How to Insert and Remove SIM Card from Samsung Galaxy Z Fold 2

How to Insert and Remove SIM Card from Samsung Galaxy Z Fold 2

By Andrew Myrick 1 Comment

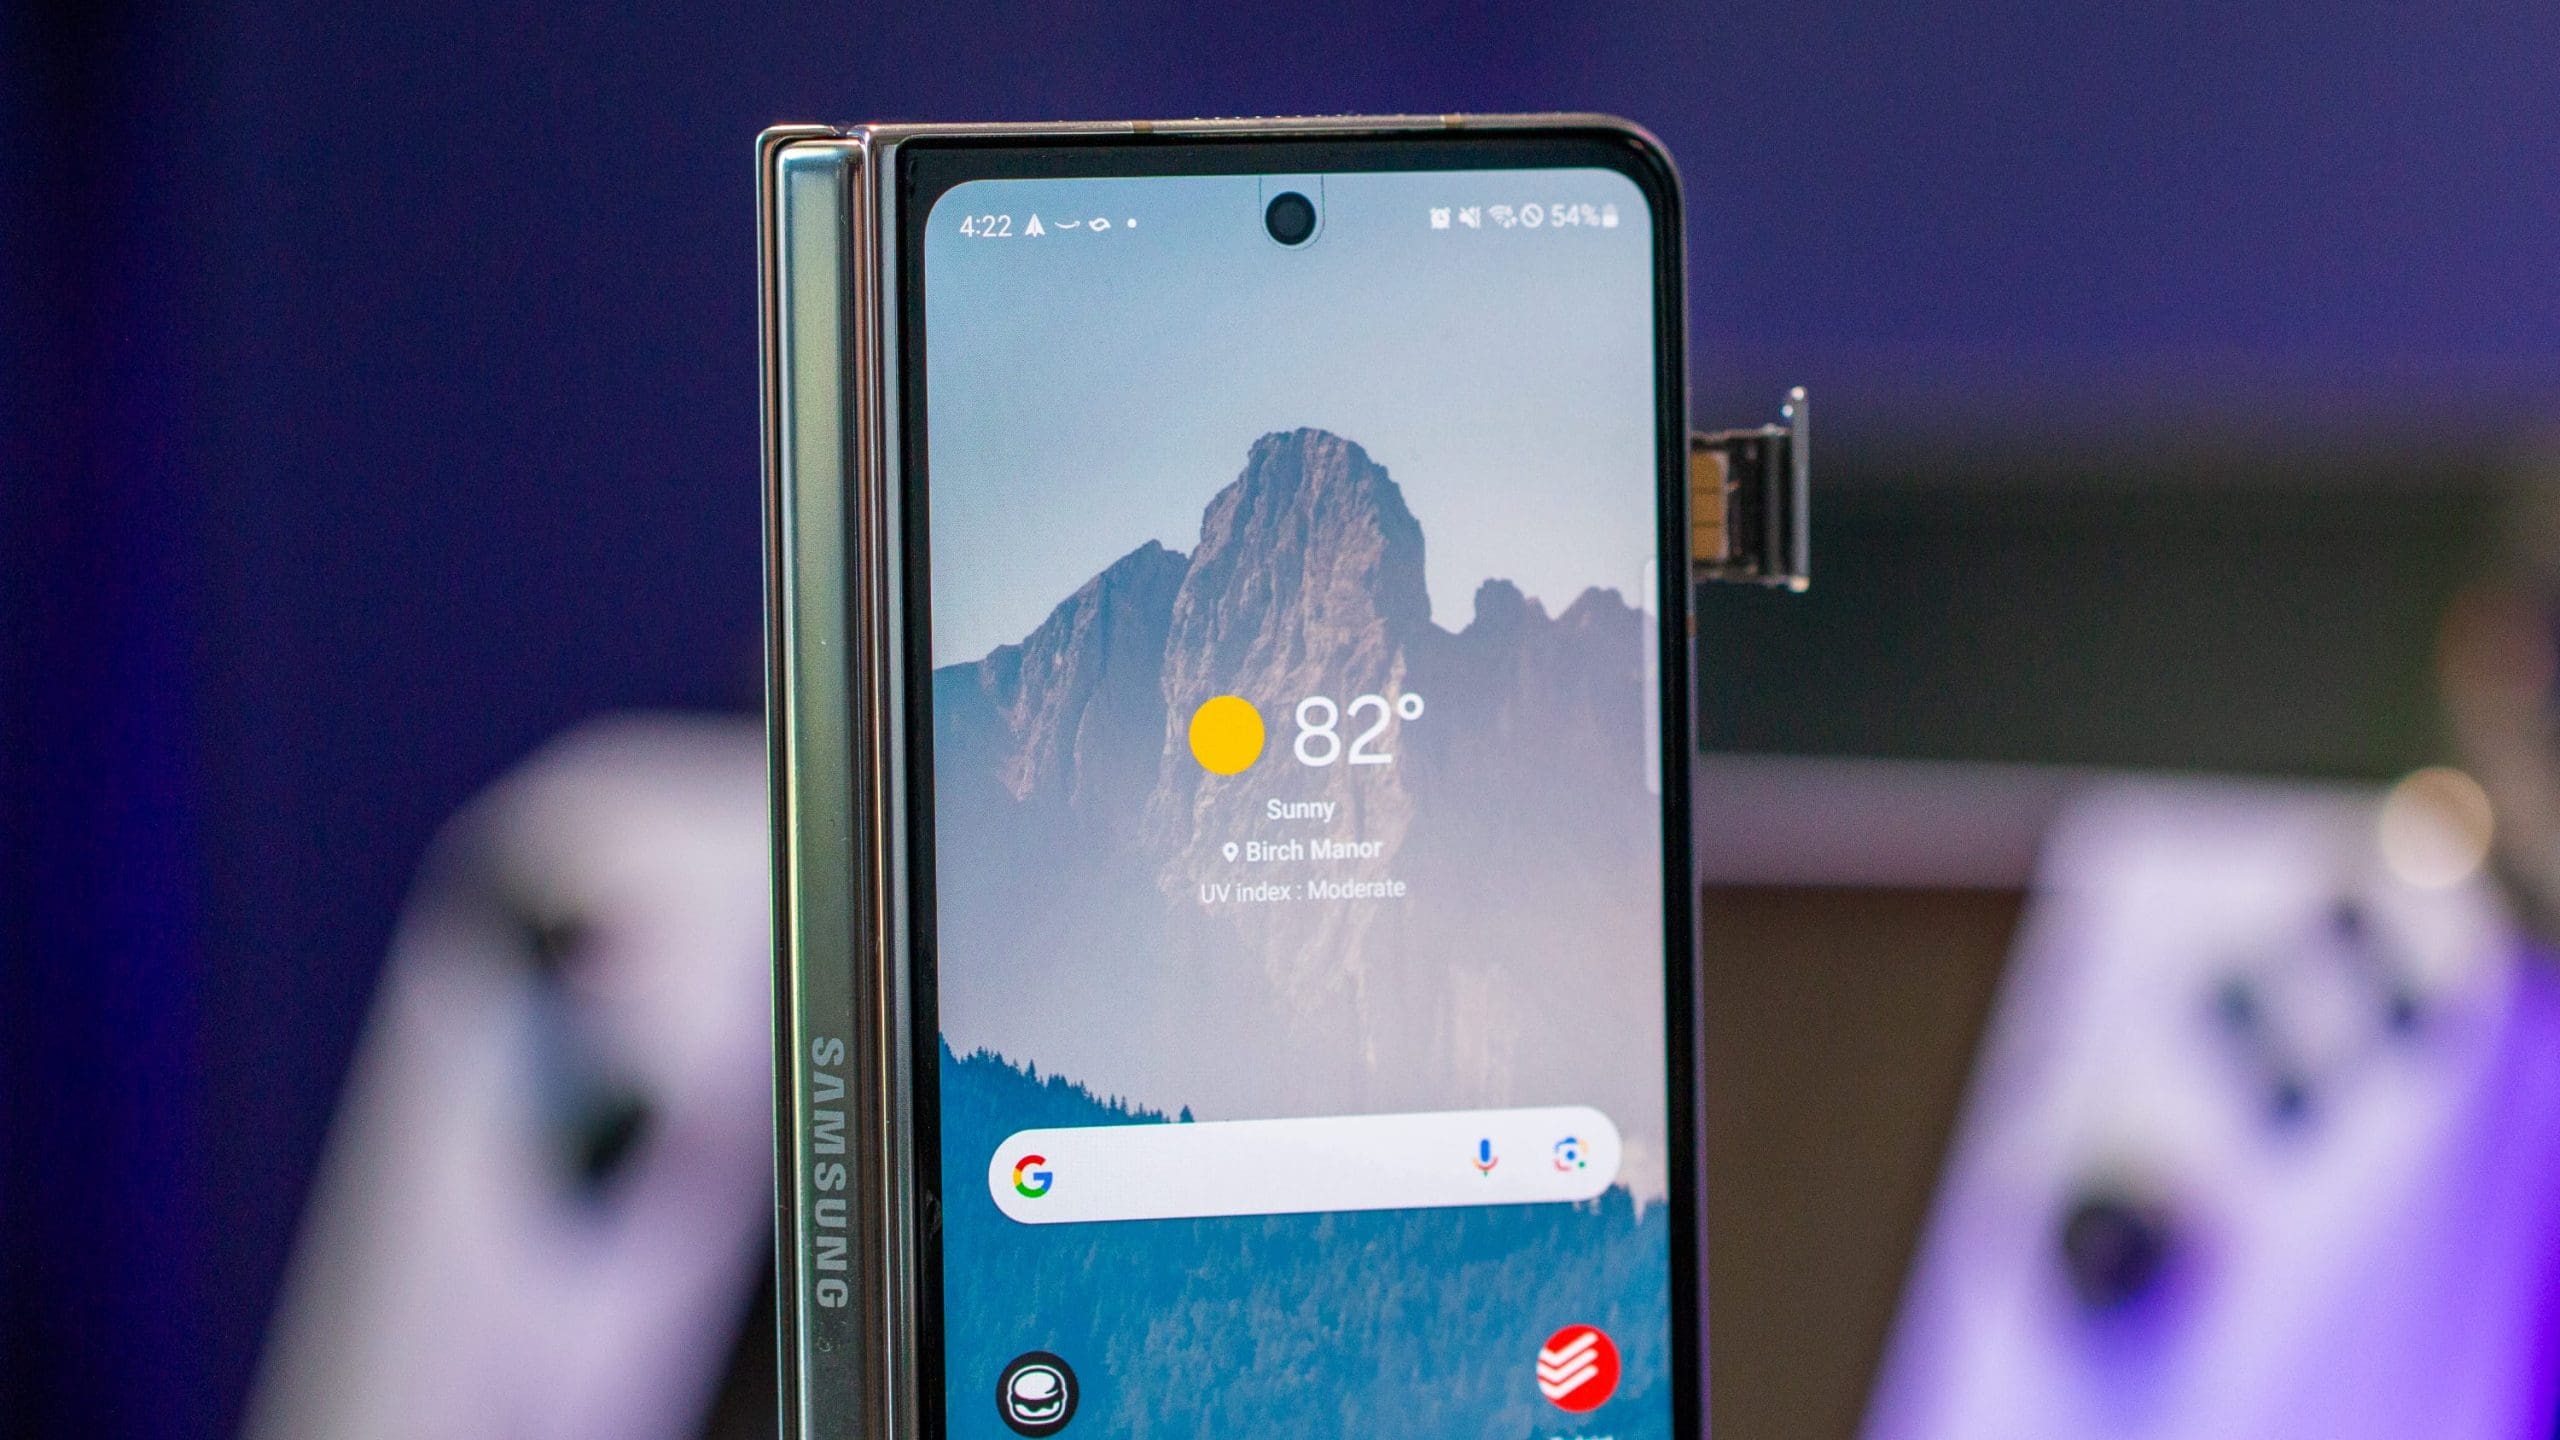
While eSIM’s are becoming more and more popular, they have not taken over the world as of yet. This includes the futuristic Samsung Galaxy Z Fold 2, as there is still a physical SIM card tray in the device. For some, you may need to take out the SIM card, especially if you are experiencing some network connectivity issues.

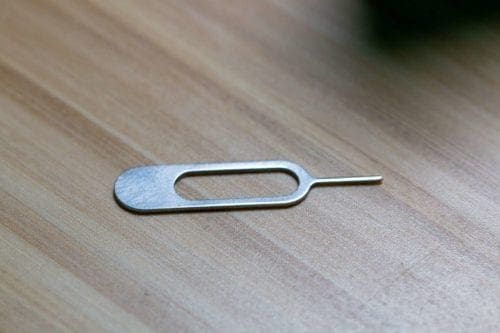
In order to remove the SIM card, you will need to know the location of the SIM tray, along with a SIM ejection tool. In the event that you can’t find the tool that is included in the Z Fold 2’s box, then you can also use a bent paper clip. Although if you are using a paper clip, you need to be a bit more careful.
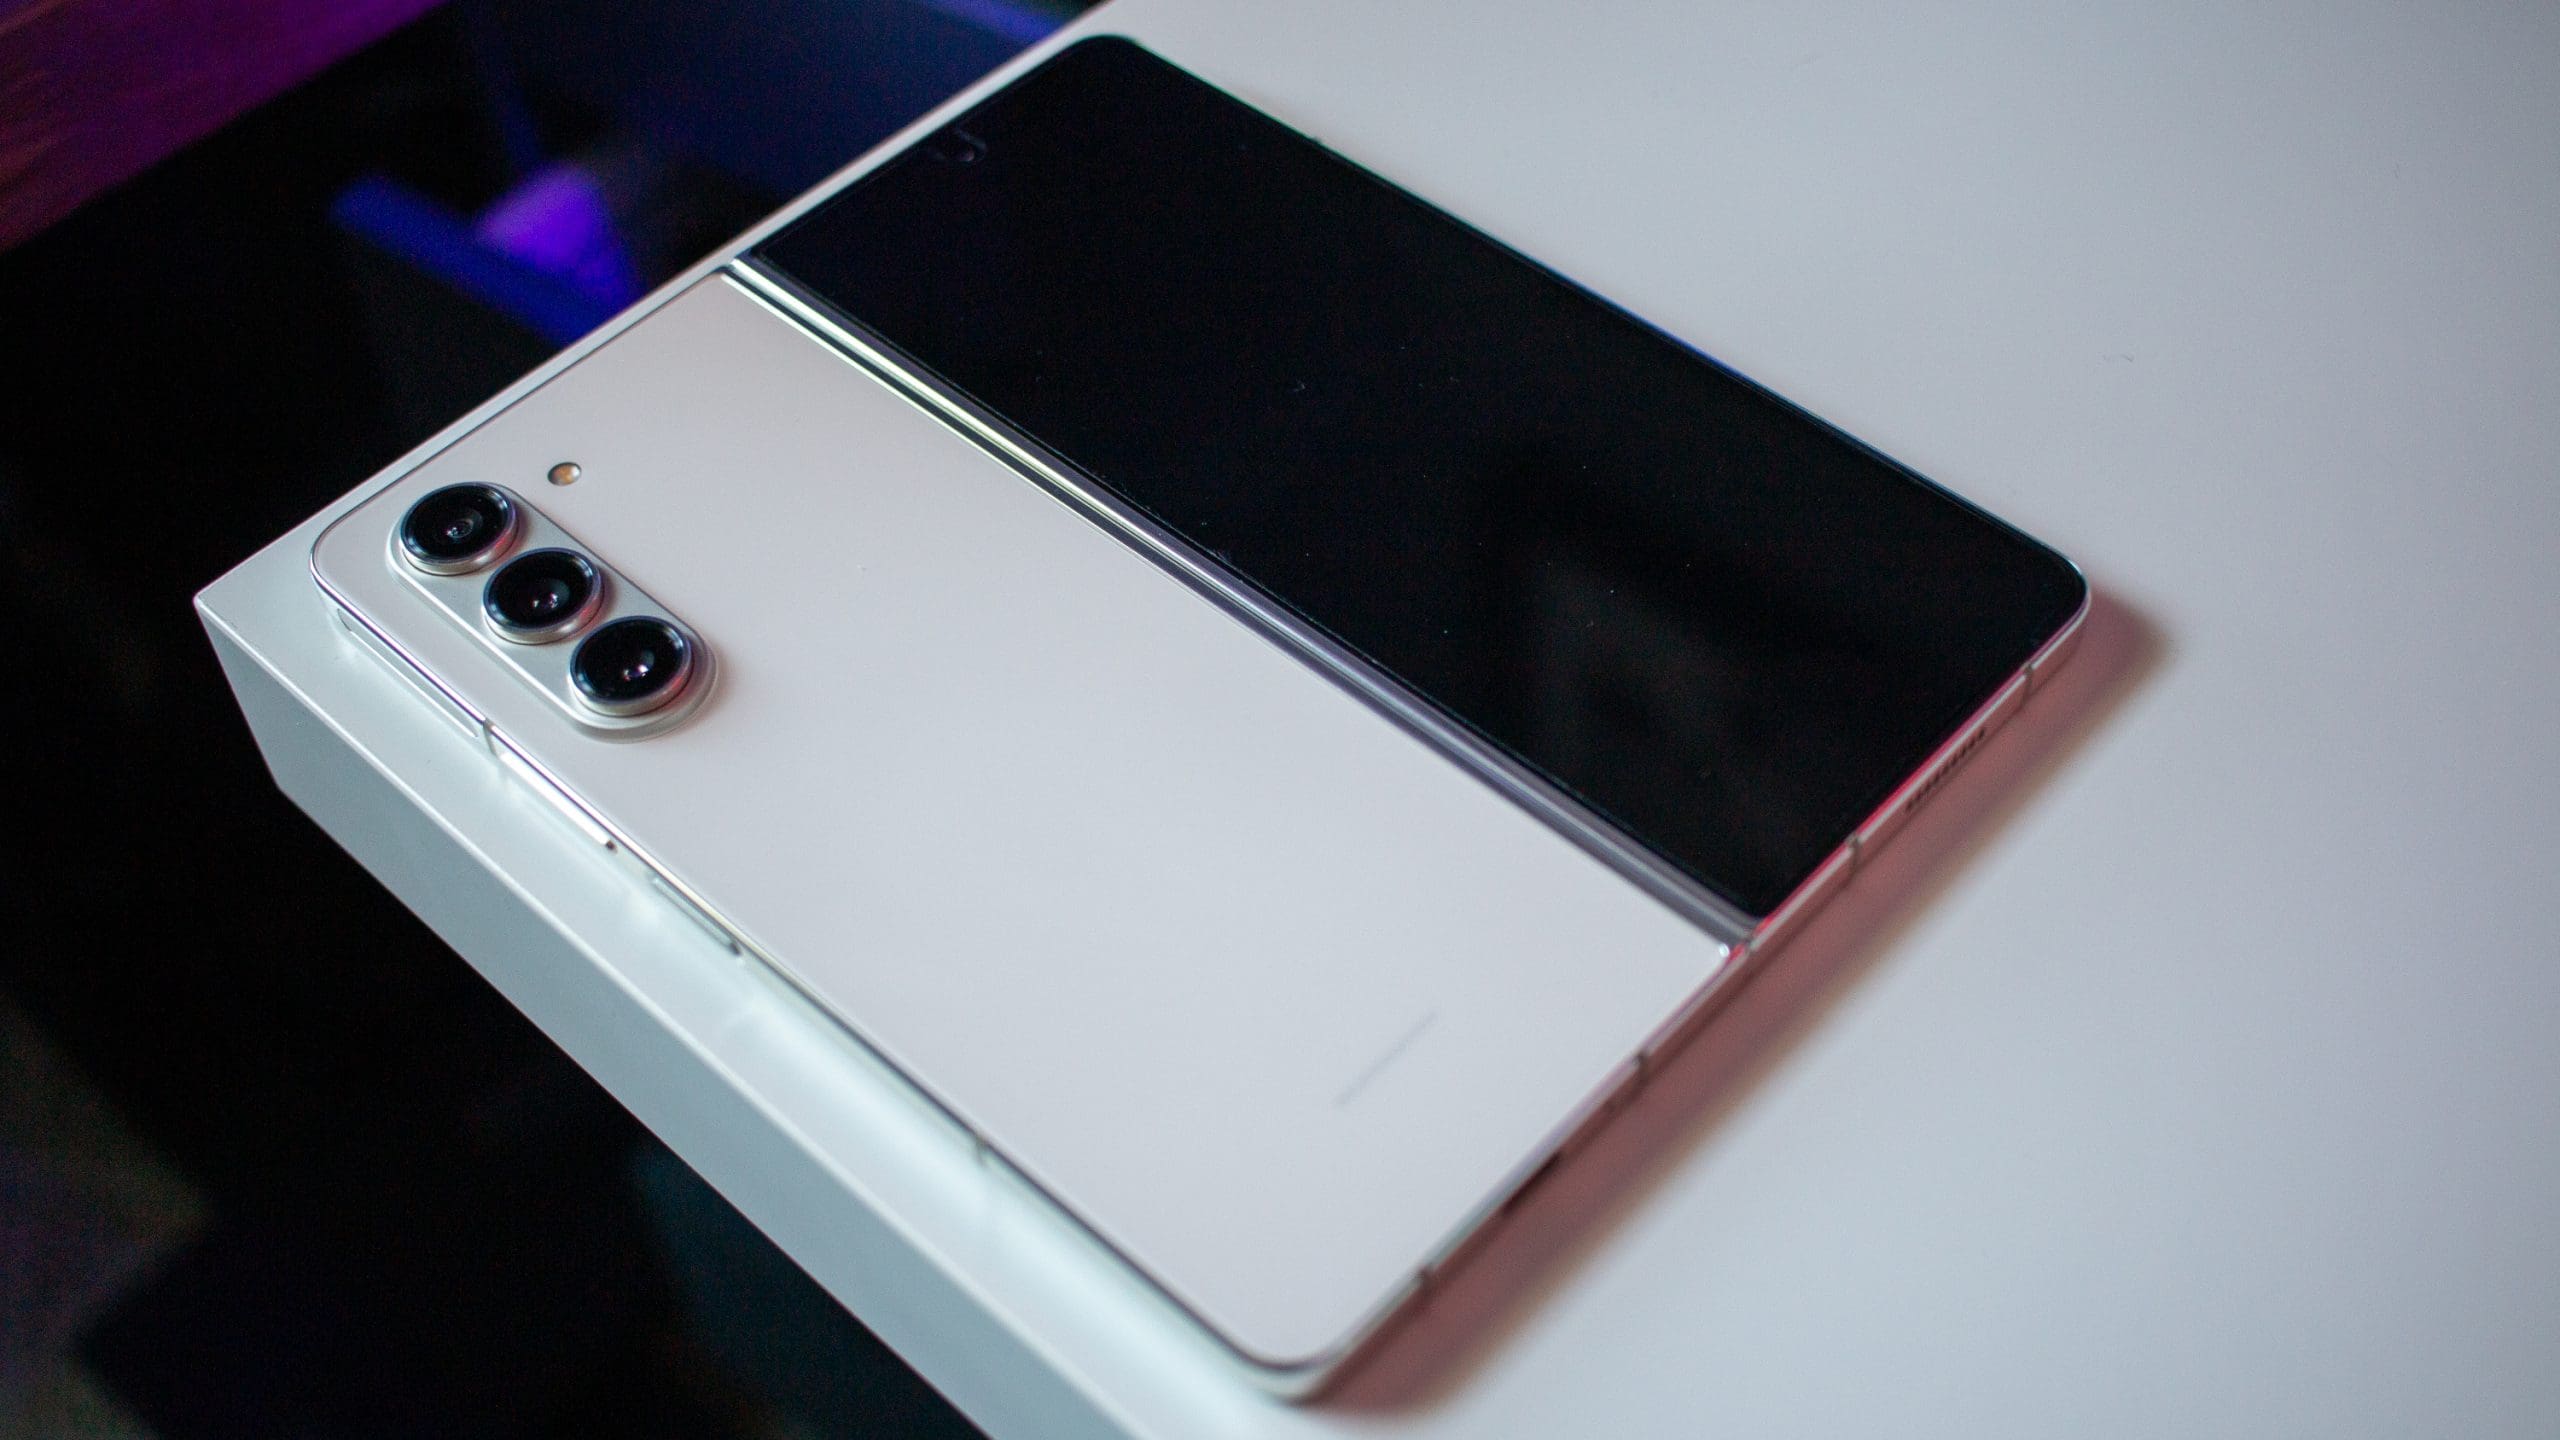
Insert and Remove the Galaxy Z Fold 2 SIM Card

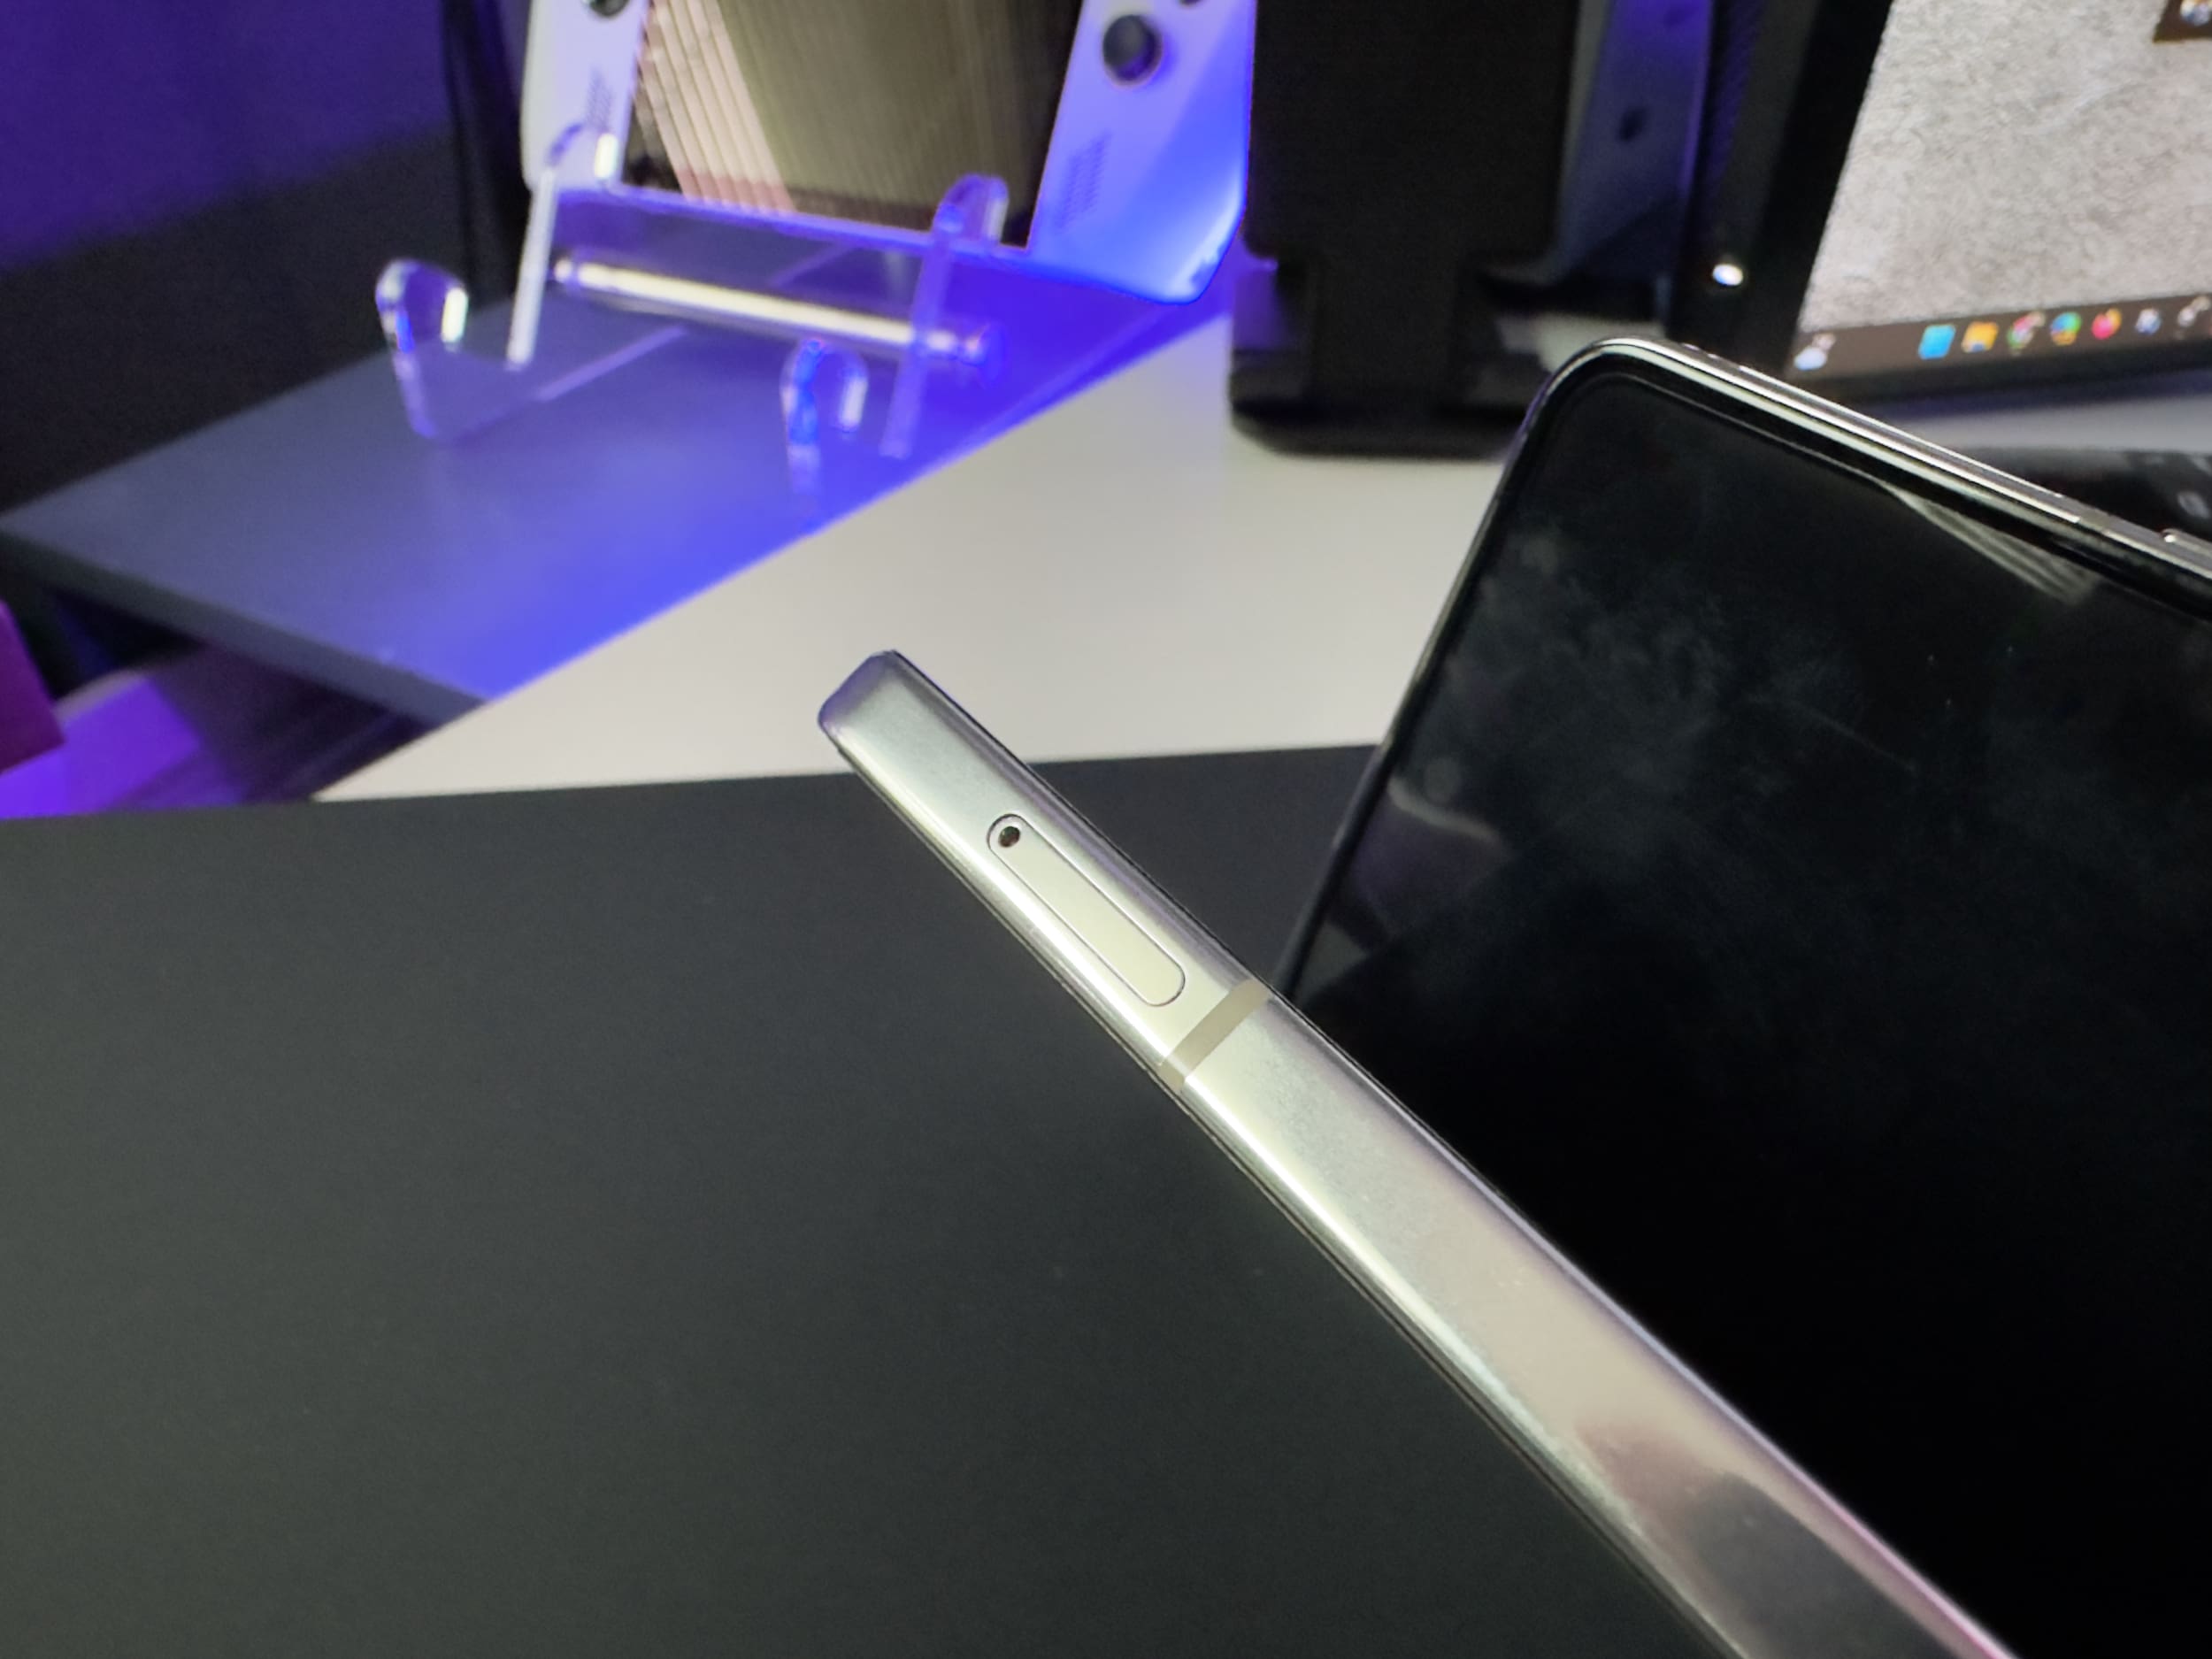
The SIM card tray is located on the outer frame of the front display. Look at the right side of the frame, and both the tray and ejection hole are near the bottom. Here’s how you can remove the SIM Card from the Galaxy Z Fold 2.

  1. Power the Galaxy Z Fold 2 off completely.
  2. Locate the eject hole on the outer frame of the device.
  3. Using the SIM eject tool (or paper clip), insert it, and gently push the button inside.
  4. The tray will eject.
  5. Carefully remove the tray from the frame.
  6. Remove the SIM card from the tray.

It’s important to note that when you remove the SIM card, a message notification pops up on your Z Fold 2 if it’s still powered on. This just lets you know that the SIM has been removed, and then goes away when the card has been re-installed.

When it’s time to put a new SIM card back into the Galaxy Z Fold 2, it’s important to have the card lined up properly. If the phone is facing upwards, the gold contacts will be facing down. You can also line up the SIM Card with the outline in the tray.

Once the card is housed in the tray, line up the tray with the open hole on the outer frame. Gently push the tray back into place until it is flush with the remainder of the frame. Once the card is back, just turn it back on and you are ready to get back to business.

You Might Also Like

  • Insert and Remove a Sim Card & SD Card on Samsung Galaxy S10
    Insert and Remove a Sim Card & SD Card on Samsung Galaxy S10
  • How to Insert and Remove SIM Card from Samsung Galaxy S20 FE
    How to Insert and Remove SIM Card from Samsung Galaxy S20 FE
  • How to Insert and Remove SIM Card from Samsung Galaxy S21
    How to Insert and Remove SIM Card from Samsung Galaxy S21
  • How to Insert and Remove SIM Card from Samsung Galaxy S22
    How to Insert and Remove SIM Card from Samsung Galaxy S22
  • How to Insert and Remove microSD Card from Samsung Galaxy Tab S8
    How to Insert and Remove microSD Card from Samsung Galaxy…
  • Galaxy S8+: Insert/Remove SD Card & SIM
    Galaxy S8+: Insert/Remove SD Card & SIM
  • How to Remove and Insert SIM/SD Card on a Galaxy J7
    How to Remove and Insert SIM/SD Card on a Galaxy J7
  • Galaxy S7: Insert or Remove SIM & SD Card Tray
    Galaxy S7: Insert or Remove SIM & SD Card Tray
  • Galaxy S6 & S6 Edge: Insert or Remove SIM Card
    Galaxy S6 & S6 Edge: Insert or Remove SIM Card

Filed Under: Android Tagged With: Samsung, Samsung Galaxy Z Fold 2

Reader Interactions

Comments

  1. Jude Pateman says

    March 17, 2021 at 10:03 pm

    I’ve inserted the sim and tray in but now its stuck and jammed in. Tool and paperclips still won’t make it pop out. How do I fix this problem as I can’t even call as its saying my ph can only be used for emergencies.
    Thanks
    Jude

Did this help? Let us know!

Your email address will not be published. Required fields are marked *

This site uses Akismet to reduce spam. Learn how your comment data is processed.

Primary Sidebar

Recent Posts

  • Windows 11: How to Fix Windows 11 Won’t Connect to a Network
  • What to Do When Firefox Won’t Load a Page
  • Chrome: How to Refresh Various Tabs Simultaneously
  • The Latest Foldable Phones – A Look At The Huawei Mate X2
  • Everything Announced at Google I/O 2022 That You Should Care About
  • How to Build the Best High-Spec PC for Your Budget
  • Google Shows Off Pixel 7 and Pixel Watch Ahead of Fall Launch
  • Windows 11: How to View Saved Passwords

Who’s Behind Technipages?

Baby and Daddy My name is Mitch Bartlett. I've been working in technology for over 20 years in a wide range of tech jobs from Tech Support to Software Testing. I started this site as a technical guide for myself and it has grown into what I hope is a useful reference for all.

You May Also Like

  • Sound Card
  • Need a Good Sim Card for The Usa? Here's 8 You Can Buy Right…
  • Best 7 Upcoming Samsung Phones

© Copyright 2022 Technipages · All Rights Reserved · Privacy