Did you know the average office worker receives over 100 emails every day? If you don’t filter these messages and place them in the right category, they’ll soon overwhelm you. Very few emails are actually important or urgent and require immediate action. Most of them are simply informational emails that you can quickly skim through to retrieve the main idea.
Managing incoming emails efficiently allows you to increase your productivity by not focusing your attention on unimportant or redundant messages. Let’s dive right in and explore how to automatically label emails in Gmail.
Contents
How Do I Automatically Label Emails in Gmail?
Labels help you automatically filter incoming messages and place them in the right category. You can use this simple method to keep your mailbox clutter-free and easy to manage. For example, you can create a “Read Later” category that you can use to label all of the emails that are not urgent, such as newsletters or meeting reminders.
First, you need to create a label. Then, you need to create a filter that automatically applies the label you just created. It’s that simple.
How to Create Labels in Gmail
- Go to Gmail, and select Settings.
- Then click on See all settings.
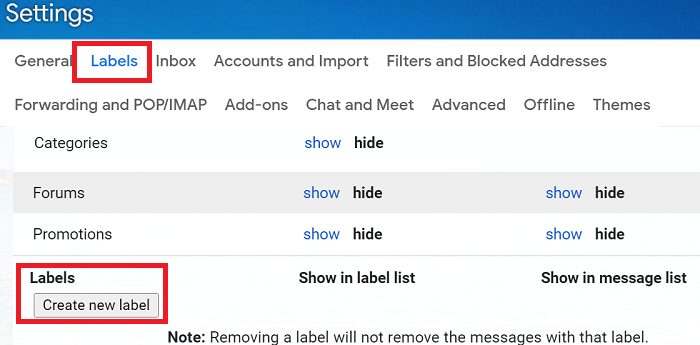
- Select the Labels tab.
- Scroll down to Labels, and select Create a new label.

- Enter the label name and hit the Create button.
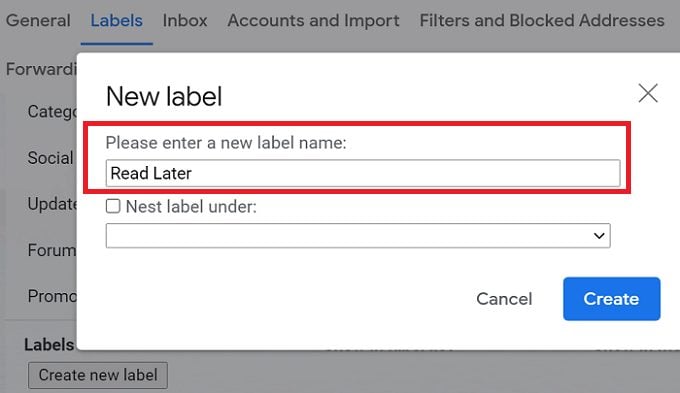
By the way, you can also create subfolders for your main labels by clicking on Nest label under.
How to Create Filters and Apply Labels
- Go to Gmail Settings, and select See all settings.
- Select Filters and Blocked Addresses.
- Then click on the Create a new filter button.

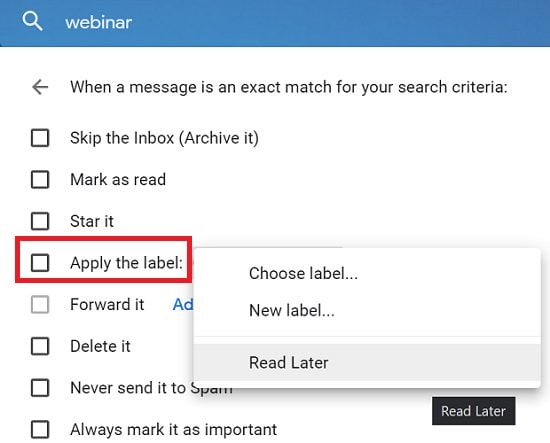
- Enter the terms you want Gmail to use when filtering messages.
- Check the Apply the label checkbox, and select the label you want to use.

- Hit the Create filter button to save the filter.

⇒ Quick Note: If you’re not interested in a specific category of emails, let’s say promotional emails, the best approach is to simply delete them. Don’t bother sending them to a special folder or category. Keep it simple and get rid of them quickly or block them automatically.
Conclusion
To automatically label emails in Gmail, first, you need to create your labels. Then, create a filter to automatically apply your labels. Use labels and filters to keep your mailbox clutter-free and focus on the important things.
What tips and tricks do you use to better manage incoming emails? Share your ideas in the comments below.