Imagine you are in charge of various projects at your workplace, and you have to respond to various emails regarding the projects. However, not all projects are very important. Some might be community development projects that the company is not in a hurry to execute, but the emails come in and clutter your inbox. As a result, you can’t tell which email is important to respond to first. It becomes a boring task to sort through the emails looking for important ones to respond to while leaving the less important ones for a later time.
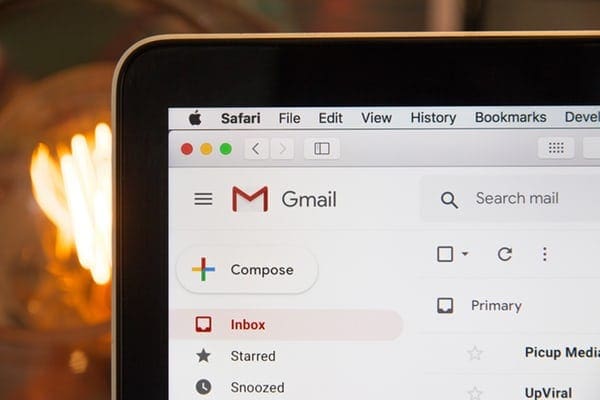
Gmail has solved this problem by providing its users with Labels as a means of organising their inbox. Other email providers such as Outlook, use Folders which serve a similar function to Labels. Labels allow Gmail users to categorize their mail however they choose to. For example, if I am working with different teams on two projects, say, “Decommissioning of Service Water Pump” and “Market Analysis of Product X”, then I will have two labels, one for each of the projects, and if I receive an email from any of the team members, the mail will automatically be assigned to the label I have created for the project they belong to. This makes it easier should one want to look for a particular email.
Before I proceed, please note that Gmail does not have folders, however, it has Labels, which does the work of Folders and more. You can move your emails to any Label, create as many Labels as you want, and the best thing about Labels is that an email can belong to more than one Label.
Contents
Emptying Gmail Folders
Assuming you have finished all work on the project and all communications relating to the project have become irrelevant and you don’t want to archive them, then you can permanently delete the emails in the project label. Note also that if you are using the free Gmail, you are limited to only 15GB of storage. This means that once you have used up to 15GB, your email will be filled up and you will either have to buy more storage space or delete old emails to create space. So regularly deleting mails is another way to preserve space on your Gmail storage.
Permanently deleting the contents of a label is easy with Gmail. Follow the steps below to delete the contents of your Label:
Step One:
Log into your Gmail on your PC if you are not already logged in. You can access Gmail here.
Step Two:
On the left-hand side of the page, scroll down to the label you want to empty. Click on the label to open it. Let’s say I want to open the label “Receipts”.
Step Three:
On the top left-hand side of the label, click on the dropdown arrow beneath the square. A pop-up window will appear with various options. Select All from the options. This will select all conversations on the page. You can also click on the square.
Step Four:
If the number of mails in the label is not more than 50, and all the emails in the label are shown on the page, then they will all be selected; but if the number of emails in the label is more than 50, then only the first 50 emails will be selected. To select all the emails in the label, click on Select All 3,600 (the number depends on the total number of mails in your label) conversations in Promotions (Name of Label).
Step Five:
All the emails in the Label are now selected. Go over to the top of the page and click on the waste bin symbol. If you hover your mouse over the symbol, it will display Delete. Click to delete all the contents of the label.
I hope you have successfully emptied your folder/Label in Gmail. There are times when you don’t just want to empty the folder but to remove it completely from your Gmail. Gmail provides a simple way to remove a label. So should you perhaps wish to delete the entire Label, then you can do so by doing the following:
- Navigate to the Label you want to remove and hover your mouse over it.
- The label will be highlighted, and at the right end of the highlight, three dots will appear. The dots are temporary and will disappear once you remove the mouse.
- Move the mouse to the three dots and click on them.
- A pop-up will appear with options. Click on Remove Label to remove the Label from your Gmail.
The above steps show how to remove an entire Label from your Gmail account. Knowing how to manage your mail properly is a key skill for been productive at work, especially for those whose job requires handling lots of mail.


I needed instructions how to delete empty Labels from GMail on my iPhone.