
In order to safely remove or add a SIM or SD card, you should always make sure that your phone is properly powered off. Not doing so can damage either your phone or the SIM card.
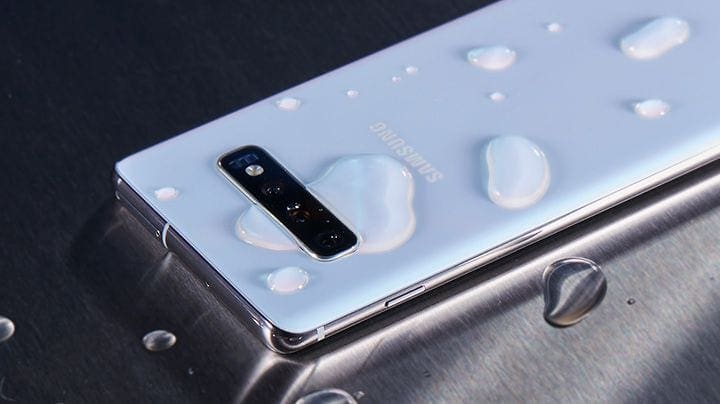
Set your phone screen side up down on a flat surface – you’ll need to open the SIM card tray. Its location will depend on your specific phone model – for an S10e, it’s located at the top of the phone, on the left half of the metal outside edge.
You’ll see a small hole that’s part of a separate section to the rest of the phone.
Hint: Make sure that you aren’t confusing the SIM card tray with the microphone opening at the top of your phone. The microphone is located on the right, while the SIM tray is on the left.
Opening the tray
Use either the SIM tray removal tool that shipped with your phone or something similarly small and thin like a paperclip to push into the opening in the tray. You’ll feel a bit of resistance before the tray pops out a little.
Tip: Don’t use anything that breaks easily or leaves a residue, such as a wooden toothpick or a graphite pencil – you can damage your phone that way.
Remove the tray the rest of the way by carefully pulling it out. With the tray removed, you can now add or remove SIM and SD cards as you like. Depending on whether or not you have a dual SIM model, your phone may be able to support two SIM cards at the same time.
Whether it is or not though, the second SIM card slot always functions as an SD card slot as well. That means that your phone can either have two SIM cards or a SIM and an SD card, but not both at the same time.
Closing the tray
Make sure that whatever you are adding or removing to the tray sits comfortably in its designated slot, with the contacts facing the right direction before sliding the tray back in. Also double-check that your tray and the opening are clean of any dust, residue or dirt before reinserting it.
To put it back in you won’t need the tool – simply slide it back inside and make sure it is flush with the rest of the edge of your phone.
Tip: Your tray won’t slide back in if your SIM or SD cards are placed wrongly – so if you aren’t sure, see if it slides in easily. If not – do NOT force it, you could very easily damage the fragile tray.
Turn your phone back on, allow it to update if necessary, and whether you added or removed a card, your phone should now be able to use it without issue. If it doesn’t recognise an added card, first confirm that there are no problems regarding region- or SIM-locks, before removing the tray again. Check that all contacts on the card are clean and they are sitting in their respective slots.
Tip: If you have added a second SIM – also check that you definitely have the Dual SIM version of the S10e. If you don’t, adding a second SIM simply won’t work!


No idea which hole to push the paperclip into. I think I just killed my phone.
Not so much. You warn me not to confuse the microphone hole with the sim card hole, but then give ambiguous directions — the left side with the phone screen-down, or the left side of the phone?