
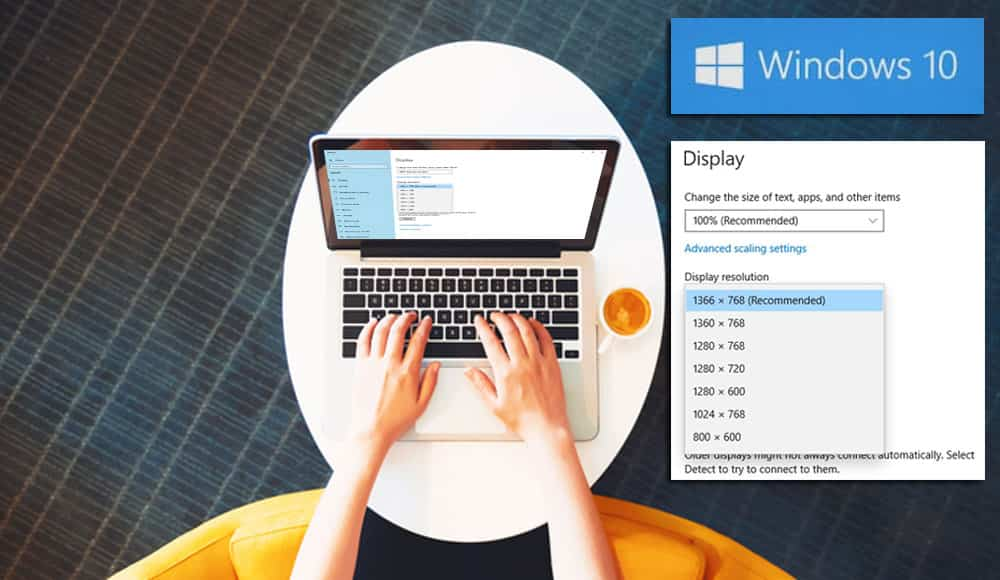
Microsoft introduced an option to customize screen resolution in Windows 10. You can change the screen resolution of your computer according to your needs.
You will come across a long list of options to choose from. This can be both good and bad for users. Tech lovers will enjoy the multiple options, but some users will find it difficult to pick from too many options.
Regardless of whether you love this feature or hate it, you’ll likely want to at least try it. What’s the point of changing screen resolutions and how do you do it?
Why Would You Want to Change Your Screen Resolution?
These days everyone is excited about high definition display units. Hardware plays a key role in display capabilities of the screen unit, but software can also enhance the user experience to some extent.
Everyone buys HD display units for amazing gaming and cinematic experience. But you can do one more trick to improvise your display quality.
Windows 10 is the leading operating system to date. Limited features were available in older Windows operating systems, but in Windows 10, you can enhance your user experience as much as possible.
One of these examples is choosing the resolution of your display unit within a wide range. This is what you can do customize your screen resolution:
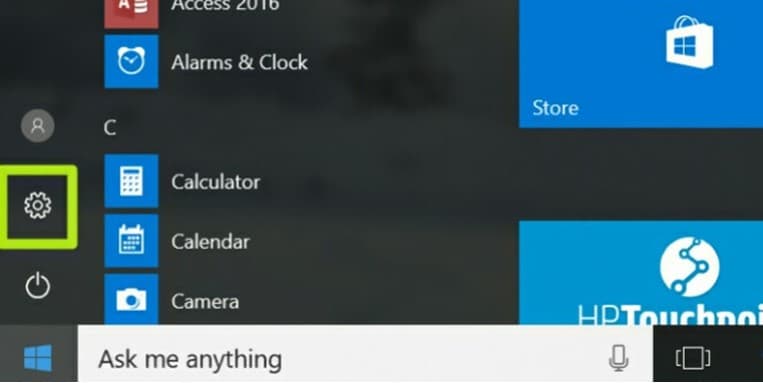
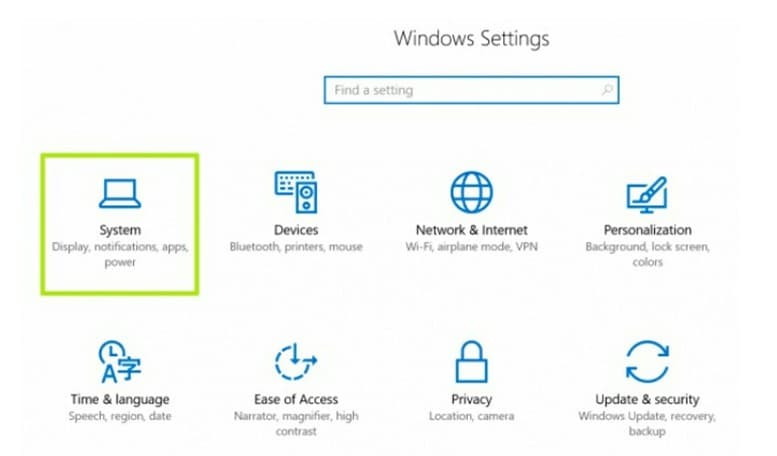
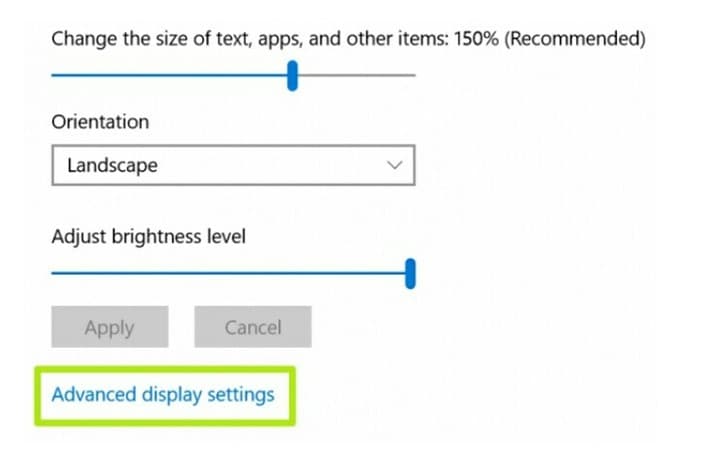
1. Go to the Settings app and explore the Display You will find the resolution settings in Advanced Settings.

2. Look down in the Advanced Settings. Here you have to click on the Adapter Settings. It contains information about the displaying capabilities of your computer.
3. Adapter tab contains only two buttons. Properties button is at the upper side of the Adapter Settings. You will see List All Modes button at the lower side.
4. You have to click on the List All Modes A long list of display resolutions will appear when you click it.
5. Now choose screen resolution of your preference. Most of us do not know about the function of screen resolutions. Windows will also suggest a suitable screen resolution. It is up to us to keep it or change it.
6. Finally, confirm your choice by pressing the Apply Your monitor screen will blink for a second. After the blink, you’ll see the new resolution.
If you don’t like the resolution setting you’ve chosen, you can try other options. Just go back to step one and reset everything again choosing a different resolution until you find one that feels comfortable.
You might also want to change the resolution based on what tasks you are doing at any given moment. Again, all you’ll need to do is follow the steps and adjust the resolution as you do different things in Windows 10. Some people settle on a resolution the like and never change it again, while others are constantly adjusting and readjusting their resolution. Windows 10 gives you the option of making changes whenever you choose.
Pros & Cons of Upgrading to Windows 10 Professional
While Windows 10 S is not a good solution for most users, some might prefer the streamline capabilities of the system for their needs. Because all third-party apps are disabled, Windows 10 S makes for better work computers without the need to block apps afterward.
– Faster
– More Stable
– Third-Party Apps
– Accessible Command Line
– Third-Party Apps
– Default Administrator Control
– More Hardware Demands
If you don’t want to go through the online channels, you can purchase a bootable USB flash drive with Windows 10 Pro directly from Amazon and install it that way.


The article is a complete misinformation for most of Win 10 users that now know a simple constatation: Microsoft privileged Surface screens, not bigger ones from worldwide users.
This article was not helpful. It doesn’t describe how to set a custom resolution at all. Just how to select one of the existing reported resolutions.
no I can’t see how to customize windows 10 pro and have not get any help