
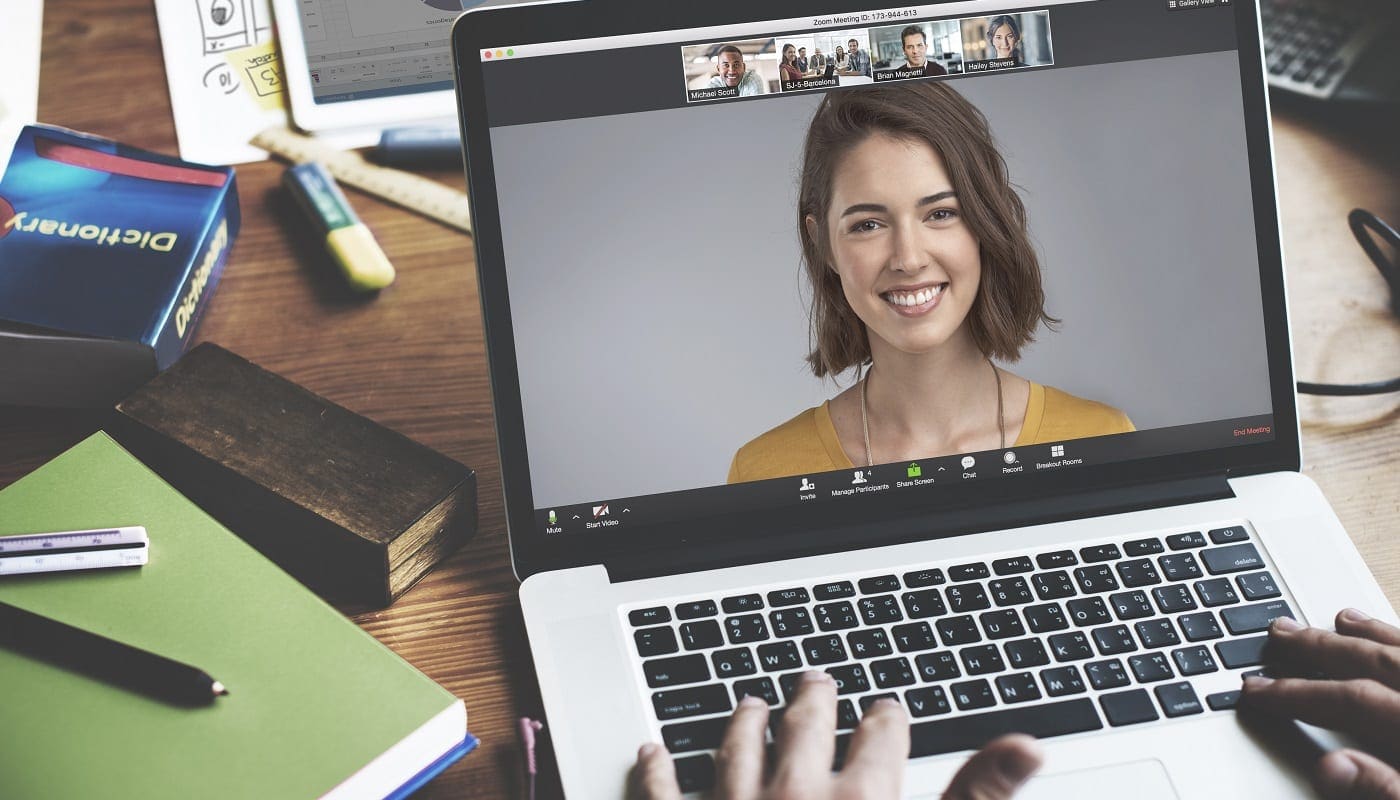
While the transition to online meetings hasn’t been easy for everyone, it does have a few upsides – video filters. While they aren’t always appropriate, they can help bring some levity to a virtual classroom or meeting – and they’re fun!
Not only does Zoom allow you to set a background that appears around you to hide your real home if you want, but you can also apply filters to yourself. They’re not quite Instagram-star effects, but they can add some cute and exaggerated accessories or even an angel’s halo to your meeting-self.
Tip: If you are going to have a job interview or a serious, professional meeting, be sure to check BEFOREHAND if you have a silly option enabled to avoid embarrassment when the meeting starts and you find yourself dressed up as a unicorn!
If you’ve ever wanted to go through a business meeting with a dapper mustache, now is your time – at the time of writing this, Zoom had more than sixty filter options to choose from.
Tip: The host of a meeting can choose to disable filters if they want to – don’t be upset if your boss/teacher would rather see your normal, gorgeous self than the dolled-up version!
Finding the Right Filter
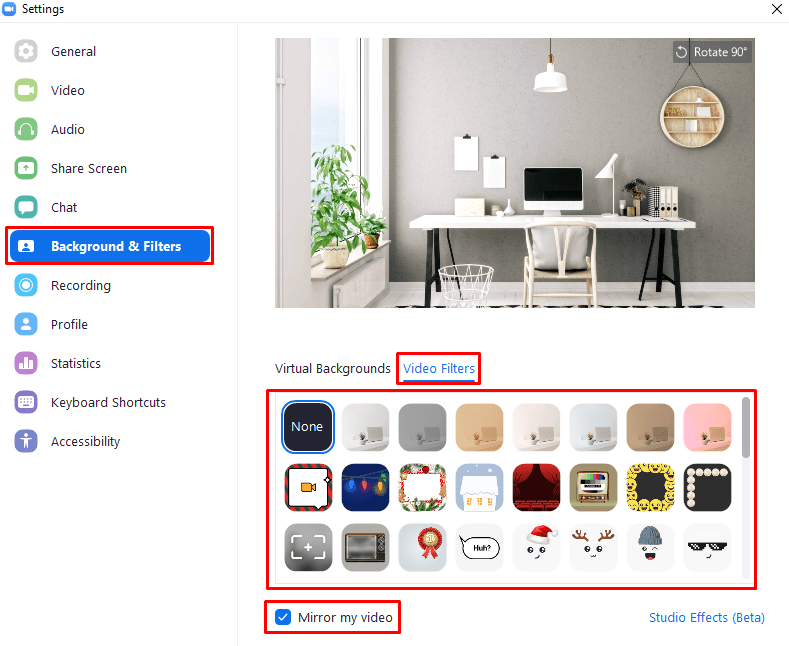
To see your filters, click on your user icon in the top-right corner, then click on “Settings.”

Once in the settings, switch to the “Background & Filters” tab, then click on the “Video Filters” sub-tab. Here you can choose one of the more than sixty video filters as well as selecting no filter. The first option is “None,” which disables the filter; the other seven options in the first row are color filters that add a tint to your webcam feed. The next twelve filters are static borders with different effects. All of the other filters are dynamic filters that position themselves on or around your face as you move, such as glasses and hats.
Tip: If you have the “Mirror my video” option enabled at the bottom left of the settings menu, this will also mirror filters. This isn’t much of a problem for most filters, but some include text which will obviously look wrong when mirrored. If you’re using filters with text, you may want to disable the webcam mirroring.
Studio Effects
In the bottom right corner of the “Backgrounds & Filters” tab is the “Studio Effects (Beta)” button. Clicking this opens a new panel on the right of the window that allows you to configure eyebrow, facial hair, and a lip color filter. These effects stack with each other and with the standard video filters; the only limitation is you can only have one filter from each category.
To apply an eyebrow or facial hair filter, select one of the eyebrow shapes. Once you’ve selected a shape, you can select the hair color you want the filter to use with the colored circles. The last colored circle allows you to enter a color picker to select any RGB color combination.
Tip: By default, the last circle used to access the color picker is a spectrum, and so it is quite easy to tell that it is different. Once you’ve selected a custom color, however, it will stay that color and not change back to the spectrum, making it less obvious that you can still use it as a color picker. To change the last circle back to a spectrum, you need to enable any “Studio Effect” then click the “Reset” button at the bottom of the panel.
Below the color selection is a slider labeled “Opacity,” this allows you to configure how solid the eyebrow or facial hair effect appears.
The “Lip Color” section at the bottom of the “Studio Effects” panel allows you to select a custom lip color. It comes with a slightly wider default selection of colors, as well as including the color picker and the opacity slider.


Can I add my own customized studio effects to the ones Zoom already offers? I know you can your own customized background filter….
My zoom (laptop) camera is too wide angle. How do I zoom in on my head and shoulders?