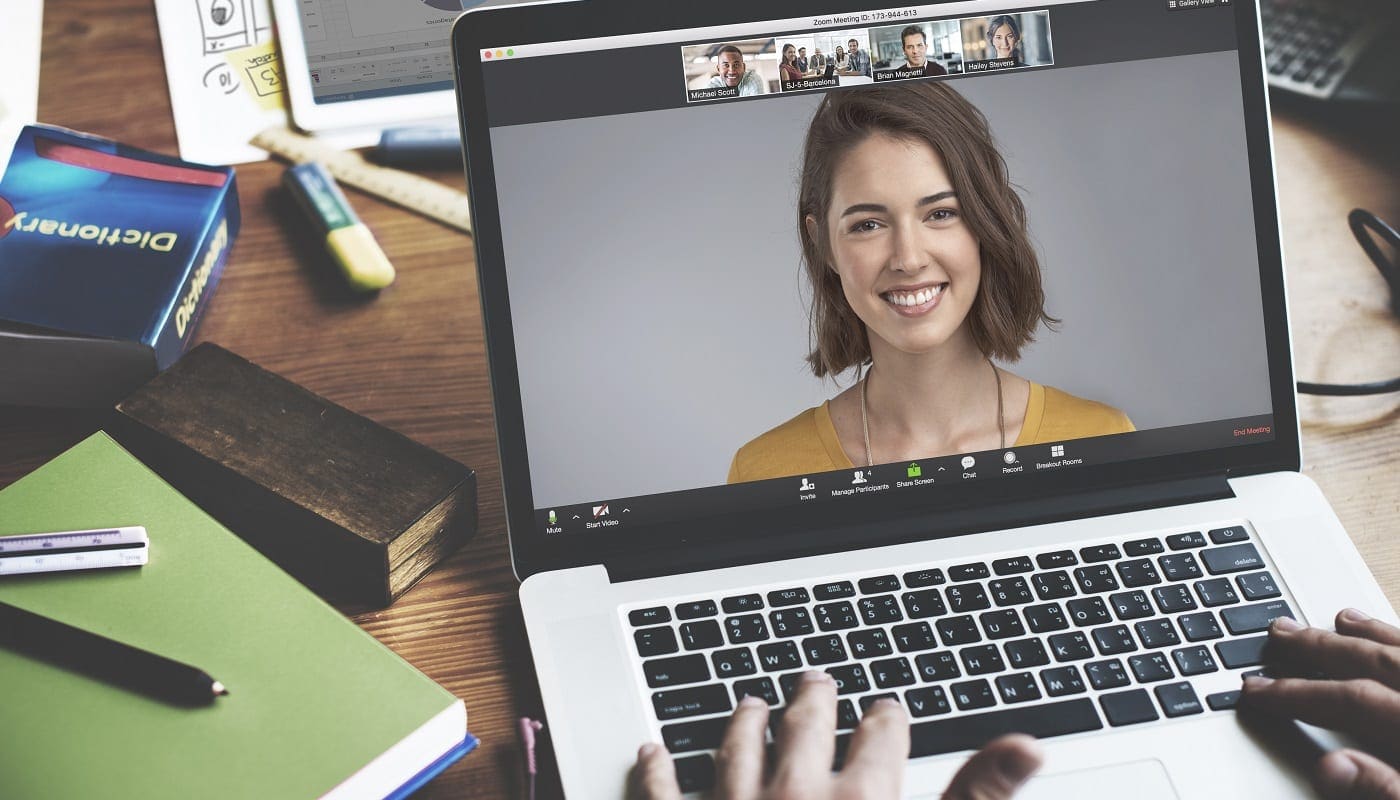
Zoom is a key part of communication during the Covid-19 pandemic and the resulting lockdowns. It is used for both personal and work communications and allows users to communicate through text, voice, and video. One of the things that you may want to do during a video call at some point is to record the call.
There are plenty of reasons to record a Zoom call, you may be using a video call to produce a podcast. For example, you could be recording a lecture from university so you can re-watch it when you study, or you could be recording a family get-together for posterity.
In some scenarios, you wany want to include a timestamp on the video. This is especially true if you want to use the recording as evidence that you’ve done something or that someone else promised something. Timestamps in video offer an extra level of trustworthiness as to the veracity of the content they claim to show. Timestamps can also be particularly useful if you need to refer to specific portions of the video or if you want to note a specific segment that you want to come back to edit.
If you want to add timestamps to your Zoom recordings, you need to open Zoom’s settings. To access the settings, click on your user icon in the top-right corner, then click on “Settings”.

Once in the settings, switch to the “Recording” tab. To enable timestamps in your Zoom recordings, you need to tick the checkbox labelled “Add a timestamp to the recording”.
Tip: This setting only applies to future recordings. It does not apply to past or currently running recordings.


Hello,
I used an audio recording of a zoom meeting MP4 and transcribed it using MS Word Dictate. The resulting transcription had a timestamp every few seconds, this one person`s presentation was 20 minutes long yet timestamps were inserted after 15 words said or 3 words.
Can this be adjusted?