
XPS files are documents written in the XPS page description language that have a specific layout. The XPS file format is actually Microsoft’s alternative to PDF.
Much to Microsoft’s disappointment, the XPS format is far from being as popular as the PDF format. But this did not prevent Microsoft from including excellent XPS support in modern Windows 10 versions.
As a matter of fact, you can open and view XPS files with the built-in XPS Viewer. But many users reported this app is nowhere to be found on their computers. This is because you need to manually enable it on your device.
Contents
How to Restore XPS Document Writer in Windows 10
Method 1 – Use Optional features
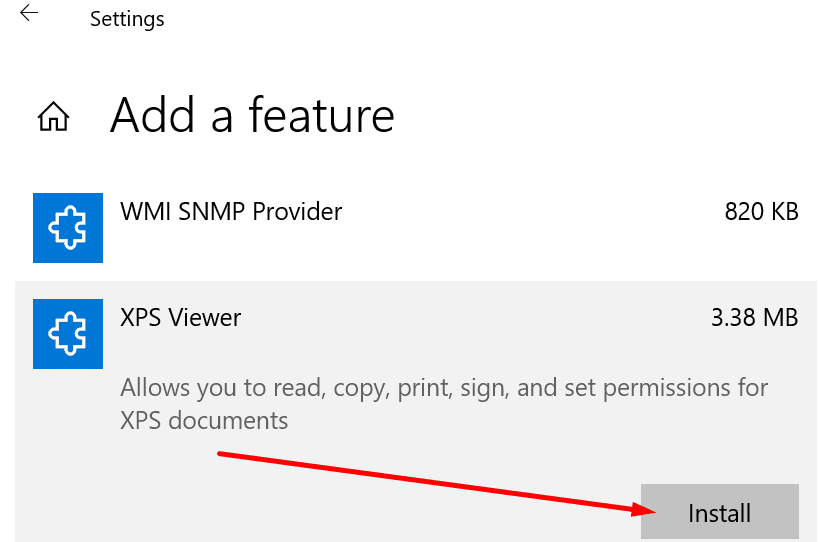
- Go to Settings → Apps & Features → Optional features
- Click Add feature and scroll down to XPS Viewer

- Select the app to install it on your computer.
Method 2 – Use the Windows Features settings
You can enable XPS Viewer on your computer using the Windows Features settings.
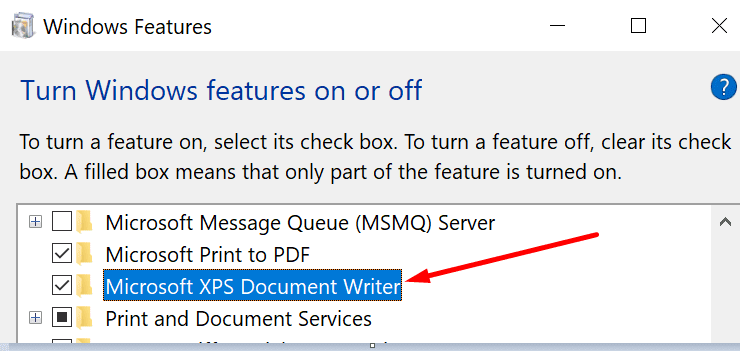
- Go to the Windows search box, type turn windows and then select Turn Windows features on and off
- Check the Microsoft XPS Document Writer

- Apply the changes and restart your computer.
Method 3 – Use Command Prompt
You can also restore XPS Viewer from Command Prompt. Launch the tool with admin rights and enter this command: dism /Online /Add-Capability /CapabilityName:XPS.Viewer.
Hit Enter and check if the XPS Viewer shows up on your machine.
If you already installed XPS Viewer on your machine, but your computer still cannot detect the app, pursue additional troubleshooting steps.
Method 4 – Tweak your printer port settings
- Open a new Run window by pressing the Windows and R keys simultaneously
- Enter the Control.exe Printers command and hit Enter
- Right click on Microsoft XPS Document Writer and select Remove device

- Go to Add a Printer
- Select The printer that I want isn’t listed

- Go to Add local printer

- Select Create a new port and name it XPS

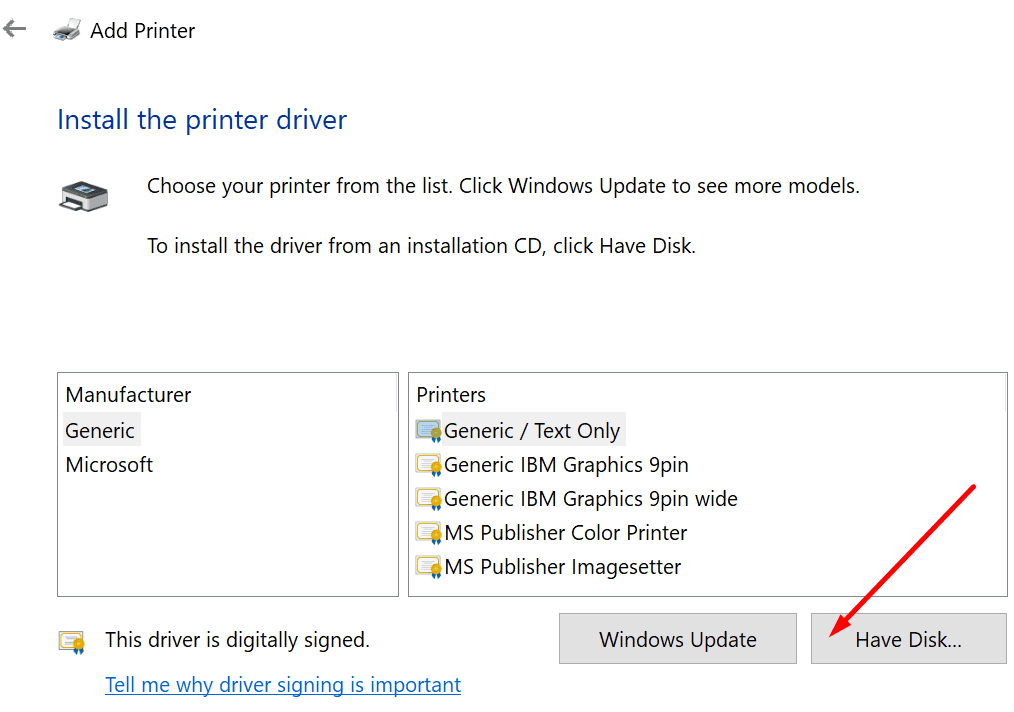
- Select Have disk, and then Browse

- Select the prnms001 file

- Click on Replace current drivers
- The printer name you previously entered will now appear as a Microsoft XPS Document Writer.


Alternatively, you can also use this method.
- Go to Add a Local Printer → Create a New Port
- Select Local Port → Next
- In the Enter a Port Name field, type in XPS Port → OK
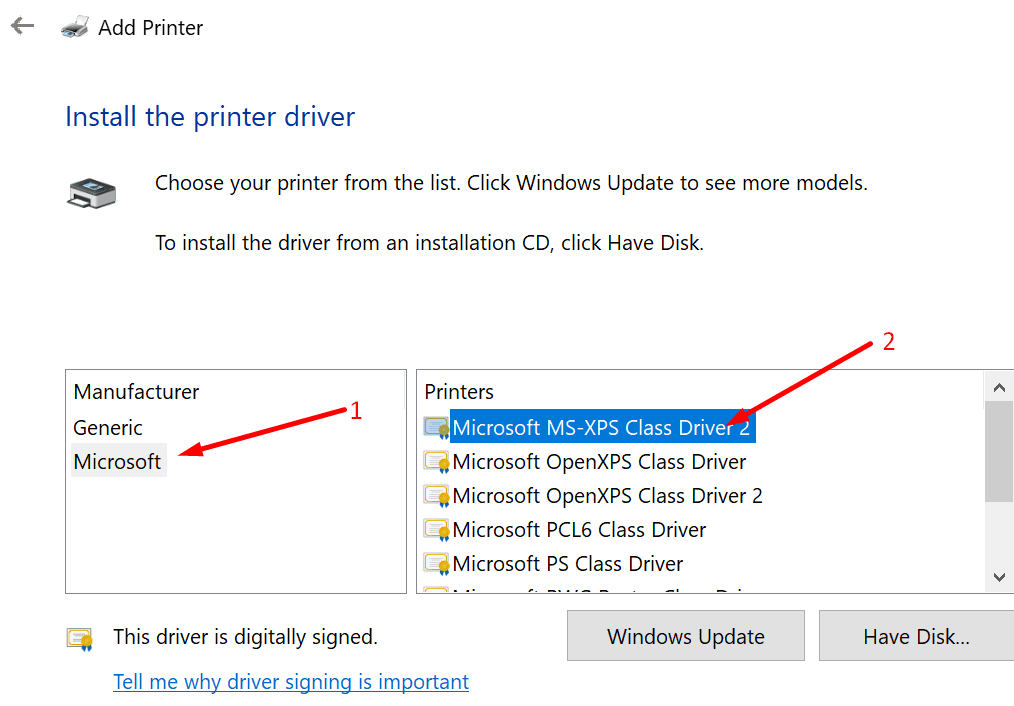
- Select Microsoft in the Manufacturer list

- Select the latest XPS Document Writer version → Next
- Select Use the Driver that is Currently Installed
- The printer name should be Microsoft XPS Document Writer
- Click on Do Not Share Printer
- Uncheck the box for Set As Default Printer → Finish.
Method 5 – Update the OS and printer drivers
Your Microsoft XPS Writer might be missing or fail to work properly if you’re running outdated OS versions and printer drivers.
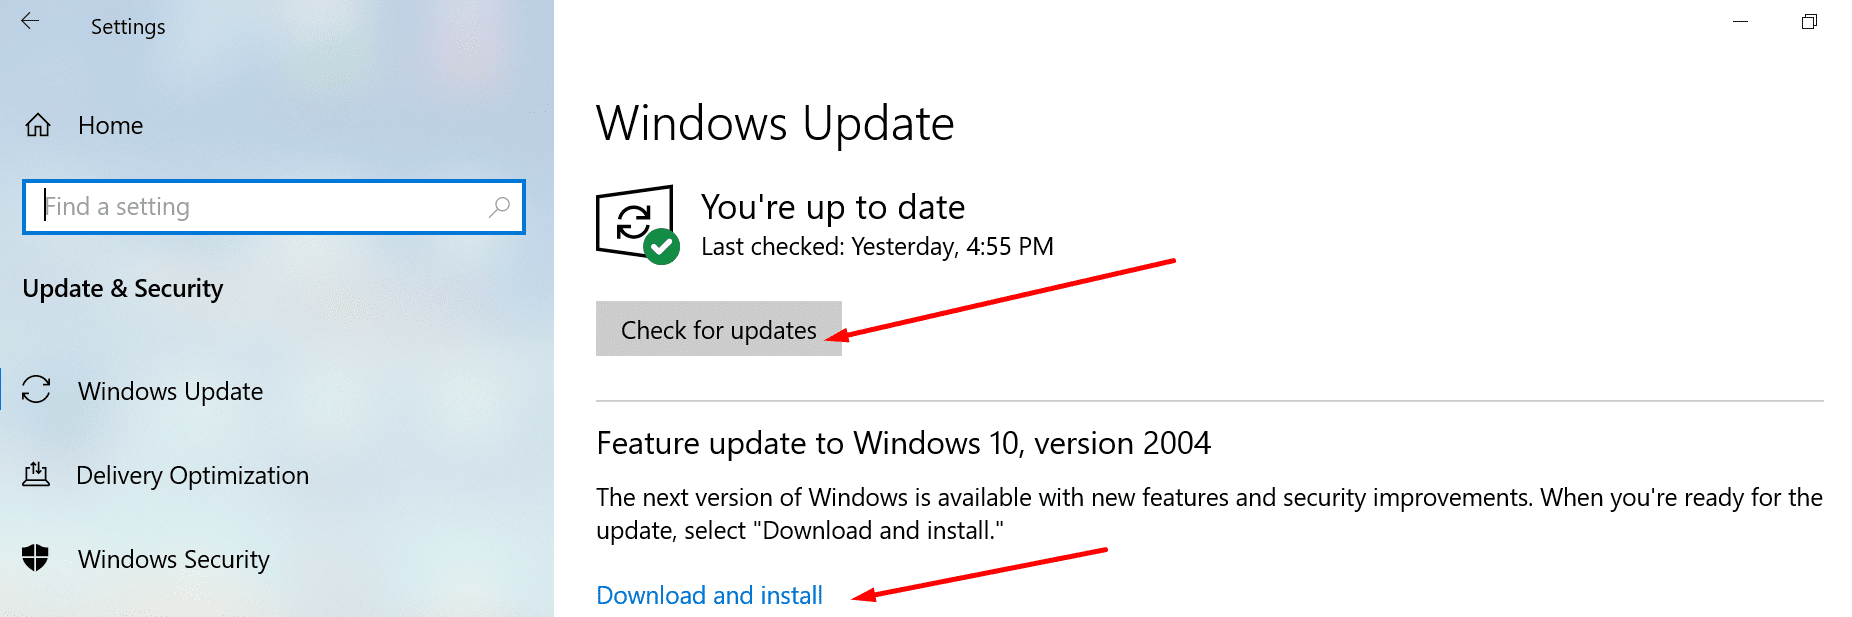
Get the latest Windows 10 updates and printer driver version and check if the problem is gone.
Go to Settings → Update & Security → Check for updates.
To update the printer drivers, open the Device Manager, expand the printer’s list, right-click on your printer driver and select Update driver.

There you go, we hope you were able to restore Microsoft XPS Writer on your computer with the help of this guide.
Helpful
Look, I CAN print xps, no problem. But I can’t VIEW the printed xps. Ali the guides out there try to teach me how to fix the PRINTER. my problem is the VIEWER.
please fix your title