You can do different things to add your personal touch to the Windows 11 Start menu. You can do things such as pin certain apps and create folders to keep specific apps together for easy finding. When you make the folder, don’t forget to give it a name, so you don’t have to open it to see what apps you added.
Contents
How to Personalize the Apps in the Windows Start Menu
A good tip you can start with is pinning specific apps for an easier find. This can quickly be done by doing the following. Click on the Windows Start menu, followed by the All Apps button at the top right. When you see the list of apps, right-click on the app you want to pin and choose the Pin to Start option.

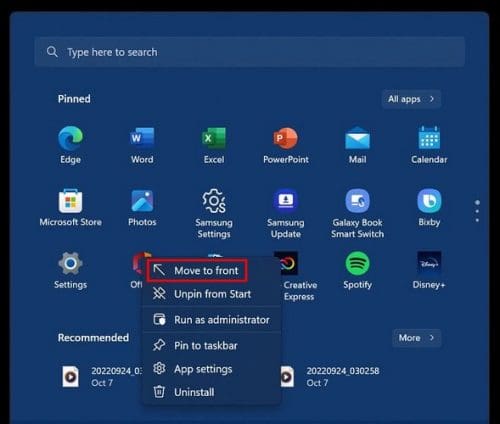
You can repeat the process as many times as you want since when a section is full, a new one is created. There will be a navigation control on the side for you to move around. If you’re unhappy with the apps’ position, you can always drag and drop them elsewhere. You can also move a pinned app to the top by right-clicking on it if it’s one of your favorite apps.
By right-clicking on an app to unpin it at any time, you may also see the uninstall option for promotional apps by right-clicking on other apps. You can always uninstall them and save some valuable space on your computer.
How to Modify the Recommended Apps and Files on Windows 11
Windows don’t always get it right when recommending an app. But that doesn’t mean you’re stuck looking at recommended apps you couldn’t care less about. By going into your computer’s settings, you can make some necessary changes.
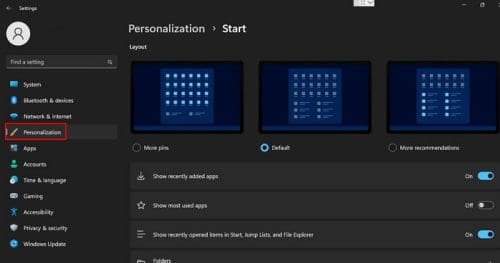
Click on the Windows start menu and go to Settings, followed by Personalization on the left. Look for and click on the Start option, and when you see the available option, you’ll see that you can make various changes. For example, you can choose from options such as:
- Show recently added apps
- Show most used apps
- Recently opened items in Start, Jump, and File Explorer.
- Folders – With this option, you can decide which folders appear beside the power button in the Start menu.
Under Layout, you can go for a different design and choose to add more pins, go with default, or more recommendations.
You can choose from various folders, such as:
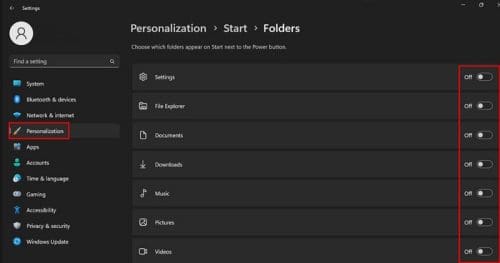
- Settings
- File Explorer
- Documents
- Downloads
- Music
- Pictures
- Videos
- Networks
- Personal folder
You can check if your selected folder was added by seeing what icons you see next to the power button.
Speaking of folders, creating one so you can add specific apps is an easy ask. To create a folder, drag and drop an app on top of another. Keep repeating this until you’ve added the apps you want. The first four apps you’ll see in the folder (even if there are more) are the ones you added.

Once you’ve created the folder, you’ll need to give it a name. For example, if the first four apps you added are Excel, Calendar, Word, PowerPoint, etc. Those are the ones that’ll appear in the preview. Open the folder, click on the Edit name option, and give your folder a name. If you ever want to remove the folder, you must drag and drop the apps outside of the folder, and the folder will automatically disappear.
Change Start Menu Alignment
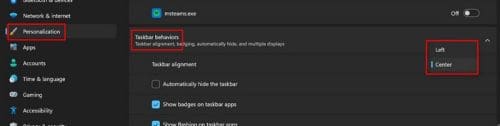
You’ll need to go to Settings > Personalization > Taskbar behaviors > Taskbar alignment to change the taskbar’s position. You can choose from left and center when you click the dropdown menu.
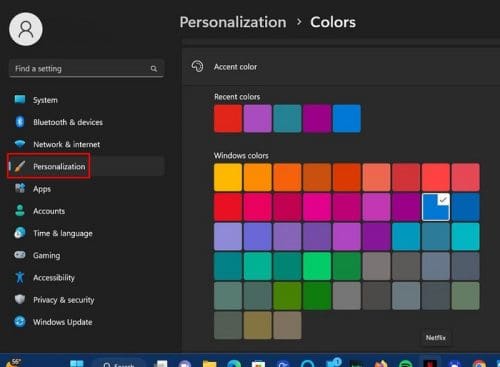
Add Some Color to the Start Menu
You can also give the Start menu a new color by going to Settings > Personalization > Colors.
Conclusion
With all the options available, you’re not stuck with how the Start menu looks when you first get your computer. You can make various changes, and if you ever change your mind, you can always change it. You can add some color and even change the position of the Start menu. What changes will you be making to the Windows Start menu? Share your thoughts in the comments below, and don’t forget to share the article with others on social media.