When using your computer, you’ll likely spend a fair amount of time looking at, or near your mouse cursor. It’s important that you like how your cursor looks and that it’s large enough for you to see. If you don’t like how the default cursor looks it can be changed. You can choose a different default mouse cursor or import your own. This guide will walk you through the process of changing your mouse cursor.
The easiest way to open the mouse configuration options is through the Settings app. To open Settings to the right page, press the Windows key, then type “Mouse settings” and hit enter. To open the mouse configuration options from here, click the “Additional mouse options” link on the far right of the window.
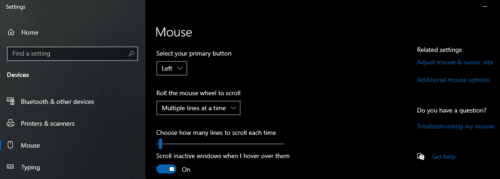
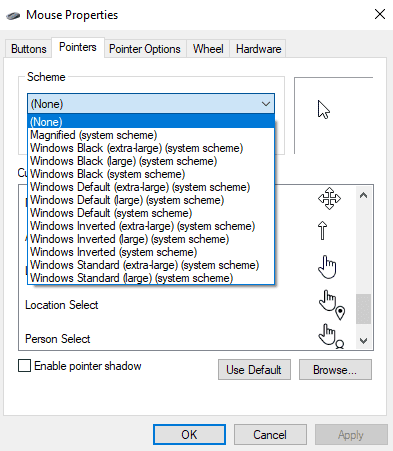
You can configure the mouse cursor icons in the “Pointers” tab of Mouse Properties. When using your computer your mouse cursor sometimes changes depending on what’s happening. For example, when your mouse moves over text that can be highlighted, the cursor changes to the “Text Select” cursor. In the Pointers tab, you can see all of the cursor variants that you can customise. You can set an overall scheme for all of the cursor variants by clicking the “Scheme” dropdown box near the top and selecting a scheme.
You can also configure each cursor variant individually, by selecting one in the “Customise” panel and then clicking “Browse…”. Doing so will open a file browser window where you can select from the default alternative mouse cursors. If you want to use a cursor that is not in the default cursor list, you can browse to another “ANI” or “CUR” file and click “Open” to import it.
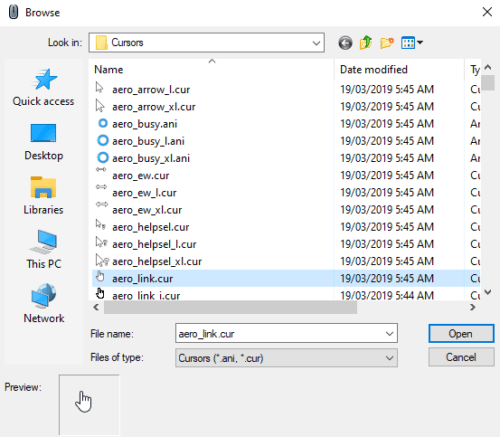
Tip: A number of the default cursors have alternative large and extra-large sizes that can be used if you want a larger cursor.
Any changes you make to the selected pointers will not be saved until you click “OK” or “Apply” in Mouse Properties. If you decide that you want to cancel the changes to your pointers just click “Cancel” or close the window without saving.

Very helpful article. I switched mine to a larger black arrow, which can more easily be seen as I move my cursor up and down and from monitor to monitor.
I’ve been having the same problem for a long time now. How do you set it back the way it was?
When I browse to my cursor stash folder. and open the folder, my icon displays for each cursor in some folders are all the same. Yet in others, the each cursor had its own icon representing the cursor. . A long time ago, I made a change in what to use to open the .ani files. In the properties of the cursor icons still retaining their individual properties, the feature “open with” is still set to “unknown application”; however, on the others, I set the opening app to ‘pdf”. Thereafter, each cursor’s icon displayed the same icon. How can I reset the “open with” setting to “unknown application” to get each cursors individual icon back?