If you share your Windows 11 PC with family members, dorm partners, or friends, and want to create air-tight security for apps, data, networking, and more, learn here about Windows Local Security Policy.
Microsoft Windows 11 comes with a range of administrative and system tools so you can tighten security, app policies, data access policies, networking guidelines, user login, and more. One such app is the Local Security Policy.
It requires specific attention from you as an individual Windows 11 PC user because you can make use of it to create advanced security around the device. Thus, you can save money on third-party app purchases for device security. Read on to learn more about it and various ways to access the utility.
Contents
- 1 What Is Local Security Policy in Windows 11?
- 2 Why Do You Need to Know About This Tool?
- 3 How to Open Local Security Policy on Windows 11
- 3.1 1. Open Security Policy Via Run Command
- 3.2 2. Access Security Policy From the Task Manager
- 3.3 3. Use the Local Security Policy App
- 3.4 4. Utilize the Windows Search App
- 3.5 5. Find the App in Control Panel
- 3.6 6. Use File Explorer Address Bar
- 3.7 7. Run the App From Windows Folder
- 3.8 8. Create a Desktop Shortcut for the Utility
- 3.9 9. Utilize Group Policy Editor
- 3.10 10. Use A Command Code
- 4 Local Security Policy: FAQs
- 4.1 What is the difference between Local Security Policy and Group Policy?
- 4.2 Does Windows 10 Home have Local Security Policy?
- 4.3 Does Windows 11 Home have Local Security Policy?
- 4.4 How do I reset Local Security Policy in Windows 11?
- 4.5 Why is Local Security Policy important?
- 4.6 Does Local Security Policy override GPO?
- 4.7 Does changing Local Security Policy require reboot?
- 5 Conclusion
What Is Local Security Policy in Windows 11?
The Local Security Utility is an interface to access all the security settings of a Windows 11 PC that’s not on any organization domain. It contains information on many security settings including these major ones:
- How to log on to the computer: as a service, via a network, or interactively
- Which user accounts have what kind of access
- Special security measures to revoke or allow software and app access
- The policy to audit local computer security
- Privileges and rights linked to user accounts
The tool is available in Windows operating systems like Win 2000, XP, 7, 8. 8.1, Windows 10, and the latest Windows 11.
Why Do You Need to Know About This Tool?
Here’s why you must know about the Security Policy tool of Windows 11:
- There are many user accounts on the PC and you want to create different access rights
- You want to stop regular users from running certain apps and software on the Windows PC
- You’d like to make use of the AppLocker feature
- There’s no Password Policy on the device and you want to create one
How to Open Local Security Policy on Windows 11
Find here the various ways to open the Security Policy tool on Windows 11. The steps are also similar for dated operating systems like Win 10, 8, 7, Vista, etc.
1. Open Security Policy Via Run Command
The most effortless way to call this tool is by using the Run command as shown below:
- Press Windows + R keys together.
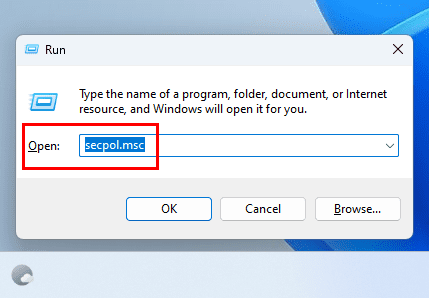
- Copy and paste this code into the Run box:
secpol.msc
- Hit Enter to bring up the Security Policy navigation window.
2. Access Security Policy From the Task Manager
You can create and execute a Local Security Policy task on the Task manager app to access the policy navigation panel as shown here:
- Hit Ctrl + Shift + Esc keys altogether to open the Task Manager.

- Click Run new task and type in secpol.msc on the pop-up that opens.
- Hit Enter to execute the task.
3. Use the Local Security Policy App
The Secpol.msc app is the source of the Security Policy utility. Here’s the location of the app on your Windows PC:
C:\Windows\System32
Simply type the app name in the Search box on the top right corner of the windows to find the app icon. Double-click to open the app.
4. Utilize the Windows Search App
The Search box of the Start menu can also locate the Security Policy app. Here’s how it’s done:
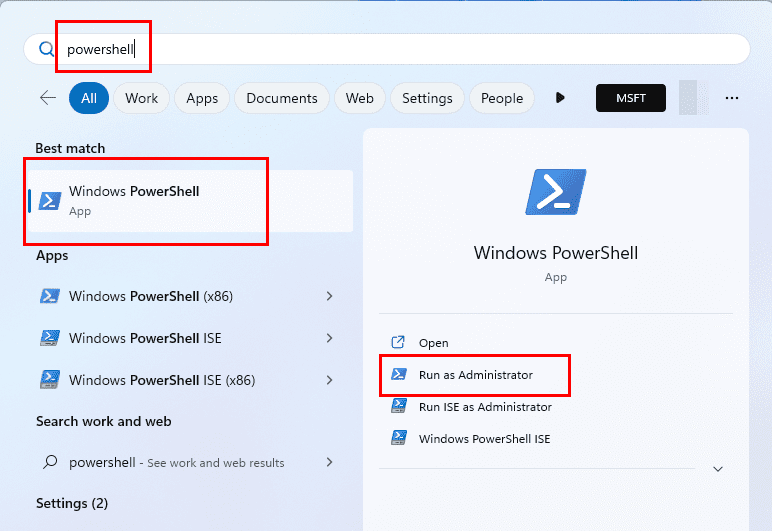
- Click the Start menu or Windows flag.
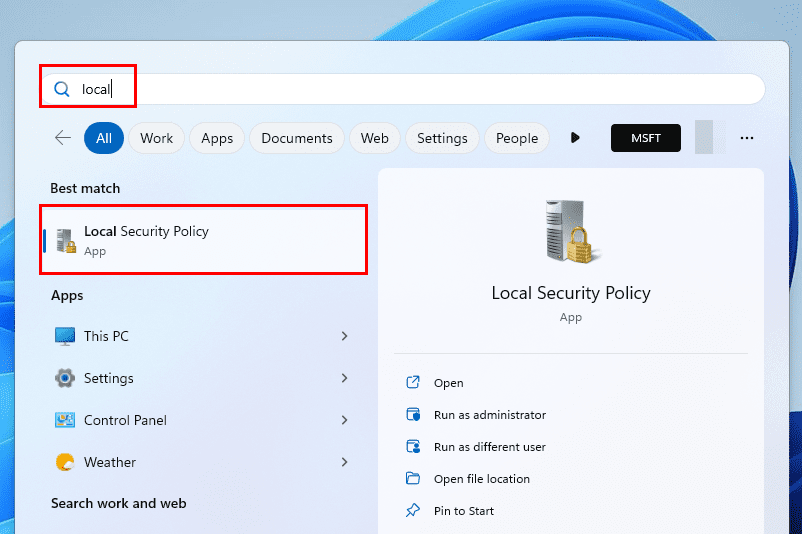
- Start typing Local and the Local Security Policy tool will show up under the Best match section.
- Click once to open the app.
5. Find the App in Control Panel
Since this is a system app, you can also find it on the Control Panel by following these instructions:
- Open the Start menu and type Control.
- Click Control Panel under the Best match section.
- Switch to Small icons in the Control Panel’s View by drop-down list.
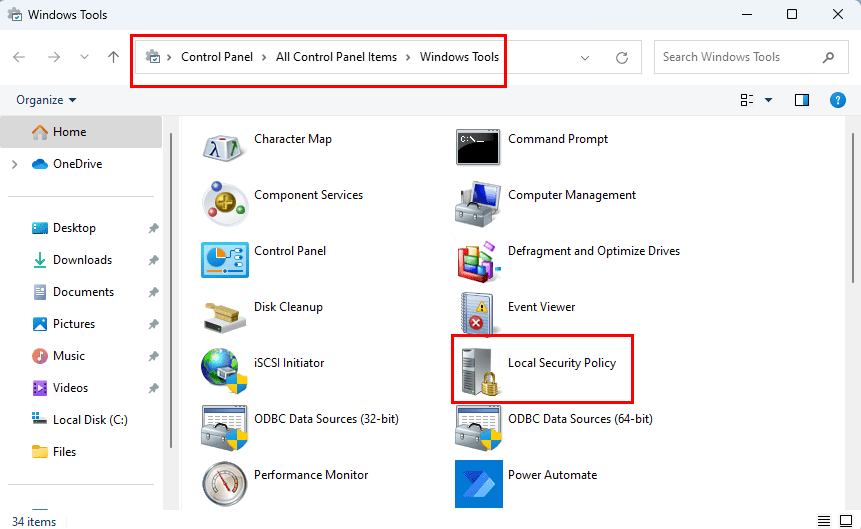
- Now, select the Windows Tools option.
- The new window that opens, should contain the Local Security Policy app icon.
- Double-click to open the tool.
6. Use File Explorer Address Bar
If you know the application name of certain Windows 11 apps, you can launch those using the Address Bar of Windows Explorer. Here’s how:
- Open This PC.
- Click on any blank space within the Address Bar.
- Press Backspace to remove the existing address.
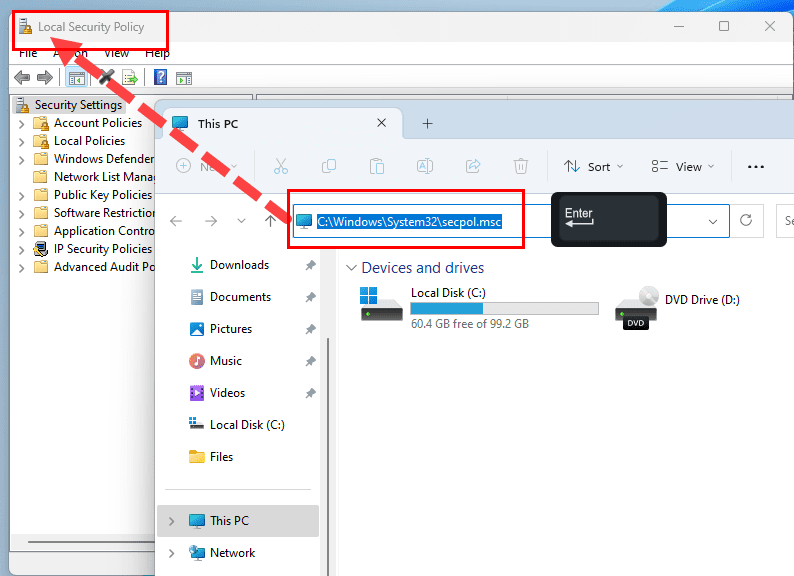
- Type the following app name and hit Enter:
secpol.msc
- The Local Security Policy utility pops up.
7. Run the App From Windows Folder
Since the Secpol.msc file is stored within the Windows 11 installation partition, you can access the following folder and scroll down to the alphabet S section. Once you find the executable file, double-click to open the app.
C:\Windows\System32
8. Create a Desktop Shortcut for the Utility
After you access the Secpol.msc file in Windows > System32, follow these steps to add a Desktop shortcut:
- Select the app file in question.
- Right-click and choose Show more options selection.
- Hover the cursor over the Send to option on the context menu.
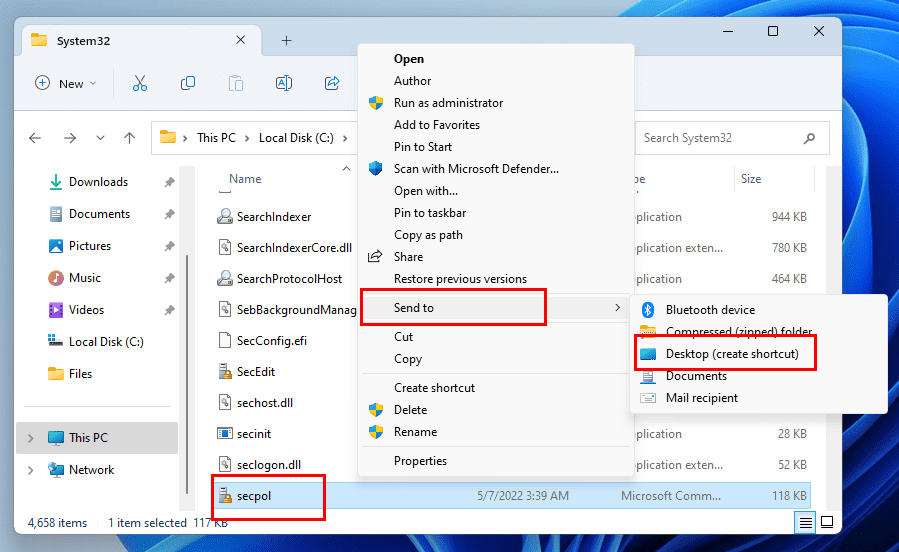
- Click Desktop (Create shortcut).
- Now, locate the shortcut on the Desktop and double-click to open the Local Security Policy tool.
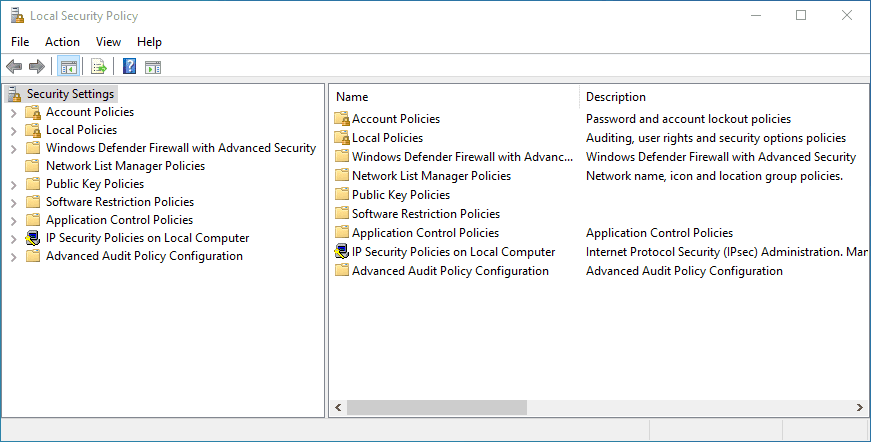
9. Utilize Group Policy Editor
For the organization’s IT admins, the Security Policy tool is directly located on the Group Policy Editor application. Here’s how to find it:
- Open the Group Policy Editor app either from the Start menu or Control Panel.
- Expand the Windows Settings directory on the left-side navigation pane.
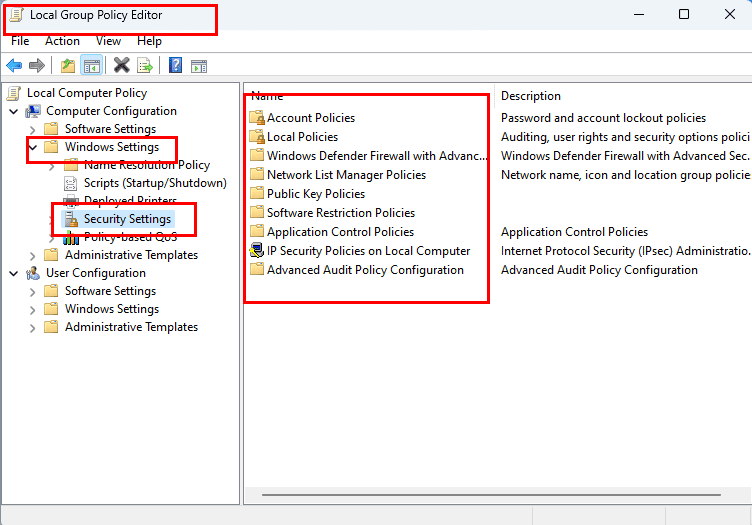
- Click the Security Settings option.
- On the right-side menu, you should find all the Security Policy options.
10. Use A Command Code
If you love the Windows Command Prompt, PowerShell, and coding, you’ll love this approach to access the Security Policy of the local computer. Here are the steps and codes you need to execute:
- Open PowerShell or Command Prompt from the Start menu with admin rights.
- Copy and paste the following code into any of the above Windows command line tools:
secpol
- Hit Enter to start the Security Policy utility.
Local Security Policy: FAQs
What is the difference between Local Security Policy and Group Policy?
The Group Policy Editor tool is for organization IT administrators. IT admins use this utility to minimize system app access to the regular users of the PC. Domain admins can also use this tool to give role-based access to networked Windows 11 PCs. Group Policy Editor overrides all the settings created by the Security Policy tool.
On the contrary, Local Security Policy is for individual Windows PCs. The local user account admin can edit various settings to secure the data and the network of the PC.
Does Windows 10 Home have Local Security Policy?
There is no Security Policy feature in Windows 10 Home operating systems.
Also learn: Windows 10 Home and Pro: What’s The Difference?
Does Windows 11 Home have Local Security Policy?
Just like Windows 10 Home OS, the Windows 11 Home edition also doesn’t come with the Local Security Policy tool.
Also Learn: Difference Between Windows 11 Home and Pro
How do I reset Local Security Policy in Windows 11?
If you’re learning the Security Policy tool of Windows 11 by making changes and would like to go back to the default settings, you’re in luck. The steps would also help if you made unknown Security Policy changes and now the device is behaving erratically. Here’s how it’s done:
- Open Command Prompt with elevated rights (Run as Administrator).
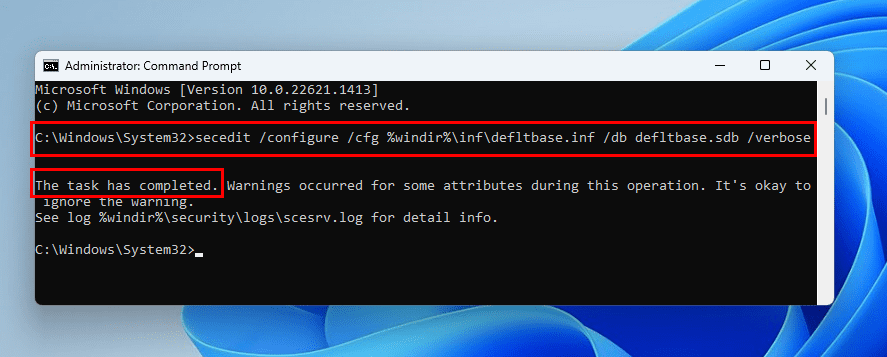
- Copy and paste the following code into the command line interface:
secedit /configure /cfg %windir%\inf\defltbase.inf /db defltbase.sdb /verbose
- Hit Enter to execute the code.
Why is Local Security Policy important?
Since your PC isn’t on any network, there’s no way to customize user account access restrictions other than the Security Policy utility.
Does Local Security Policy override GPO?
The Security Policy tool can’t override the Group Policies created using the Group Policy Editor app.
Does changing Local Security Policy require reboot?
Yes, you must restart the Windows 11 PC so that the Windows operating system can amend its interfaces and enforce new security policies.
Conclusion
Now you know more about the Local Security Policy tool. You also learned how to call this Windows 11 system app feature should you need to enforce advanced user account security.
You can modify its policies to enable role-based access in Windows 11 computers that are not on any organization network. The feature is pretty helpful in homes, dorm rooms, shared personal computers, small home-based businesses, local shops, school libraries, etc. Comment below if the article helped you.
Next up, Prevent Users From Running Certain Programs on Windows 11.