

If you’ve just got a new computer or have installed some new hardware in an existing computer, it’s a good idea to double-check that it has been installed and recognised properly. If you’ve just updated your operating system to the latest version, you may also want to check that your version numbers are correct.
Checking that your hardware is all reporting correctly can be a good idea for new computers and after a hardware change. For example, during shipping it’s possible for a component or cable to be shaken loose just enough that a component is no longer recognised, leaving you with a system that doesn’t appear to have all of the hardware you bought. Similarly, if you attempt to update the hardware but don’t quite connect or install it correctly, you may not get the benefit of the new hardware. Checking that you’ve got the CPU, RAM, hard drive capacity, and GPU that you expect, lets you be confident that everything is working correctly.
If you’ve just updated your operating system, you may also want to check the reported version numbers to verify that the update was applied successfully.
Tip: Operating system version numbers generally require the system reboot to finish applying and to update the system information.
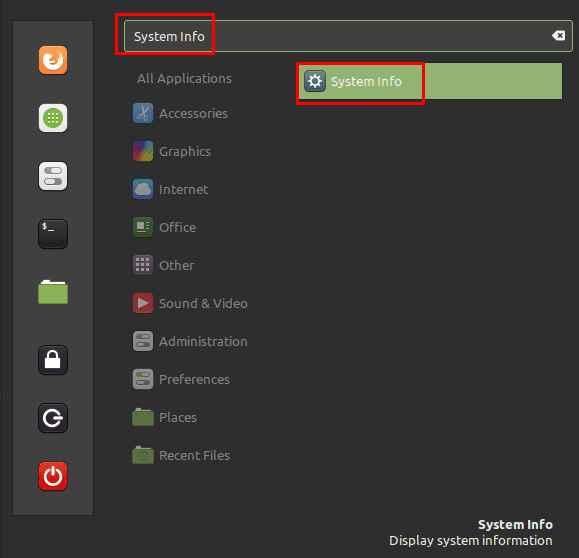
To view your system information, press the Super key, then type “System Info” and hit enter.
Tip: The “Super” key is the name that many Linux distributions use to refer to the Windows key or the Apple “Command” key, while avoiding any risk of trademark issues.
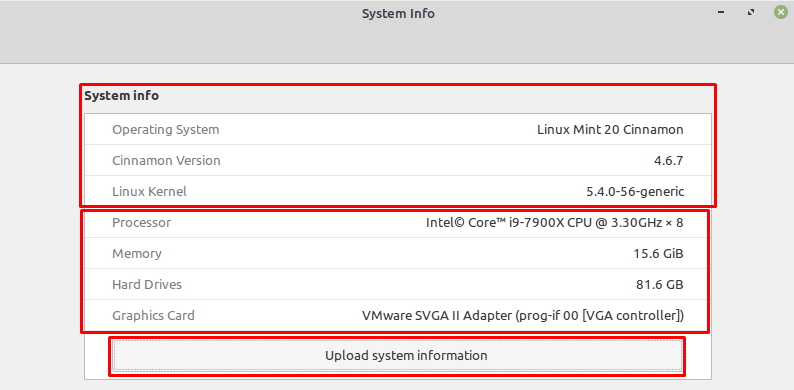
The first three entries in the system information window show the operating system version numbers. “Operating System” is the major version of Linux Mint, “Cinnamon Version” is the version of the Cinnamon desktop environment, and “Linux Kernel” is the version of the Linux kernel you have installed. Of these, version numbers, the kernel is the most regularly updated.
The rest of the entries in the system information window respectively show the CPU, RAM, total hard drive space, and the graphics card being used.
Tip: The CPU lists a clock speed and a multiplier after the CPU name. The clock speed is the official base clock of the CPU model and doesn’t take into account any boost clock or over-clocking. The multiplier specifies the number of processing cores the computer has available.
The “Upload system information” button uploads the system information you see to the website termbin.com, as well as some other less user-friendly information that is intended to be helpful when providing bug reports.

I am running Mint 21.3 and all I get is No files found.
Thanks Deel0! Your info was helpful!
How this manages to be the top search result is fascinating. To see system specs, open terminal and type “inxi” then hit ENTER.
Thank you for yor time to explain,veru much apprecoted
Worked for me on Linux Mint 18.2 Cinnamon 32-bit. Thanks!
System info as per directions does NOT work.
What else do I try?
well that doesn’t freaking work
This doesn’t work on Linux Mint XFCE.