

Google Chrome is one of the easiest browsers to use. It’s not hard to see why so many people rely on it for their daily work, along with having the app downloaded on their smartphones. You might not like some of the default settings, however, and that includes the fonts.
Contents
Related Reading:
- How to Downgrade Google Chrome
- How to Set Chrome as Your Default Browser
- Fix Google Chrome High CPU and Memory Usage on PC
- Chrome: Bypass “Your Connection Is Not Private”
- How to Change the Download Location in Google Chrome
The good news is that changing your font size and types in Google Chrome is simple. And today, we’ll walk you through the process. You’ll also learn whether it’s possible to change your font from your smartphone.
Changing Fonts in Google Chrome
To change fonts in Google Chrome, follow the instructions we’ve outlined below.
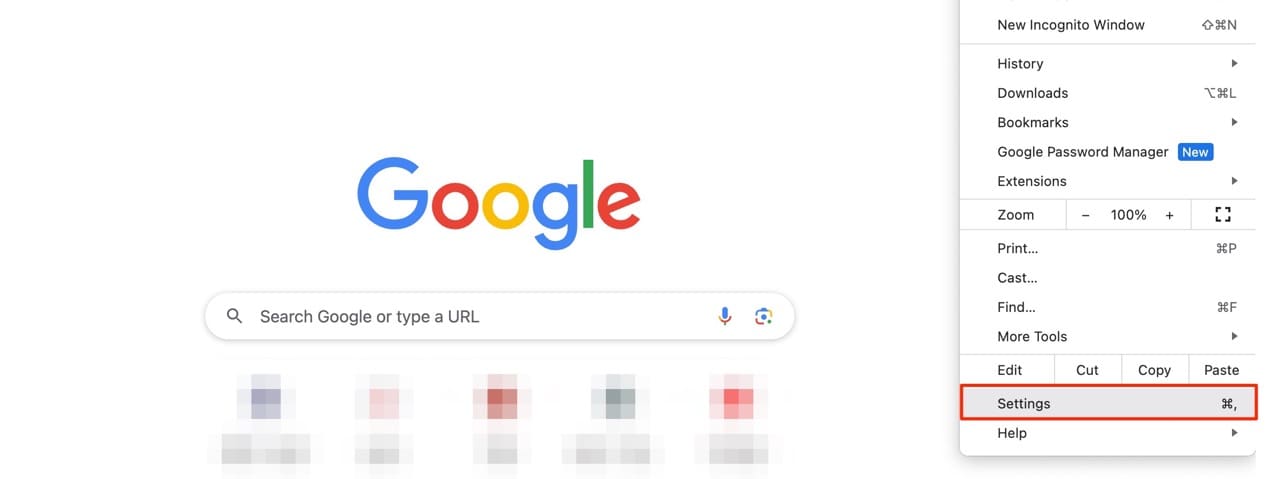
- Click the three vertical dots at the top-right of your Google Chrome screen. You will see these next to your profile picture.

- Choose Settings when the dropdown menu appears.

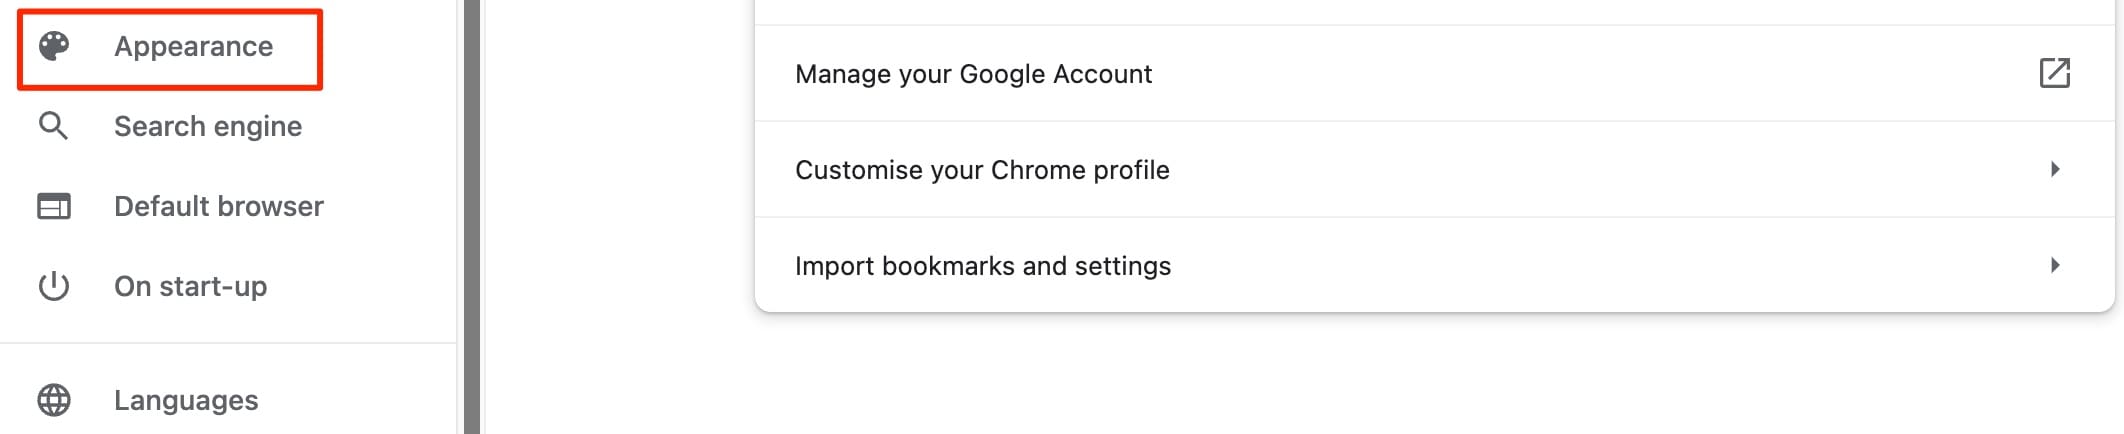
- On the left side of the screen, click on Appearance.

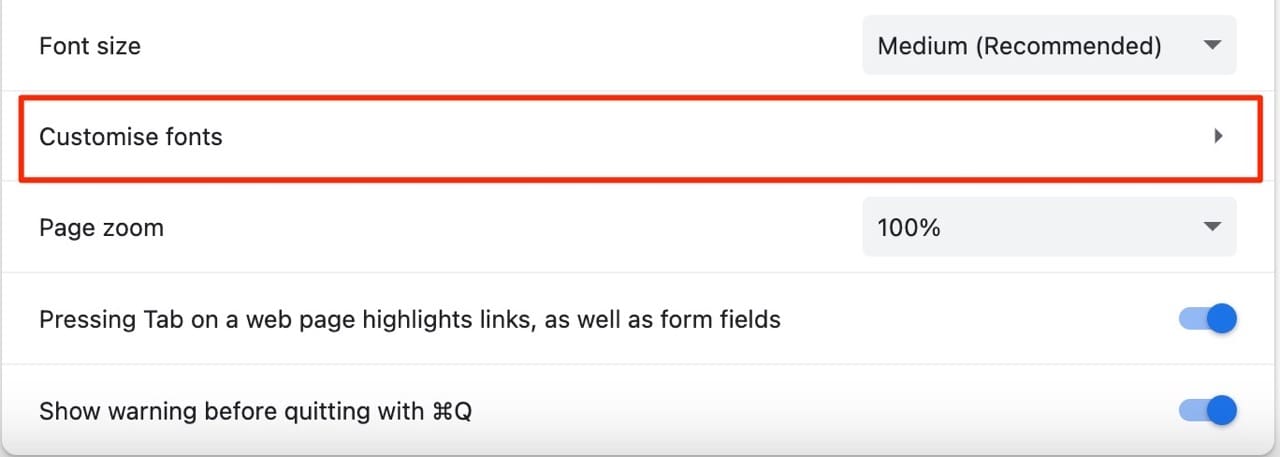
- Close to the bottom, you’ll see an option titled Customize Fonts (if your Google Chrome settings are in UK English instead, it’ll be Customise Fonts).

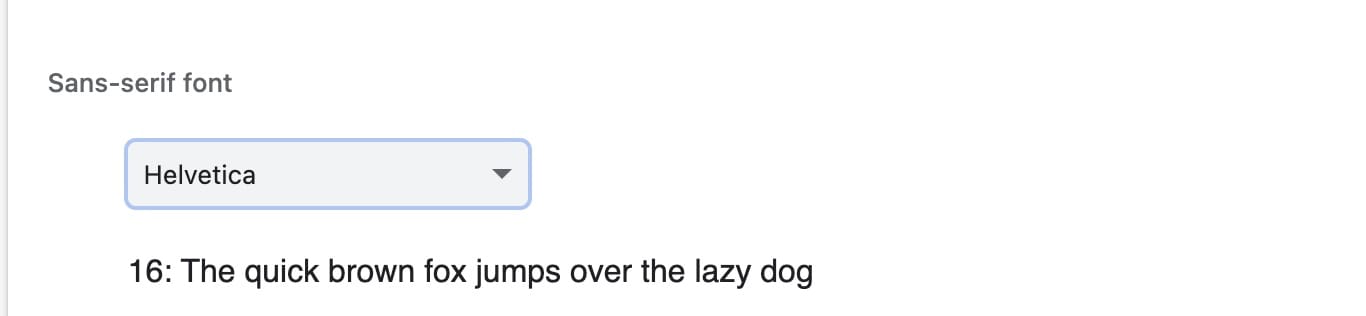
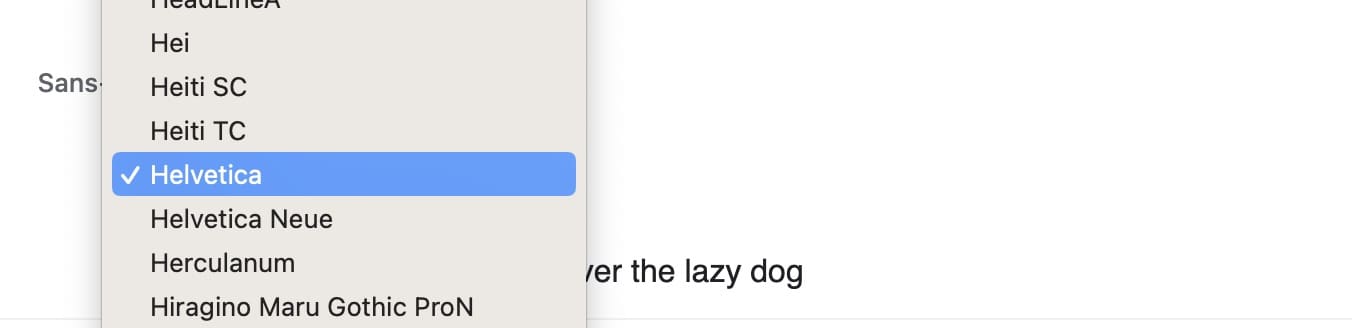
- You will be presented with the page that first allows you to adjust the size of the font you will see within Chrome. After that, there are several options to choose from. One example — Sans-serif font — is below.

- From the dropdown menus, choose your Standard font, Serif font, Sans-serif font, and the Fixed-width font.

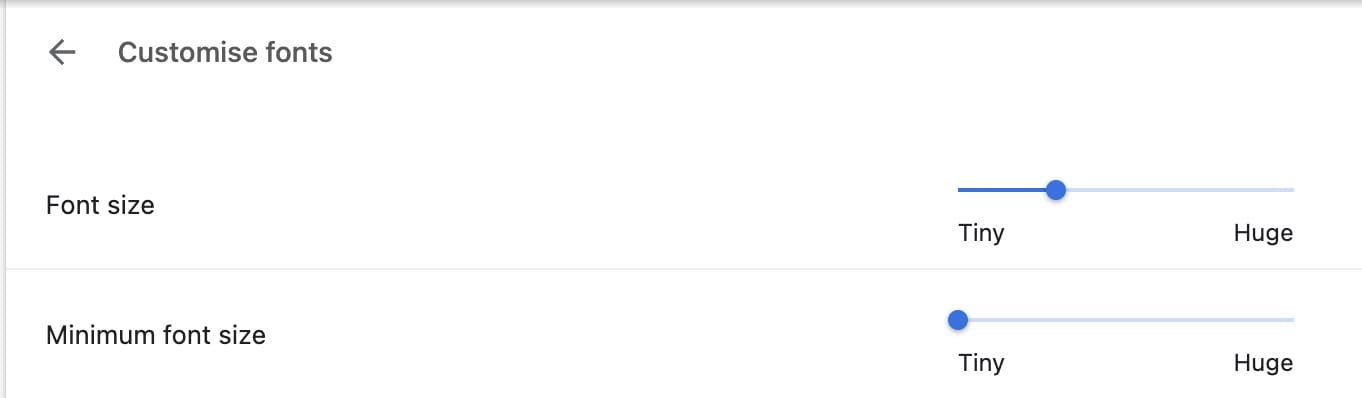
You can also adjust your font sizes by moving the sliders next to Font size and Minimum font size.
As soon as you are finished making your selections and adjustments on this screen, all of your changes should be automagically saved. However, to be safe, it’s a good idea to tap on the backspace arrow at the top of the page — as there is no Save option. Restart Chrome and you are finished!
Can You Change the Google Chrome Font From a Smartphone?
Unfortunately, at the time of writing in August 2023, you can’t change your Google Chrome fonts from your smartphone. However, you can change how big the text is when you visit a specific webpage.
To do this:
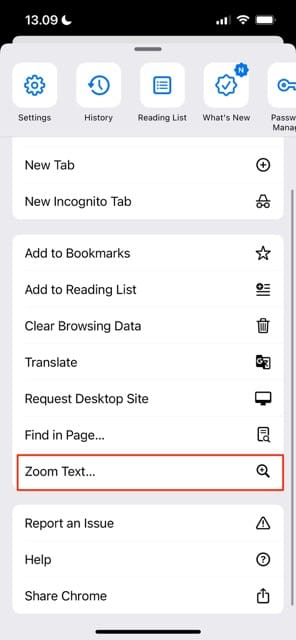
- Click on the three dots in the bottom right-hand corner of a webpage you’ve visited.
- Scroll down and tap on Zoom Text.
- At the top of the page, click on the – or + button to change your text size. Then, tap Done.

Use These Steps to Adjust Your Fonts in Google Chrome
Changing the default font in Google Chrome is quick and easy. You can adjust the exact fonts you see in your browser from Chrome for desktop, along with changing the sizes to fit your needs.
Although you can’t currently change fonts on your smartphone, you can alter how big the text is when you use a webpage in your browser. As a result, you should at least find it easier to read articles on websites that you enjoy visiting.
We hope these tips helped. Happy surfing!


This didn’t answer my question. I have changed the font this way multiple times and it doesn’t change the font. There are certain websites that use an unreadable font from my computer and I turned them on with an errant keyboard stroke. I don’t know what keys I hit but suddenly the font changed on the website. Doing what you recommend above doesn’t work. Going into settings: Appearance: and then changiing the fonts that are already set on Times new Roman and not the font chrome is using which is Alt Classic Bold. The word readable font ever.
I wish you had suggested fonts for each of the four choices.