You’ll need access to special characters if you write in more than one language. The good news is that you can easily change the keyboard layout on your Windows 11 computer. With a few clicks here and there, you can switch between different layouts. You’ll also see how you can add different languages as well.
Contents
How to Switch to a Different Keyboard Layout in Windows 11
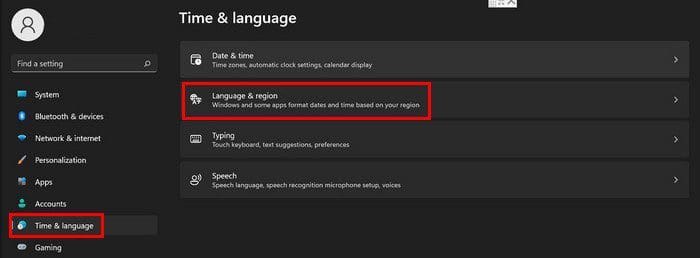
To switch to a different keyboard layout, open Settings, followed by Time and language. Click on Language and region to the right.
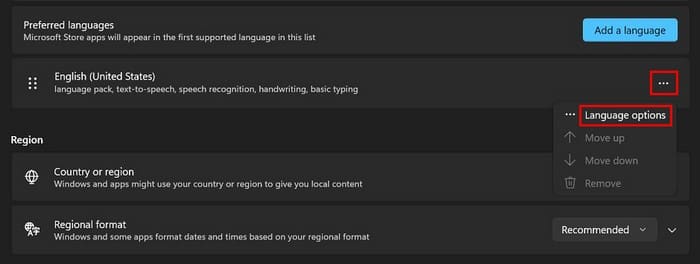
Once you’re in Language and region, click on the dots to the right of the English pack.
Under the Keyboards section, you should see a button to add a keyboard. Click the Add a keyboard button, scroll through your options, and click on the one you want to add. It would be nice to have a search option so you wouldn’t have to scroll so much. Hopefully, the search option will be added soon.
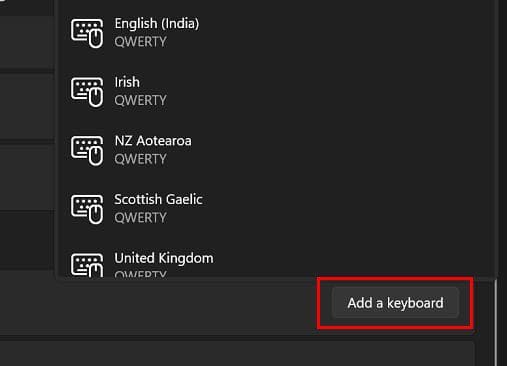
When clicking on the Add a keyboard button, it’ll be added automatically. Click on ENG at the bottom right of your display to check if it was added correctly. That’s where you should see your new layout. You can easily switch between layouts by using the Windows and spacebar.

How to Erase a Keyboard Layout on Windows 11
Wish you never installed that keyboard layout, to begin with? You can easily remove it by going to:
- Settings
- Time and Language
- Language and region
- Click on the three dots to the right of the language
- Go to the Keyboards section
- Click on the dots to the right of the option and choose the Remove option

Thats’ all there is to it when it comes to adding and removing layouts.
Conclusion
When you write in more than one language, you’re going to need access to special characters. With a few licks here and there, you can add the keyboard layouts you need. You can also check to see if it was added correctly and how easily it is to switch between them. How many layouts will you be adding? Share your thoughts in the comments below, and don’t forget to share the article with others on social media.