

One of the ways that chat room type apps, such as Slack do their best to make sure that you see every message sent is by keeping a track of when you’re active in a channel and what messages have been sent since then. If there’s been a new message posted to a channel since you last looked at it, Slack marks the channel as having an unread message. When you next open a channel with an unread message, Slack starts you at the place you left off, allowing you to smoothly catch up with all of the messages posted since you last looked.
By default, Slack automatically marks the entire channel as read as soon as you open it. This can help if you want to quickly mark a bunch of channels as “read”, but it also means that if you have to look away into a different channel before you catch up in the current one, you lose your place.
Tip: If you want to quickly mark all messages as “read” without reading them, press Shift + Esc to mark all messages as read.
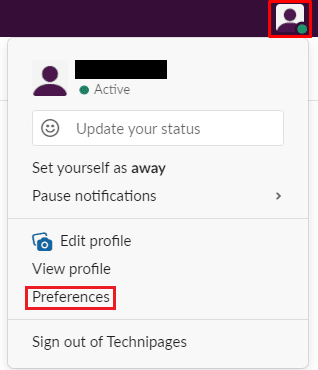
If you want to change how marking messages as read works, you need to go into your preferences. To do so, click on your profile picture in the top-right corner, then click on “Preferences”.
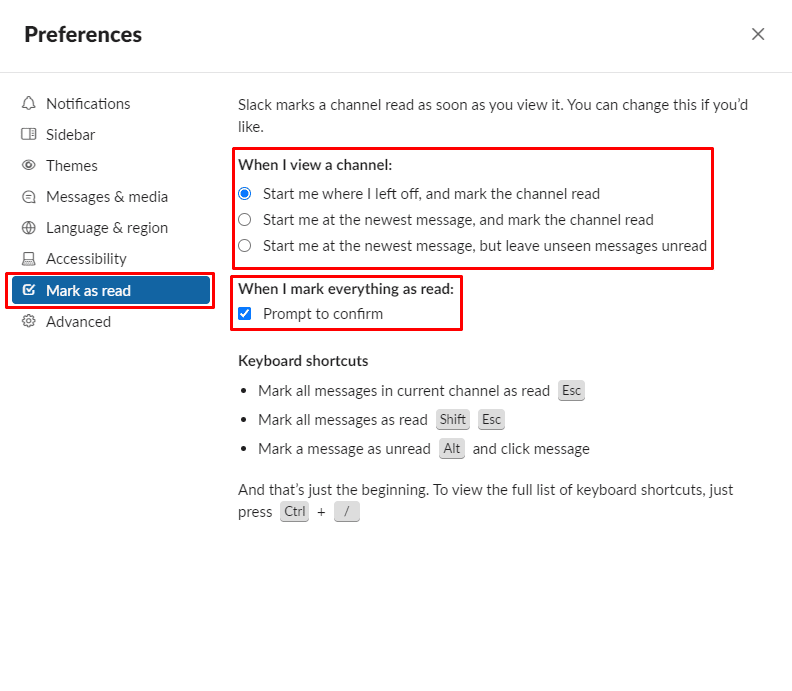
Once in your preferences, switch to the “Mark as read” tab. At the top of the tab, you can choose between “Start me where I left off, and mark the channel read”, “Start me at the newest message, and mark the channel read”, and “Start me at the newest message, but leave unseen messages unread”. You can also disable the “mark all as read” confirmation popup by unticking the checkbox labelled “Prompt to confirm”.
Catching up with your messages can be a pain if you have a lot of them but it really helps to have Slack mark them as read when you’ve actually read them. By following this guide, you can change your “marked as read” preferences to feel more intuitive.


Sadly, nothing makes slack mark all messages read. I have tried shift-esc. I have tried esc in every single channel and conversation. But it still says that I have 19 unread messages. A few weeks ago it was only 3 unread messages, but then one day it jumped.
Even threads say that I have 9+ unread messages, but when I go thru them and get to the part where it says “you’re all caught up”, it still says 9+ unread.
These markings show up on my Windows client and on my Android slack app. They even show up in the browser client (running in Chrome). So these hidden unread messages are somewhere deep in the system. I would *DEARLY* love to get this fixed as it really bothers my CDO (like OCD, but in alphabetical order, as it should be).
I need to do this on some channels, automatically. I am subscribed to over 100 channels at work, I need to know when ~10 channels have new messages.