

Every time you turn on your computer, you’ll see the login screen, allowing you to choose which user you want to sign in as. The default Linux Mint login screen has a branded background that you might not be a fan of. You can change this, however, and set a custom background, among other customisation options.
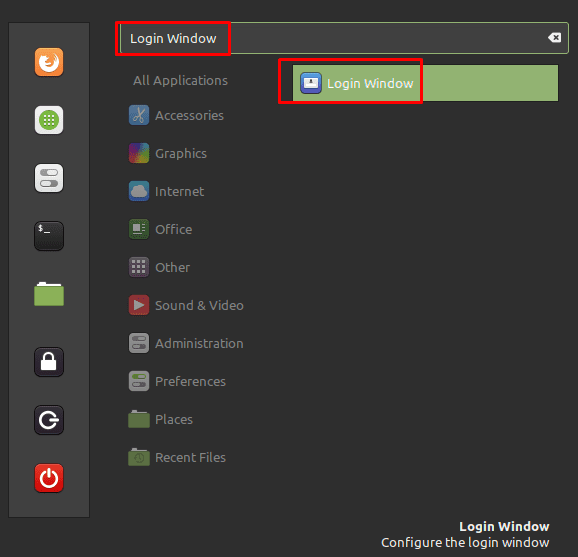
To configure the appearance of the login screen, press the Super key, then type “Login Window” and hit enter.
Tip: The “Super” key is the name that many Linux distributions use to refer to the Windows key or the Apple “Command” key, while avoiding any risk of trademark issues.
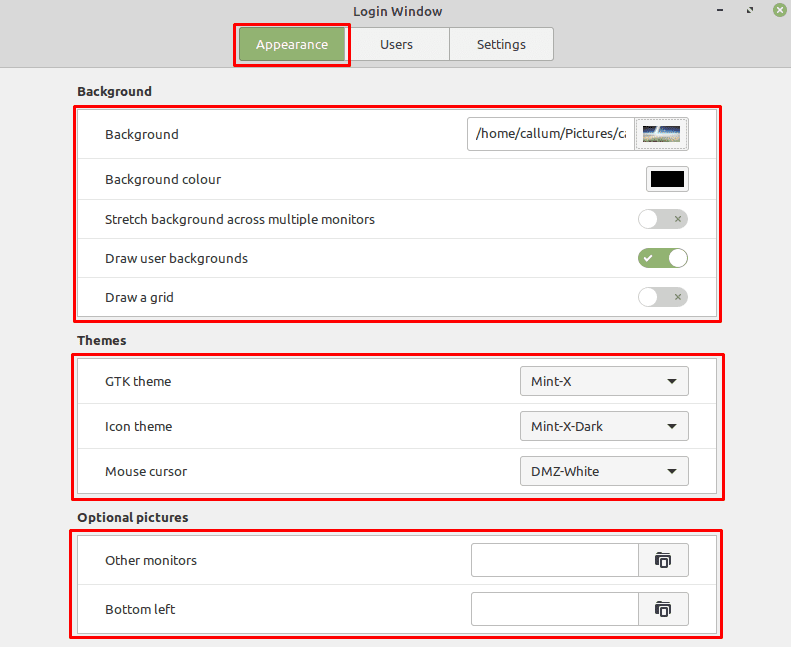
Once in the default “Appearance” tab of the login window options, the first option “Background” can be used to replace the branded background of the user selection screen. Just click on the current image, to enter a file browser to be able to select a new background.
The “Background colour” option is used to set a colour that is used before the background image loads. “Stretch background across multiple monitors” will span your background image over multiple monitors, ideal for ultrawide backgrounds in multi-monitor setups. “Draw user backgrounds” changes the background to the user’s desktop background when you select a user and get to the password entry screen. “Draw a grid” inserts a grid of dots over the background image.
The three theme options allow you to configure the colour and appearance of the login screen interface. “GTK theme” changes the colour of the edge of the password entry box. “Icon theme” appears to have no effect. “Mouse cursor” allows you to change the appearance of the mouse cursor.
Tip: Unfortunately, there’s no preview of the appearance change for the theme settings, to see the change, yourself, press Ctrl + Alt + L to lock the screen, then click the people icon to the right of the password entry field to return to the login window.
“Other monitors” allows you to select a secondary background that is shown on secondary monitors, leaving your main background image on the primary monitor. “Bottom left” is intended to display a small banner image at the bottom of the screen. You’ll want to select an appropriately scaled image for this purpose as no scaling will be performed.
This works for me… i just save the image i want to use for my background in /usr/share/backgrounds/ … but.. in the first time.. this said me that i do not have permissions for save the image so.. i went to /usr/share and with the click button i select “open with root permissions (password required)” and magic… i just copy the image into the folder.. so, after, went to system.. login window (you can search it in applications).. and put the new path with my beautiful image… and i was happy :)
For Debian 11. Kernel 5.10.X Ok…. sudo apt install lightdm-settings & sudo apt install lightdm-gtk-greeter-settings do indeed get me an entry in the applications list. However, once you click on the icon to start the service your little “Login Window” popup window just disappears and that’s the end of it. So, you can install it, find it in the application list, click on it and then get absolutely nothing.
Hmmm….. I have the login window on my Mint 21.1 install. I’ve got a Debian machine I’d like to install the LW on. The LW allows you to create a guest account. I prefer to do all my aimless surfing from a guest account so when I log out I’m sure everything is cleaned. Anyone know what package LW is embedded in? I”m going to try the various fixes proposed above and see what happens….. stand by.
NONE of these selections worked in Mint 19.3
Home is encrypted. Does THIS MATTER?
Still getting no background selected pic on initial login.
Can someone PLEASE HELP ME HERE?
I’m also 32bit.
Apparently, the well goes deeper…
After installing `lightdm-settings`, clicking on the option did nothing for me. I then found installing the `lightdm-gtk-greeter-settings` did the trick.
Mint moved away from MDM as of v19, and opted for LightDM instead. If the “Login Window” option is not available, like it was for me, install the LightDM settings app”
`sudo apt install lightdm-settings`
Hope that helps others with this issue.
I’m having issue as well running Mint 20 XFCE. There is a ‘login window’ settings menu item and when I click it, it asks for authentication and then does not load the settings screen. Please advise.
I don’t have the “login window”. How do I get it? I’ve searched online, but can’t find out how to fix this error. I’m on Linux Mint 20.