DeepSeek is one of the hottest new AI models on the market, releasing to much fanfare and excitement in January 2025. Many people are eager to interact with and use this model, but it sometimes has issues, like the servers going down or users being unable to connect, for one reason or another.
So, you might want to know how to install DeepSeek locally and avoid those issues. This guide shows you how.
How to Install DeepSeek Locally With Ollama
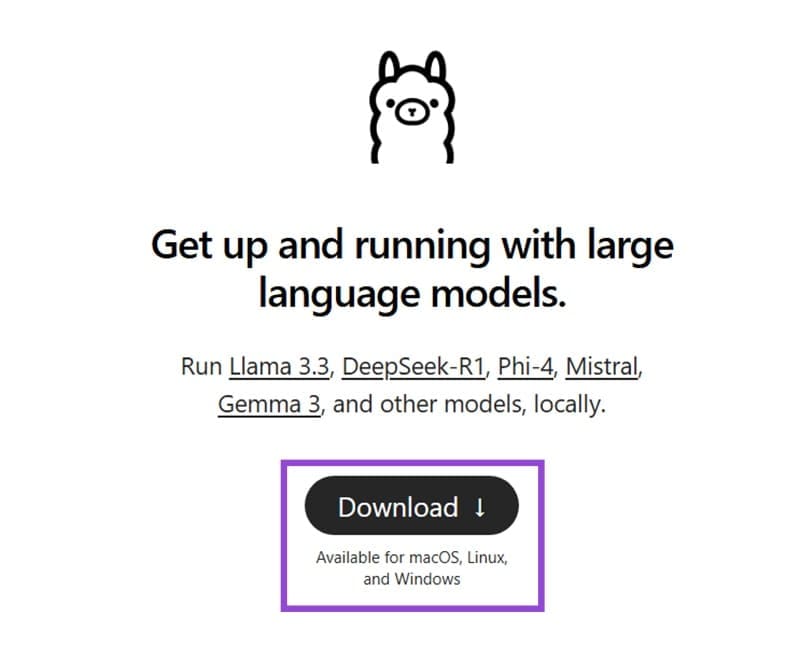
To install DeepSeek locally to your PC, Mac, or other machine, you’ll need to use Ollama. This is a free and open-source tool for running various large language models and AI bots locally. It supports DeepSeek-R1, among other models. Here is how to use it on a Windows machine:
Step 1. Download Ollama from the official site. There are versions available for Windows, Mac, and Linux.
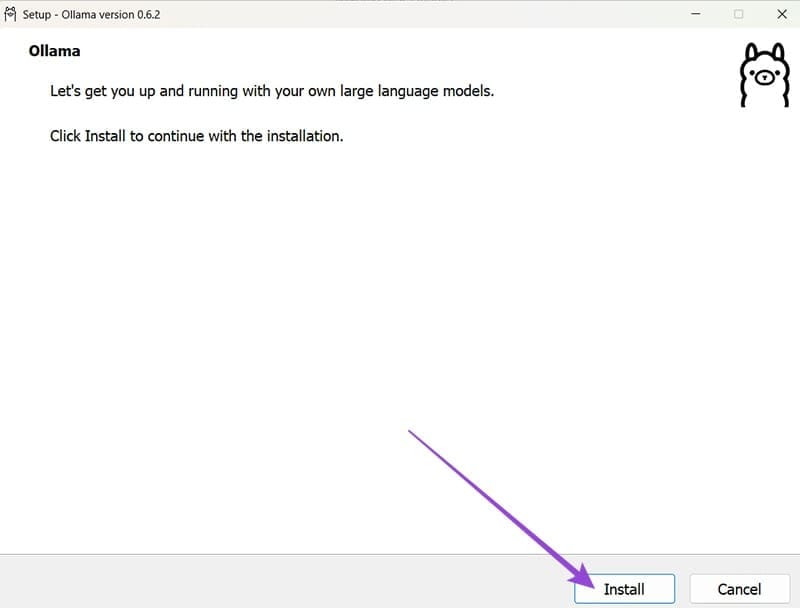
Step 2. Open the Ollama.exe file and follow the on-screen instructions to install it.
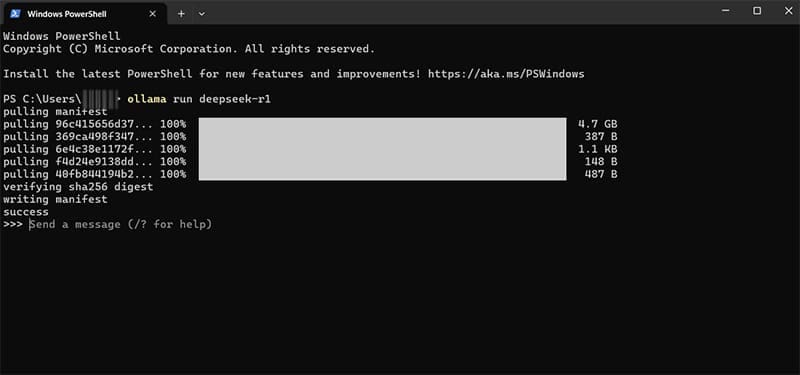
Step 3. Open PowerShell. You can find it by simply typing “PowerShell” into the search bar.

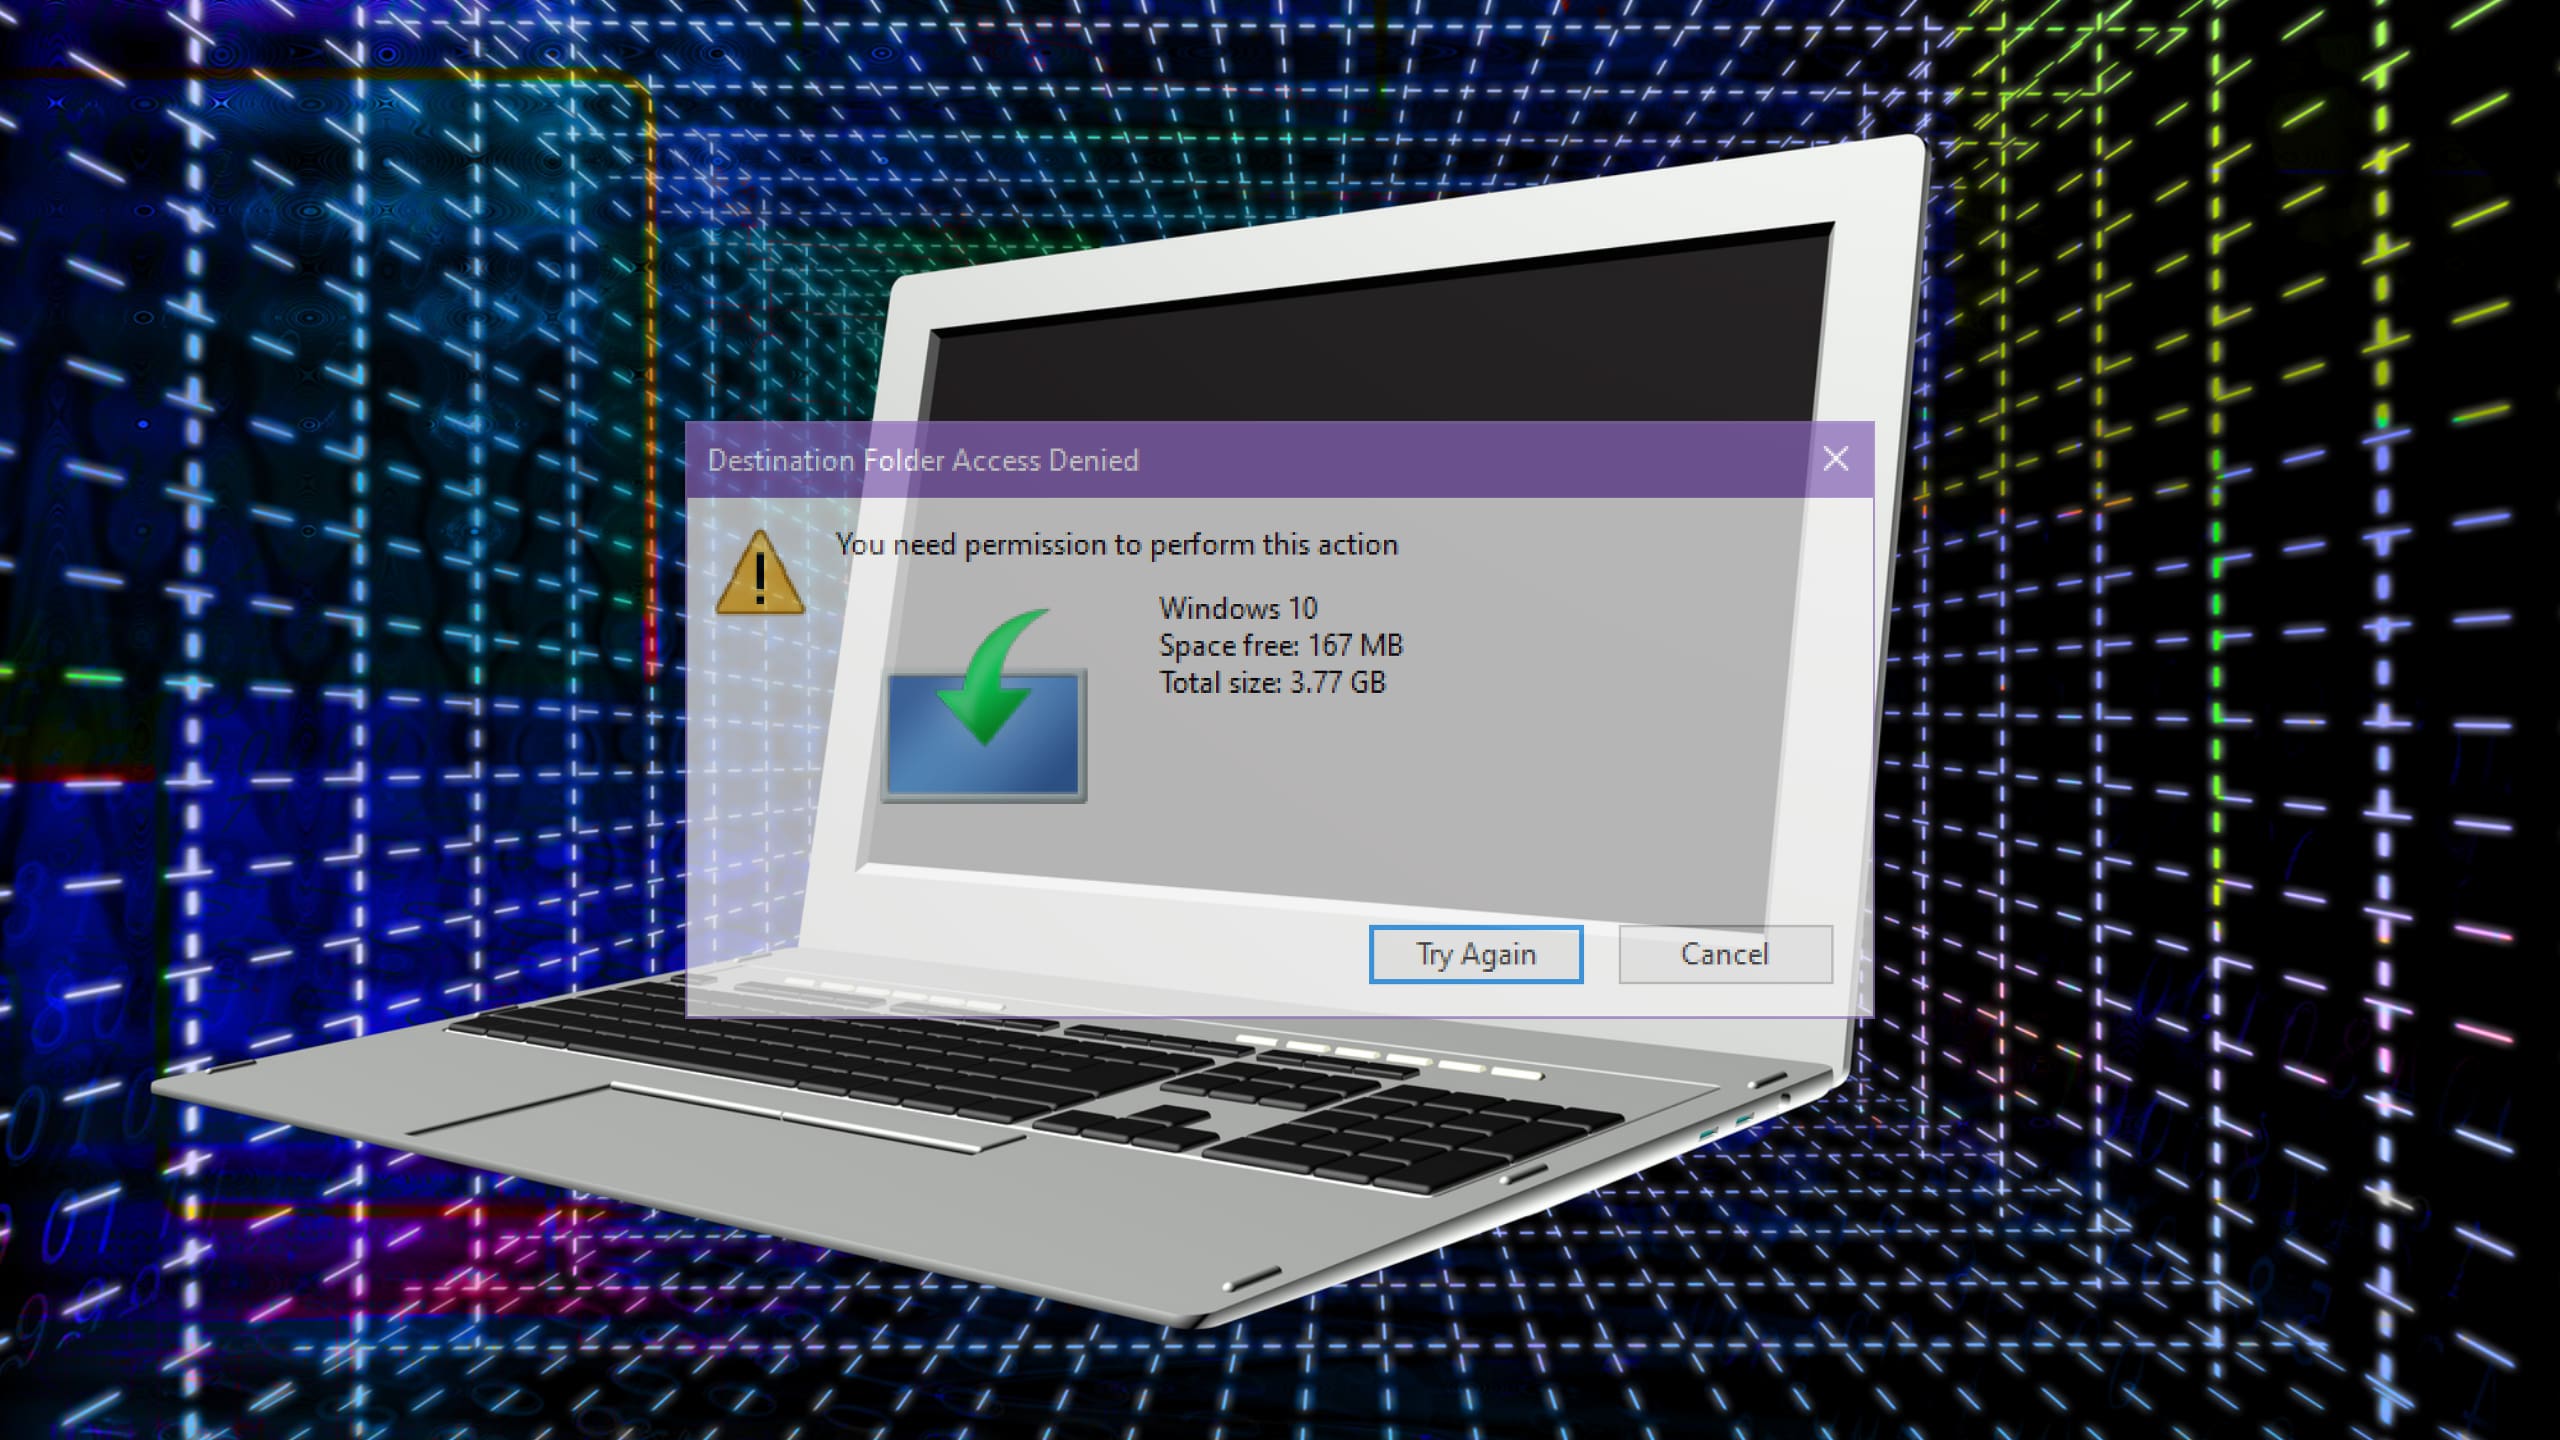
Step 4. Type this command “ollama run deepseek-r1” into the box and hit “Enter.” You’ll then need to wait a little while as Ollama downloads the necessary files to launch DeepSeek on your device. Depending on your internet speed, this might take several minutes or possibly several hours.

Step 5. Once the download completes, you should see the PowerShell window update, with a message inviting you to “Send a message.” You can then type in a message to DeepSeek, just as if you were interacting with it on the DeepSeek website. Hit “Enter” to send your message.
Step 6. Depending on the complexity of your message, DeepSeek may have to think about it for a moment before issuing a response. Wait for it to process the input, and then the response should appear. You can then continue asking more questions and inputting more prompts, as desired.

Other Versions of DeepSeek to Install Locally
The above guide will let you install the 7b version of DeepSeek-R1 to your machine. However, Ollama also supports several other variants of this large language model. The more advanced variants will take up more space on your machine (and take longer to download), while those without much space may prefer to start off with the smaller 1.5b version.
Here is a full list of the supported versions, complete with their file sizes and the PowerShell code you need to input to download them:
- 1.5b (1.1GB) – ollama run deepseek-r1:1.5b
- 8b (4.9GB) – ollama run deepseek-r1:8b
- 14b (9GB) – ollama run deepseek-r1:14b
- 32b (20GB) – ollama run deepseek-r1:32b
- 70b (43GB) – ollama run deepseek-r1:70b
- 671b (404GB) – ollama run deepseek-r1:671b
The 671b model is actually the full version of DeepSeek that you would have access to if you used the official DeepSeek site or app. So, if you want the complete experience, you’ll need to download that one. However, since it’s so large, you may prefer one of the more “distilled” variants with a smaller file size, which are still capable of answering questions and carrying out various tasks.