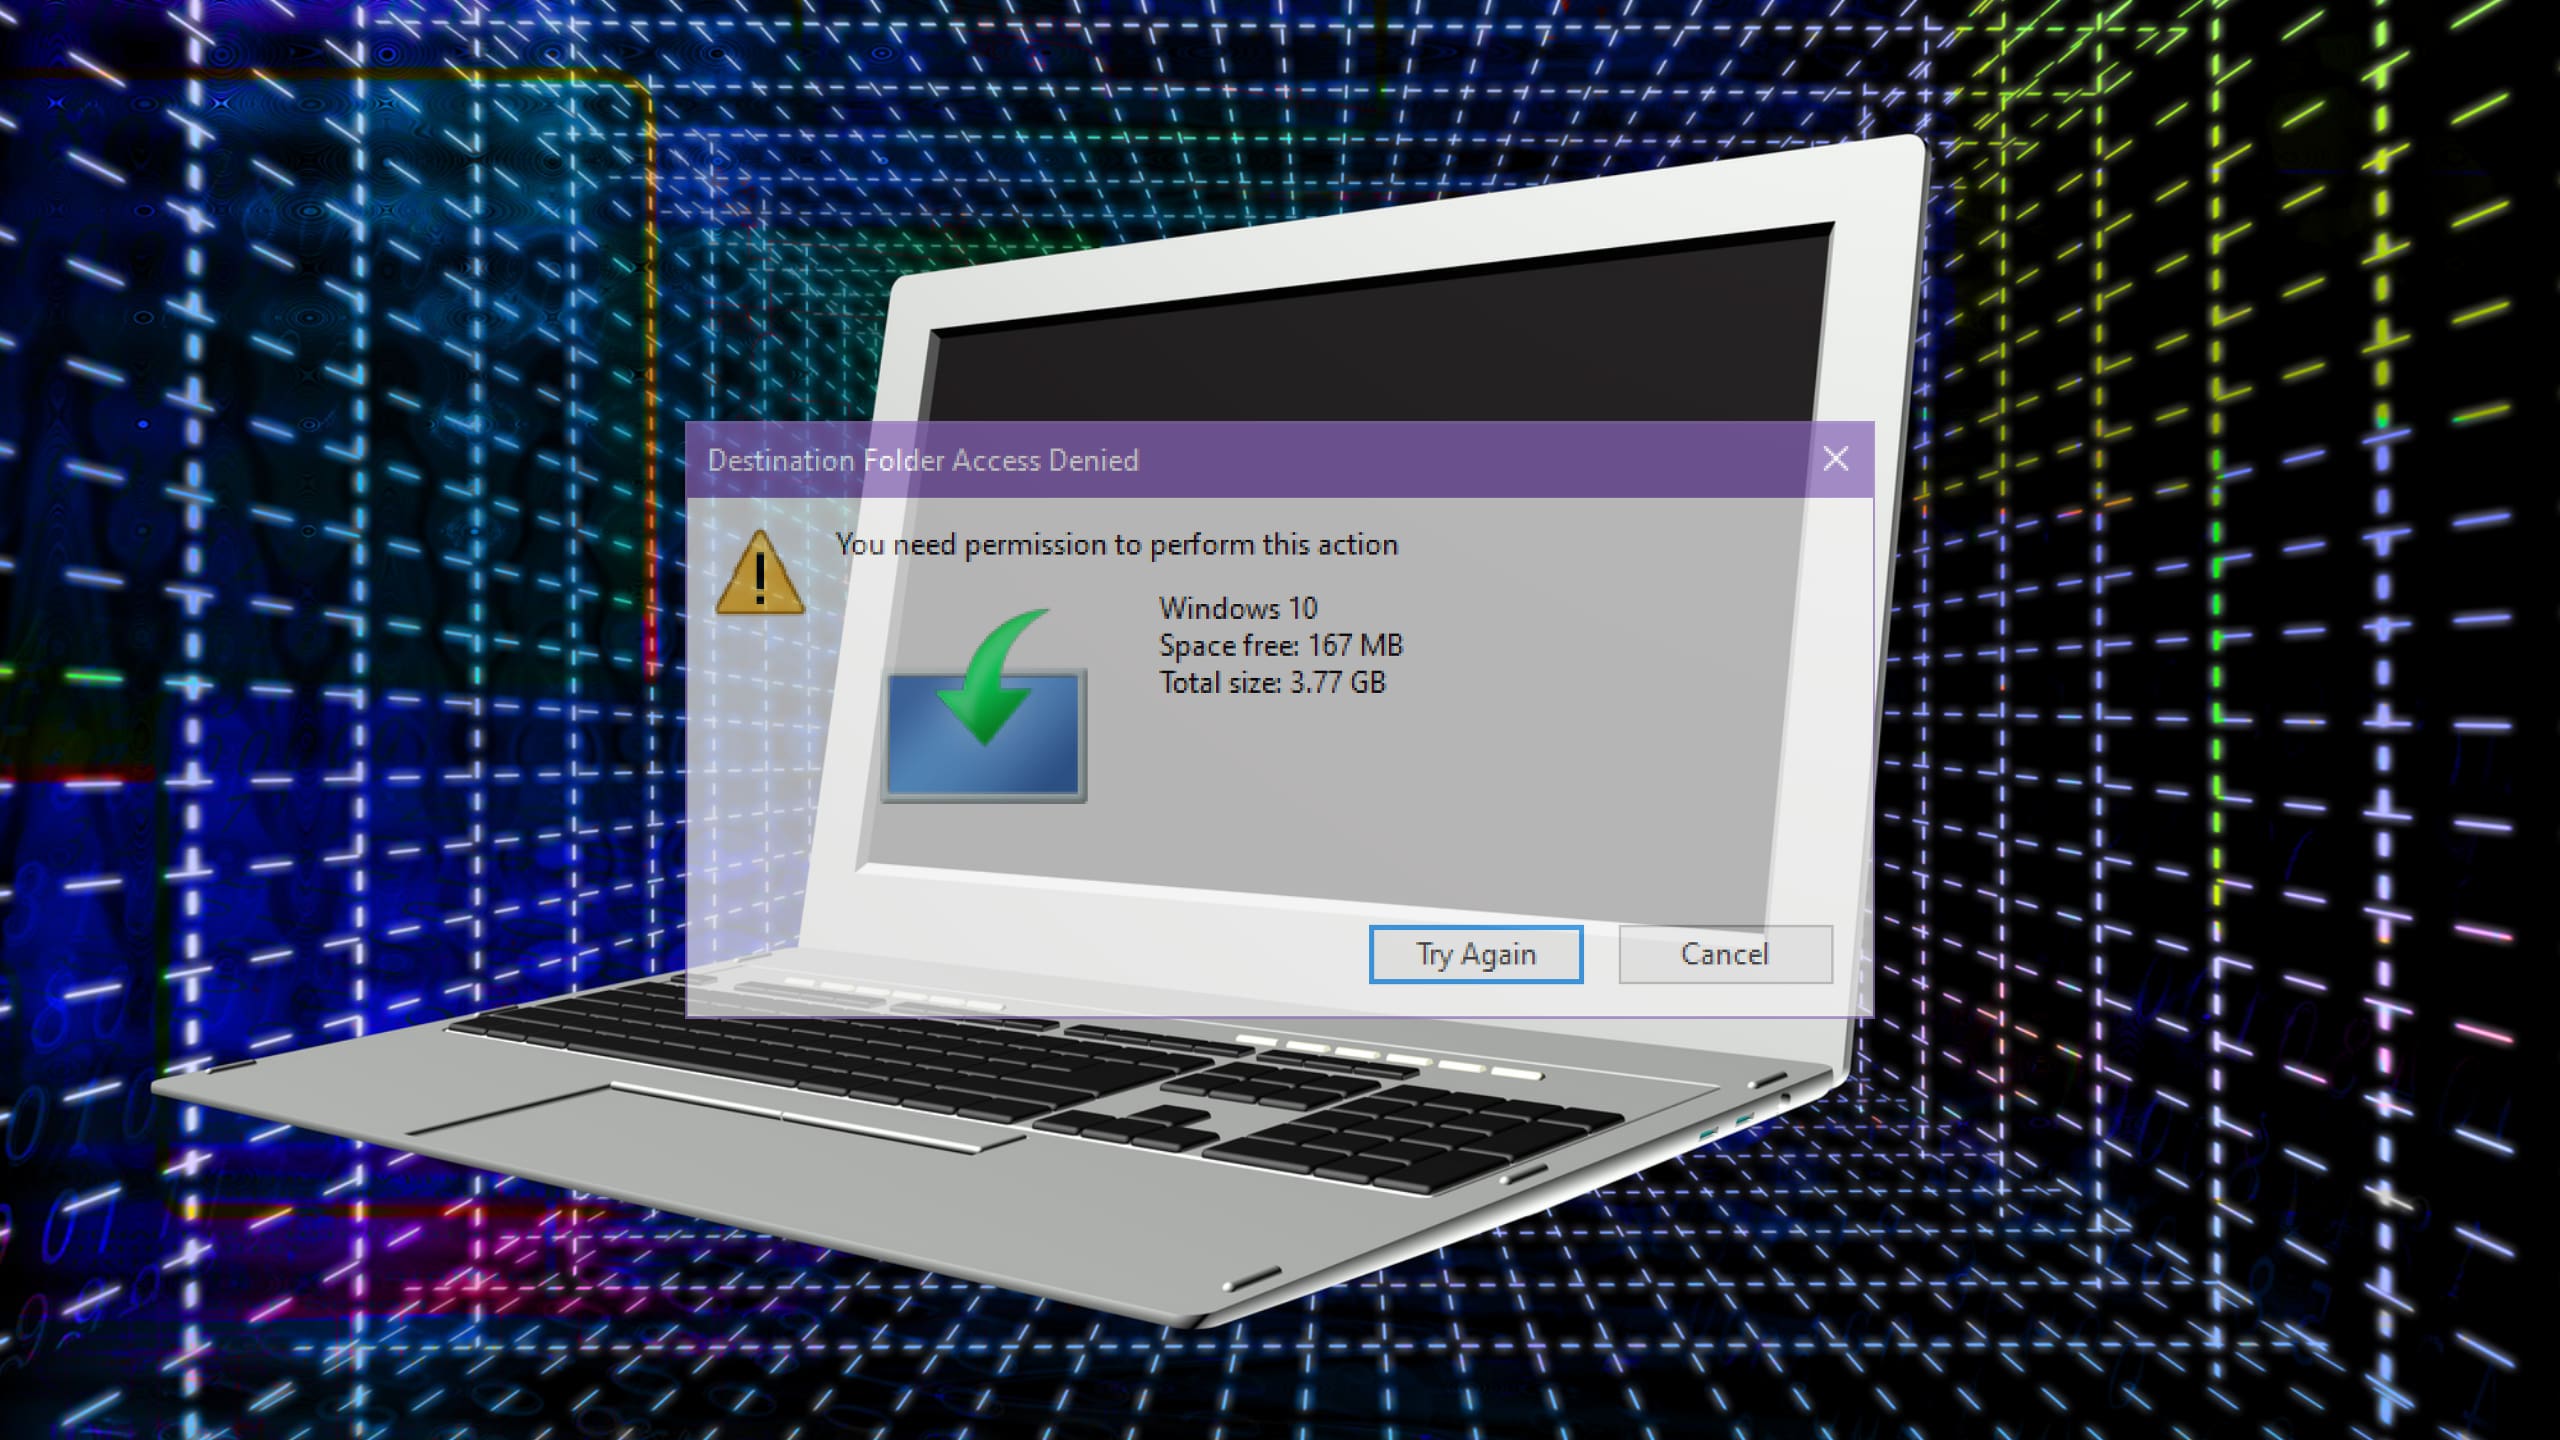
Windows never seems to have any shortage of error codes. If you’ve been attempting to install a program or update your system and are met with error code 0x9cfc7550 (“We couldn’t create a new partition”), then you’re probably at a loss for what to do.
Never fear; we have a few troubleshooting tips to help you fix error 0x9cfc7550 in this article.
Contents
What Causes This Error?
Error code 0x9cfc7550 is typically encountered during installations and updates and is due to Windows’ failure to read or find a necessary drive or partition. This is caused by:
- Multiple connected drives, both internal and external
- Problems with a USB 3.0 connection
- A particular partition or drive set to “inactive”
- Disk corruption
- Disk format clashes
How to Fix Error 0x9cfc7550
We have a few methods below to help you resolve this error code and get your installations and updates back on track.
Disconnect all Other Drives
Perhaps the easiest error 0x9cfc7550 fix is to disconnect all additional drives from your PC. Remove USB storage devices and unplug external hard drives, so that Windows doesn’t confuse these with the actual installation location. Ideally, you should aim to have your main hard drive as the only one detected and connected.
For good measure, reboot your machine to start with a clean slate.
Switch USB Drives
Another quick fix is to change USB drive types from 3.0 (the blue-tinted slot) to 2.0. Although much faster, USB 3.0 sometimes suffers from compatibility issues, especially for older software. If you’ve created a bootable drive or are attempting an app installation via external storage, try changing ports before attempting other fixes.
Using DiskPart
DiskPart is your go-to tool on Windows for all things partition-related and can be used in a few ways to solve this error. A good first step is to use it to determine if the partition in question has been set to active and primary. Here’s what to do:
Step 1. Type “diskpart” into the search bar and choose the option that pops up.
Step 2. In DiskPart, type “listdisk” and hit “Enter” to see all current disks.
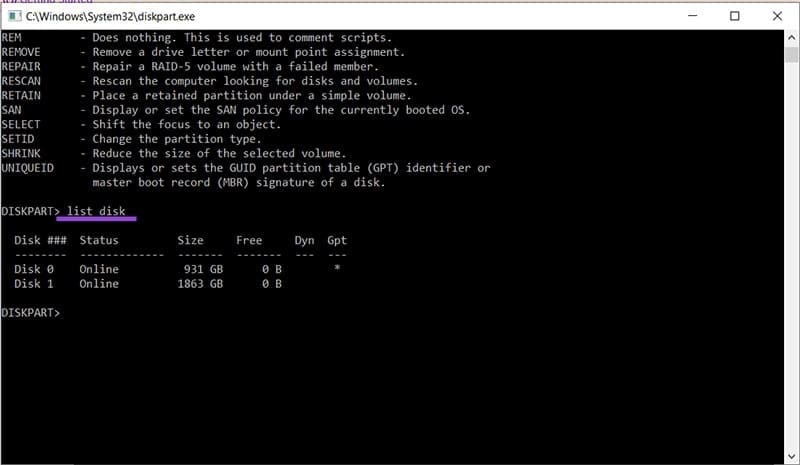
Step 3. To choose your main disk, type in the number, e.g., “select disk 0” and press “Enter.”
Step 4. To check the partitions of this disk, type “list partition” and hit “Enter.”

Step 5. Select the partition (“select partition 3”) and hit “Enter,” followed by “Active” to make it the active one, followed by “Enter.”
Step 6. Try the installation again.
In some cases, the issue might lie with the format of the disk, which should be GPT and not MBR for a major system installation. You can fix this, too, in DiskPart:
Step 1. Select your disk, as mentioned above.
Step 2. Clean the disk by typing “clean” and hitting “Enter.”
Step 3. To change the format to GPT, type “convert GPT” and hit “Enter.” Let the process run.
Check the Boot Order
Another major offender that causes error 0x9cfc7550 is an incorrect boot order in the BIOS/UEFI. Restarting your machine and entering the BIOS or UEFI is a quick way to check:
Step 1. Restart your machine and press the BIOS key (this differs depending on manufacturer) to enter the BIOS or UEFI.
Step 2. Locate the boot order and ensure that your disk, or bootable drive, is top of the priority list.
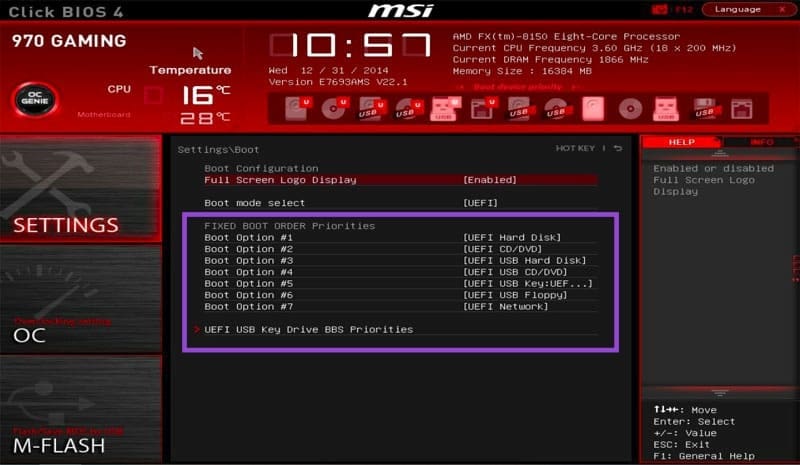
Step 3. Press F10 to save changes and exit. Try the installation again.